
Installing Your Precut Rtint™
Headlight Covers
Rtint™ precut tints are made from an extremely flexible, bubble-free
tint film that's designed especially for tinting your headlights and taillights.
If you want to see how it's done then read on and follow our multi-step tour of
tinting an Audi Q7 with Rtint™ Blackout Headlight Tints outside of our
Brooklyn headquarters in Sunset Park.
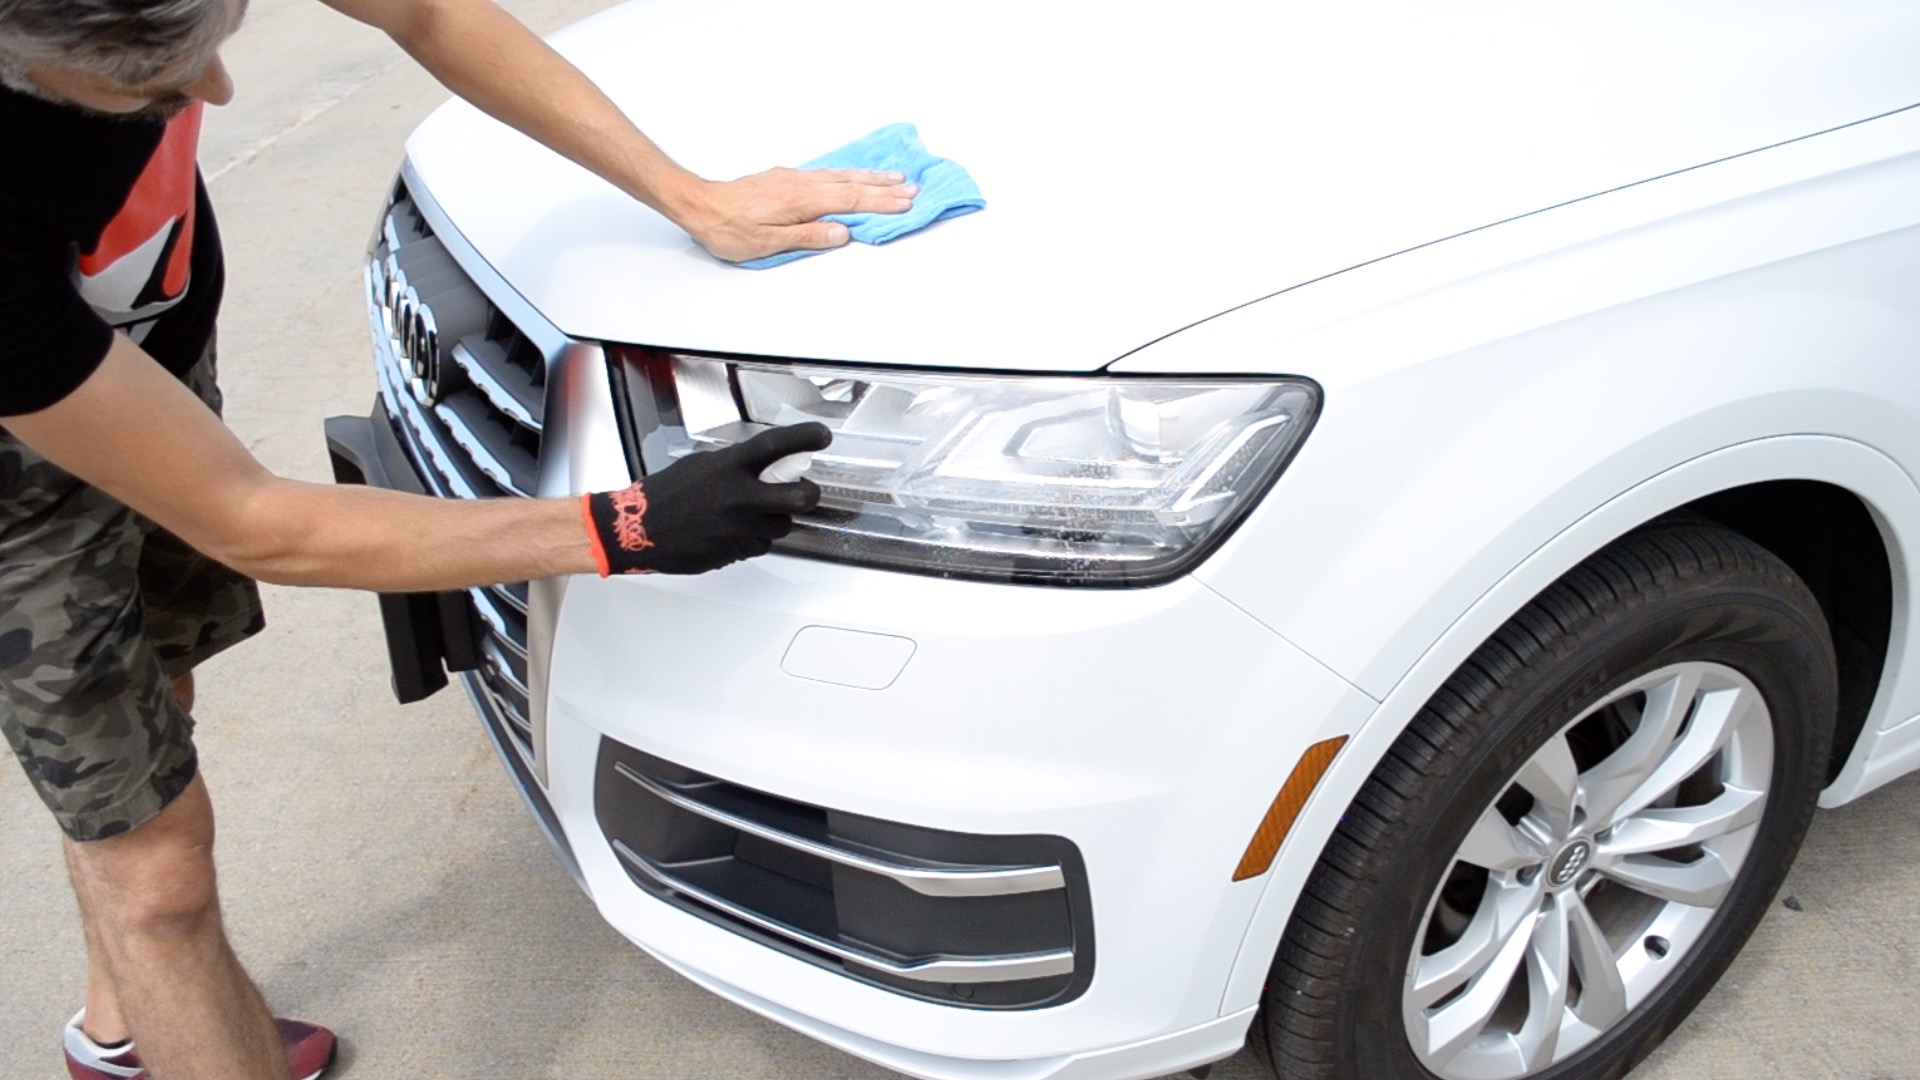
Step 1: Clean and Prepare Headlights
"The first step is to make sure that your headlight has been
properly cleaned. We recommend using Rapid Prep or any other cleaning solution
that you know isn't going to damage your headlight and a low-lint cloth to make
sure there is nothing left over on your headlight. After you've thoroughly
cleaned it. We like to clean the area around the headlight as well. This
prevents you picking up any type of dirt or any other contaminants that might
delaminate your headlight tint."
If you take a close look at Philip in the photo above, you'll see that he's
wearing a wrap glove which is totally awesome (he said he really loved how it
worked) but also completely optional. What isn't optional for the cleaning and
preparation stage are the following:
- A lint free cloth or micro-fiber towel
- Degreaser or Rapid Prep
- Isopropyl Alcohol
- Water
- Exacto Blade
- Hard Card or Squeegee
Clean not only the light itself but the area surrounding the headlight too.
Because static electricity is created when the tint is removed from the liner
any dust and debris will be pulled onto the adhesive side of the tint. So,
clean, clean and then clean again!
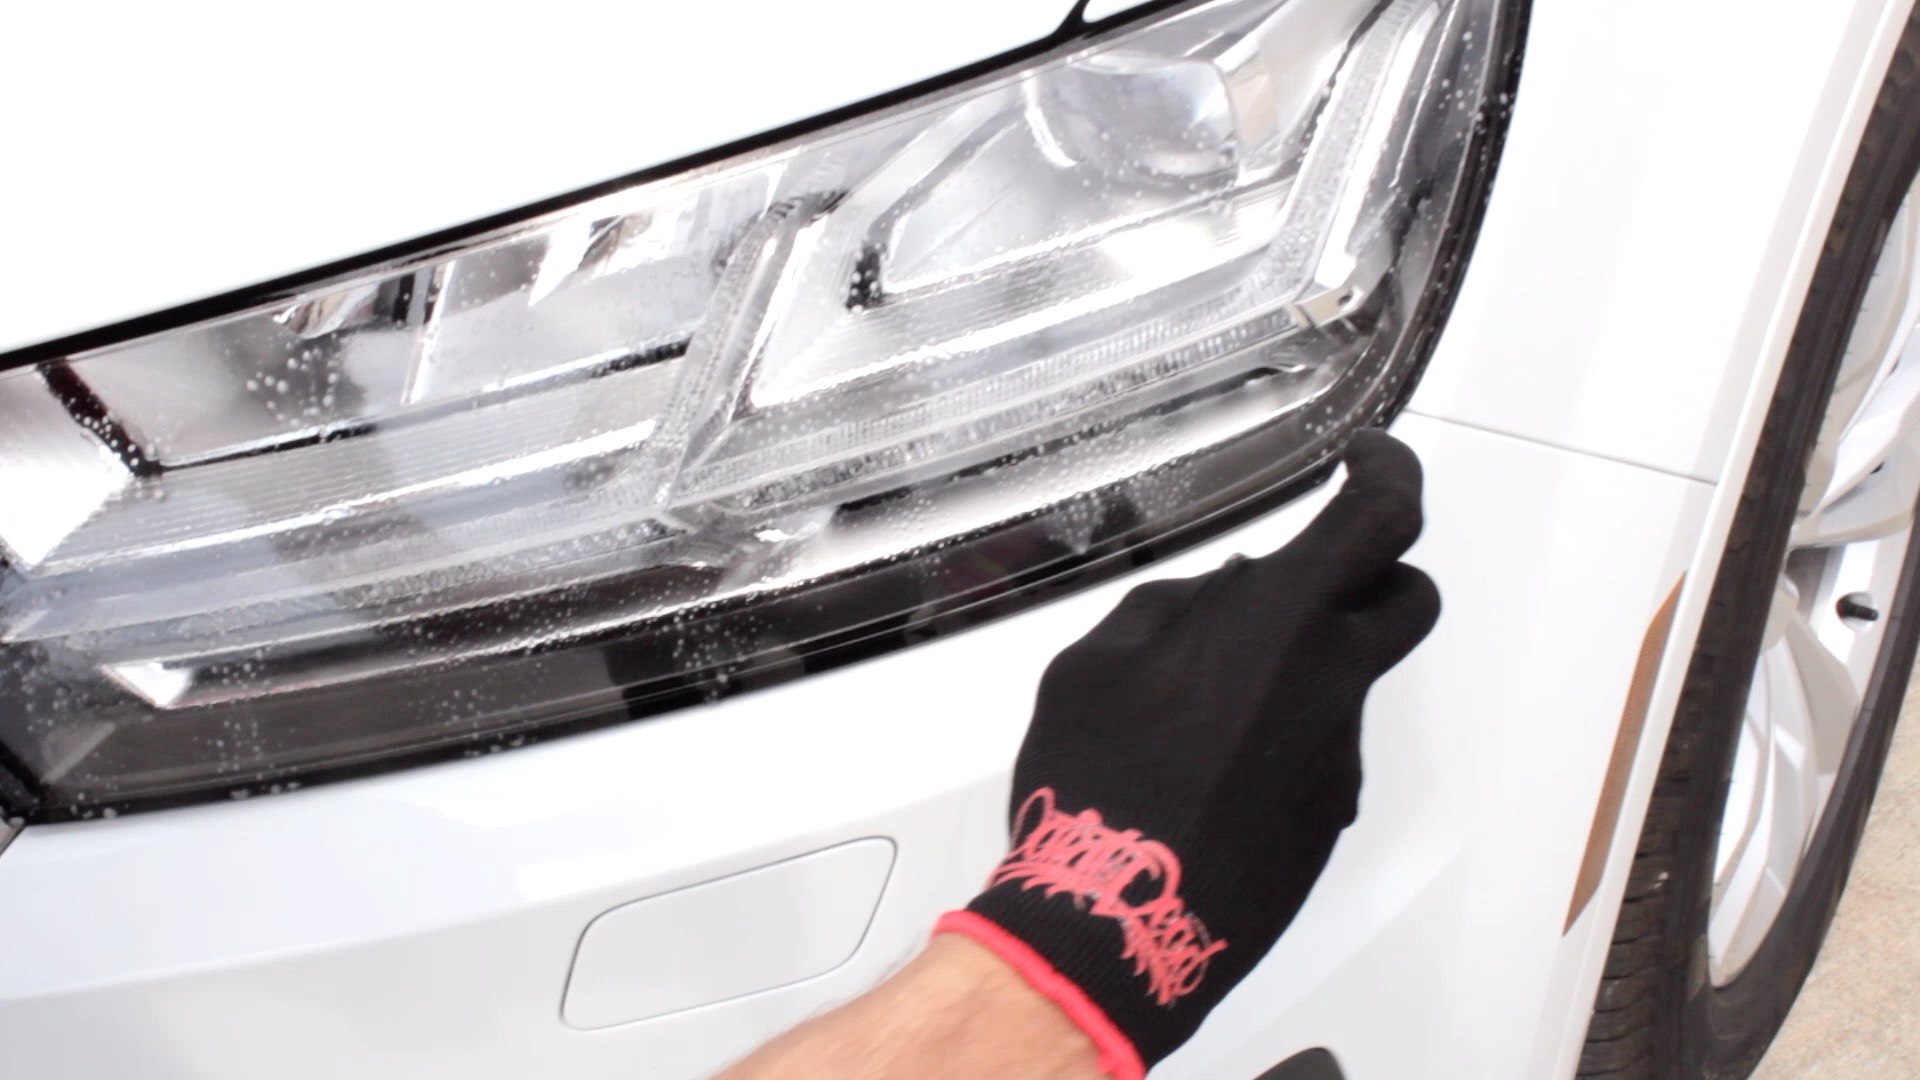
Step 2: Spray Tint and Light with Rapid Tac
"Next we spray the light with Rapid Tac. This helps promote adhesion
and prevents the delamination (adhesive failure). It's great for long term
applications even though all our tint products are removable. You can use the
Rapid Tac as a slip solution. This is great for really curved lights where you
may need to reposition the film during application."
After you've cleaned with your degreaser, denatured alcohol, rinsed with
water and dried everything it's time to bust out the Rapid Tac. Even though you
could technically install this precut headlight tint without using a
slip-solution since it has air-release channels we find it's easier to do it
with a few bursts of Rapid Tac. Be careful not to overdo it though — too much of
it will require a lot of heating and squeegeeing to remove excess liquid.
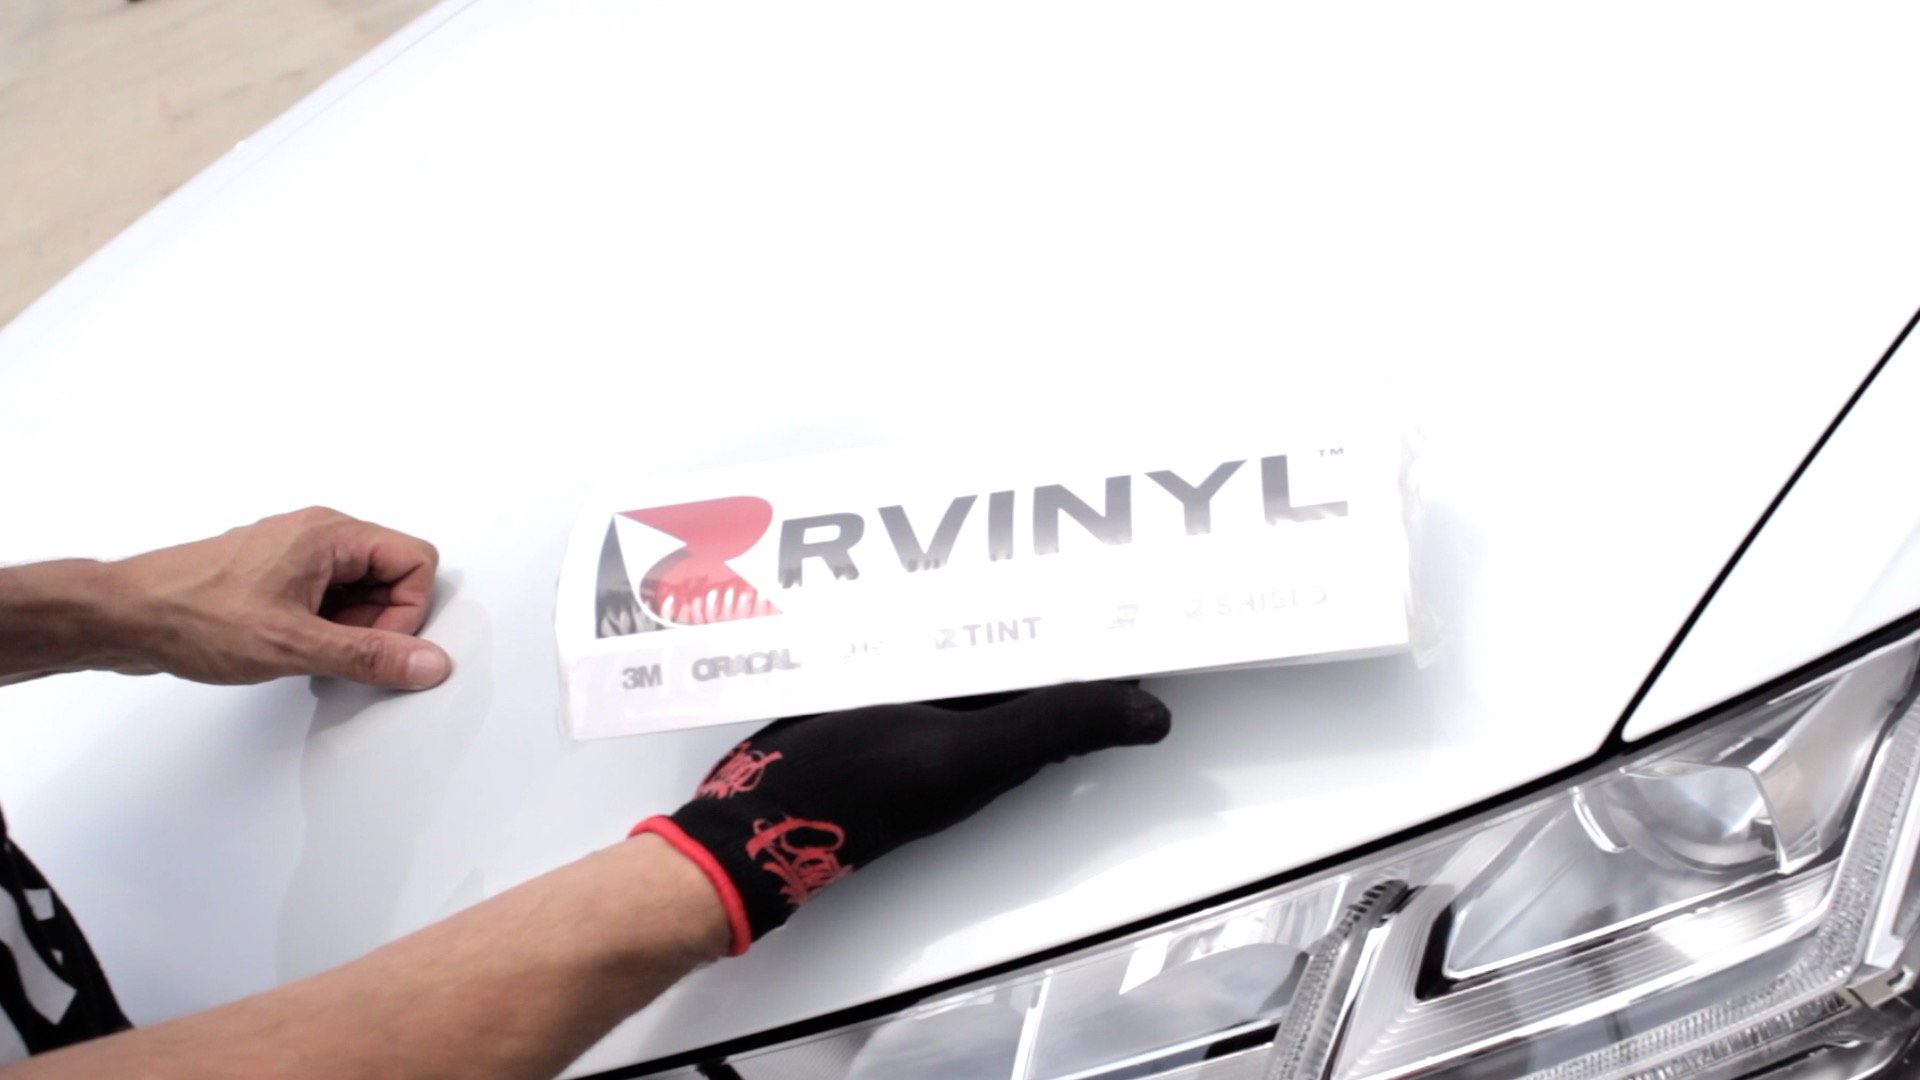
Step 3: Remove Headlight Tint from Packaging
"Rtint comes prepackaged with the driver side and passenger side
headlights. Once you open up your package you're going to want to make sure that
you're working with the proper headlight."
Carefully remove your tint from the packaging. Hold each tint up to the light
to ensure you're working with the correct side.
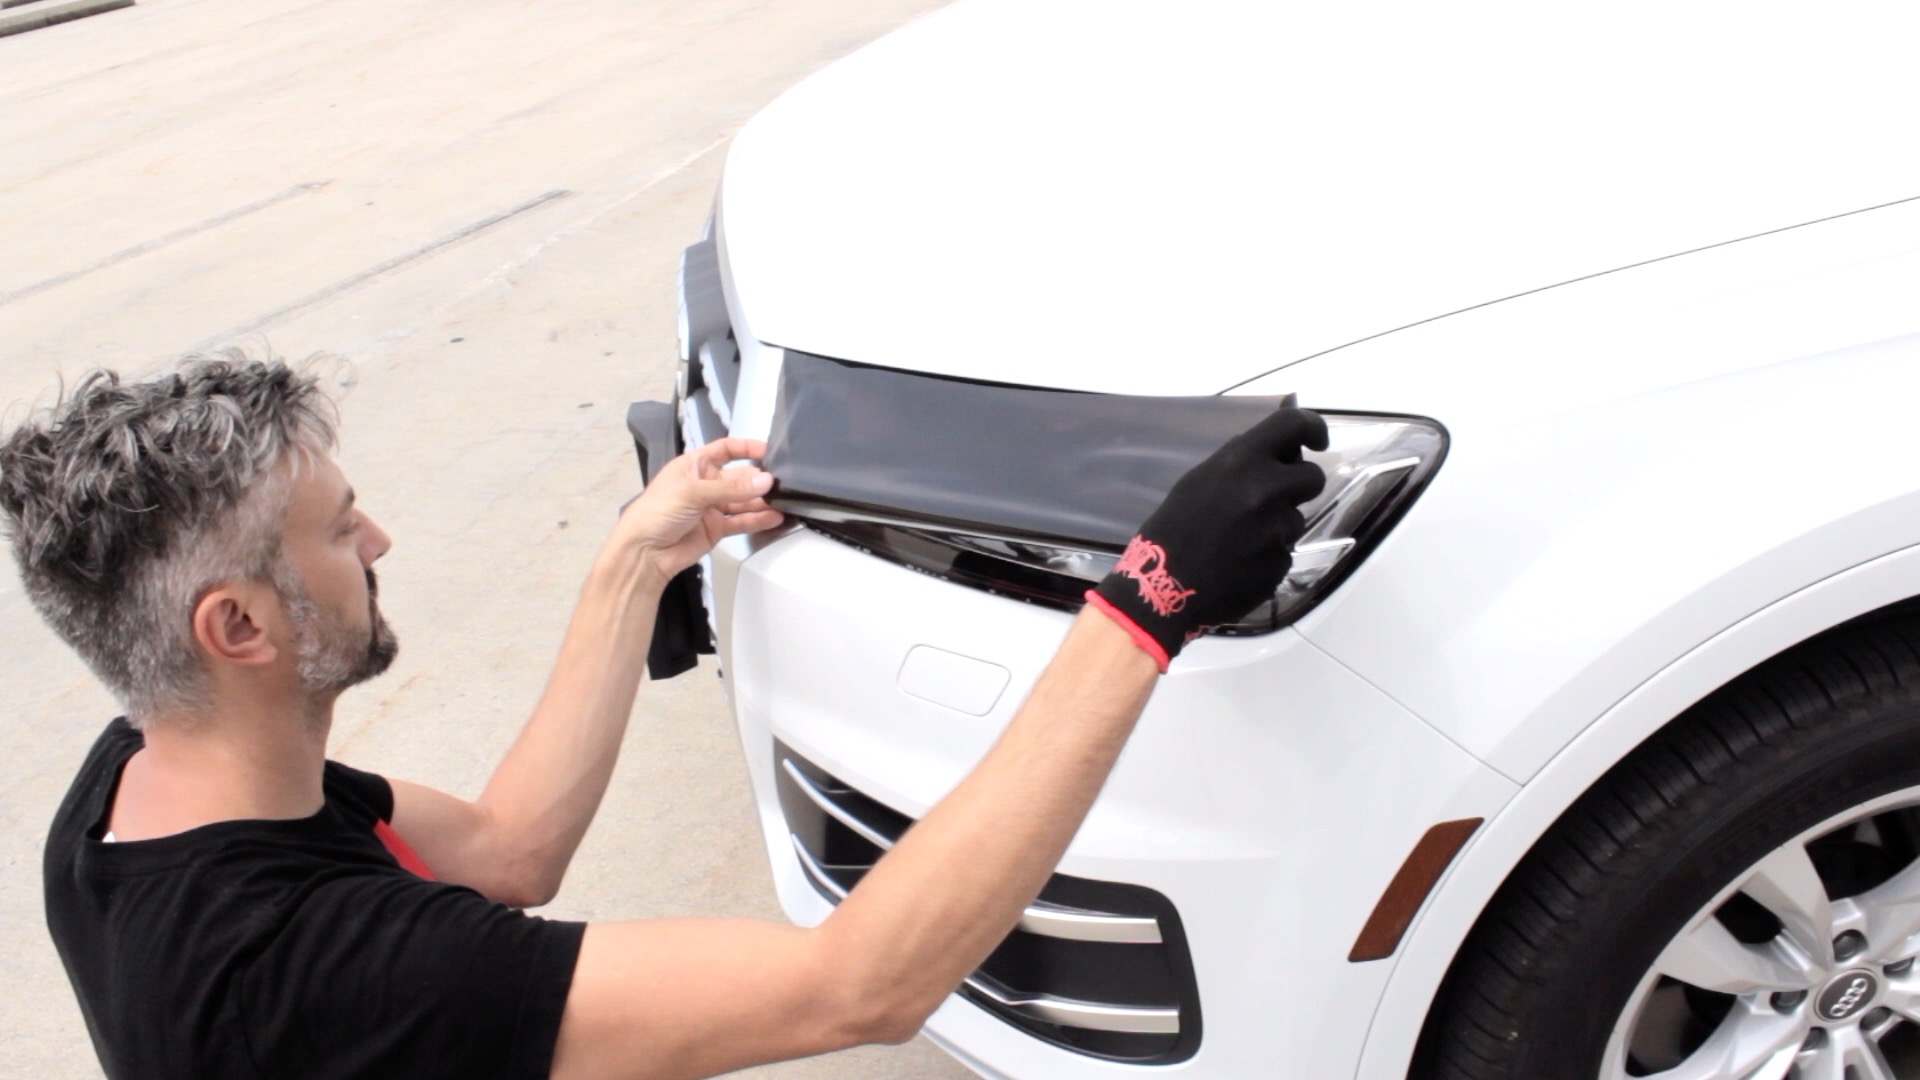
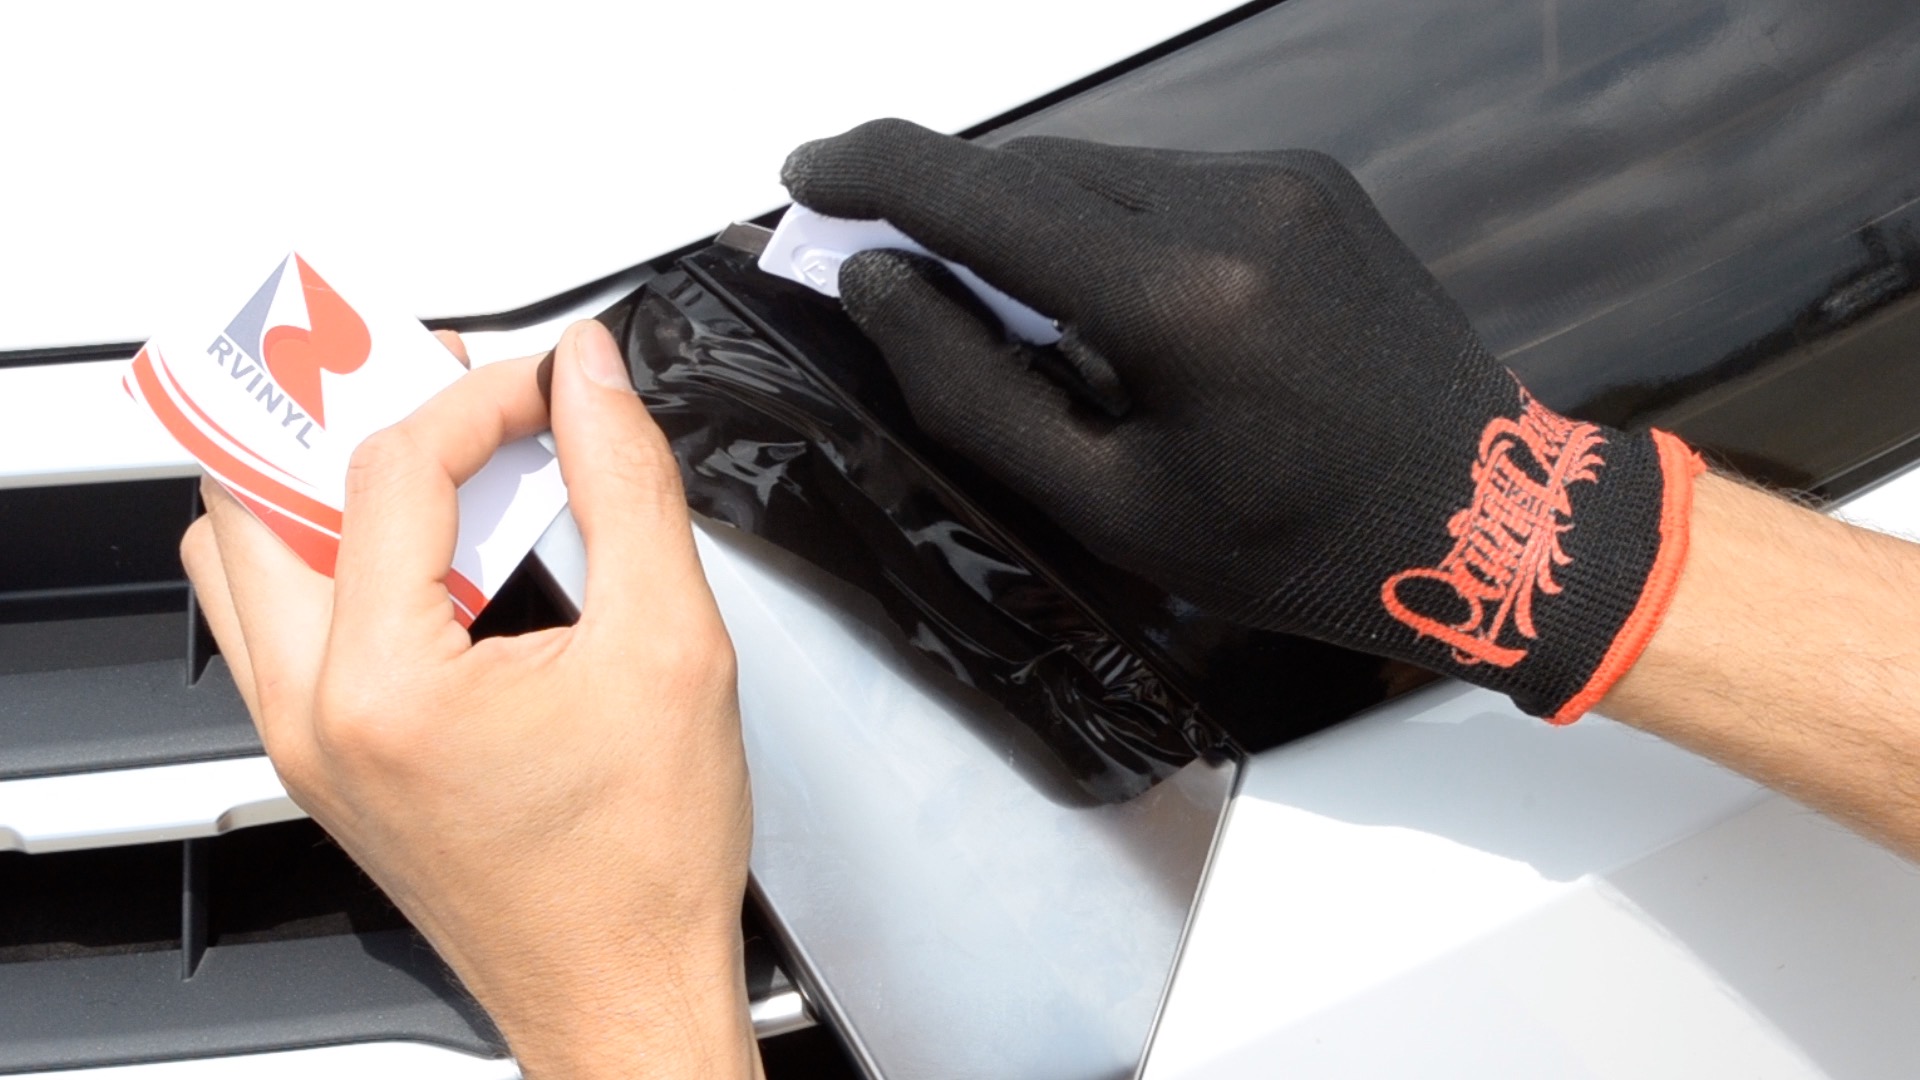
Step 4: Apply Tint to Headlights
"Begin by aligning the film to an edge. The film is bubble free and it comes with air-egress
technology built right into the tint. This makes a great to be able to
reposition the film making sure that it's actually in place. You can see here
that I'm peeling it back and forth working the film. It's not delaminating. It's
not losing any of its adhesive power and it's super stretchy. This particular
installation it was easiest to tack it down into the corner stretching the film
from the inside all the way to the outside of the light."
Begin by tacking down the film to one side of the headlight and working
towards the opposite side. Some lights require using a heat gun but it was warm
enough outside and the design of the lenses was simple enough that this wasn't
necessary.
Step 5: Trim Excess & Tuck in Corners
"The excess film is easily trimmed off with a razor and pulled away.
It's important to work in the edges. This allows it to be carwash safe."
Finally, trim away the excess and tuck in corners.
Recap: Rtint™ Headlight Tint Installation in 10 Steps
- Prepare and clean
- Spray and lubricate lenses
- Remove liner
- Alight and apply tint
- Spray tint
- Squeegee on tints
- Heat the tints
- Trim away excess
- Allow to cure and pop any bubbles
- Enjoy!
And, now, without further ado, check out the full video here: