How to Install Precut Taillight Tints
Precut tail light tints are the perfect way to
upgrade, protect and restyle your vehicle's taillights. Precut to
fit your year, make, model and sub-model and sold as a pair, they
are the ideal way to do-it-yourself and save.
Recommended Tools
- Rapid Prep
- Rapid Tac
- Rapid Clear
- Squeegee
- Razor Blade
- Heat Gun or Hair Dryer
Installation Tips
 Ideal application temperature range is between 70º to 80º F (21º to 27º C).
When possible, turn on your lights to help increase the surface temperature.
Surfaces must be clean and dry prior to application. When removing precut smoked tint pieces from the backing it is best to continuously spray both sides of the film with an application fluid such as Rapid Tac or a 10:1 water to mild soap solution to prevent premature adhesion of the kit to itself.
Clean your areas thoroughly with a solution such as Rapid Prep.
Use masking tape to test for adhesion. If masking tape curls up and falls off you need to continue cleaning.
Do not apply during periods of high relative humidity (i.e., when it’s raining).
Do not bend vinyl film back and forth as this causes the adhesive to wrinkle when applying.
Ideal application temperature range is between 70º to 80º F (21º to 27º C).
When possible, turn on your lights to help increase the surface temperature.
Surfaces must be clean and dry prior to application. When removing precut smoked tint pieces from the backing it is best to continuously spray both sides of the film with an application fluid such as Rapid Tac or a 10:1 water to mild soap solution to prevent premature adhesion of the kit to itself.
Clean your areas thoroughly with a solution such as Rapid Prep.
Use masking tape to test for adhesion. If masking tape curls up and falls off you need to continue cleaning.
Do not apply during periods of high relative humidity (i.e., when it’s raining).
Do not bend vinyl film back and forth as this causes the adhesive to wrinkle when applying.
Step 1: Preparation and Cleaning
We hate to say it but your
taillight tint job will only be as good as your cleaning and preparation.
That's why it is of the utmost importance to remove all dust, oil and residues
not only from the windows but from the surrounding panels and even
the area in which you'll be tinting.
Begin by cleaning the your taillight housing, the lens and the surrounding areas. For proper adhesion, clean all surfaces using a 2:1 mixture of water to isopropyl alcohol or Rapid Prep.
Note: Prior to cleaning test solution in an inconspicuous area. Use a clean, lint-free cloth to cleanse the application area. Insure the lens is dry and all oils and residues have been removed prior to application. A good test is to see if masking tape will stick to the application surface, if it sticks then the surface is ready for application. If it does not stick then further cleaning may be necessary.
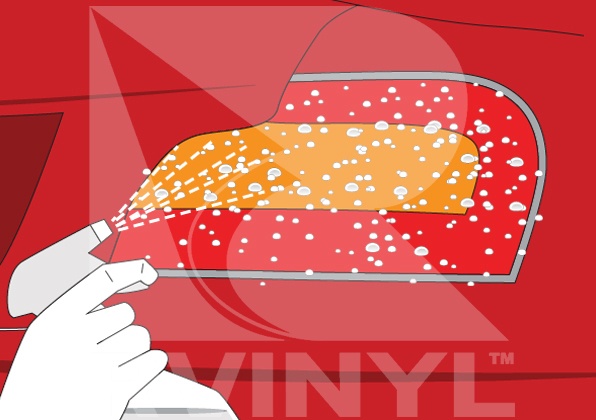
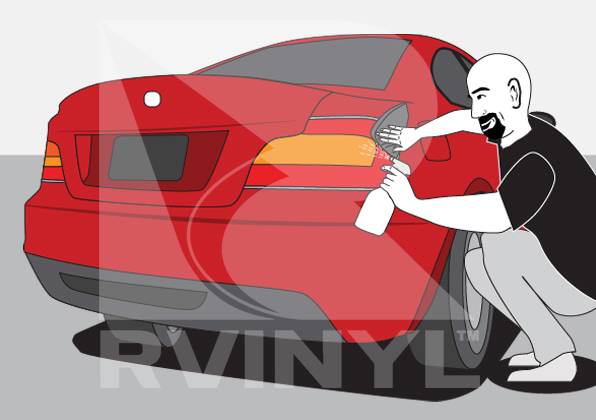
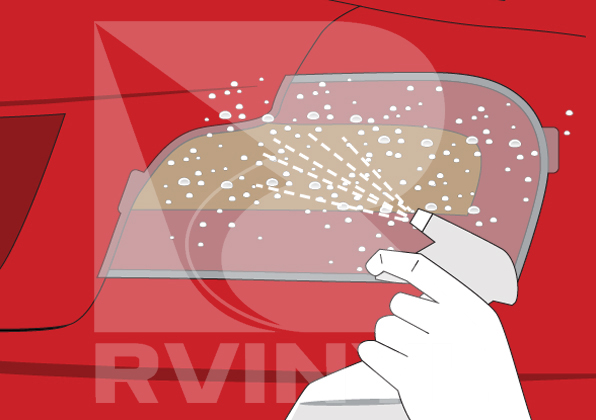
Step 2: Spray and Lubricate Lenses
Spray a liberal amount of the Rapid Tac onto the light which will allow you to reposition the film during the application process.
Be sure to include gaskets and trim around the lights as well.
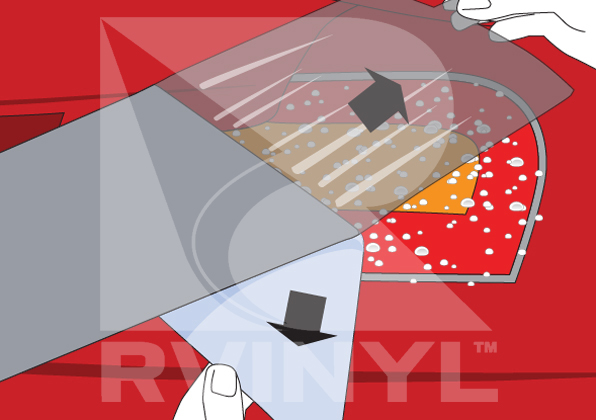
Step 3: Remove Liner
As always, mist your
fingers, and spray the Rapid Tac on the tint as well.
In order to remove the tint from the liner, carefully and slowly lift a corner and begin to peel the liner. Spray both sides of the tint with application fluid. This will allow you to reposition the film on the light as well as preventing the tint from sticking to itself.
In order to remove the tint from the liner, carefully and slowly lift a corner and begin to peel the liner. Spray both sides of the tint with application fluid. This will allow you to reposition the film on the light as well as preventing the tint from sticking to itself.
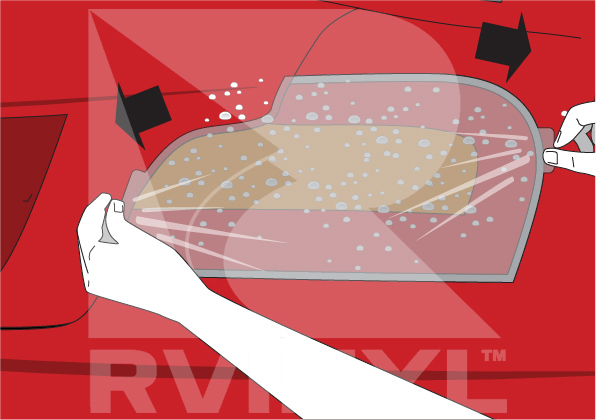
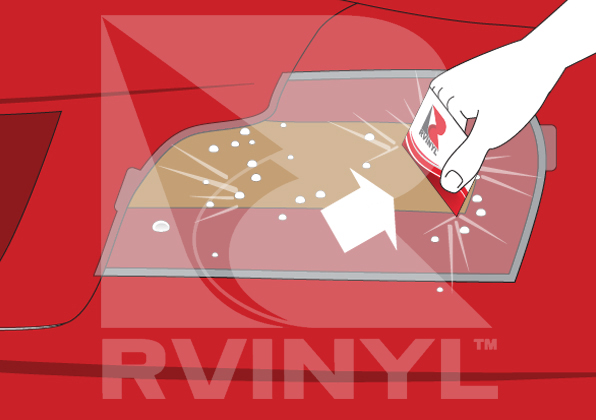
Step 4: Alight and Apply Taillight Tint
Having sprayed the light with application fluid, apply the wet, adhesive side of the film to the lens.
Reposition the film to align it to the edges. You may use the application tabs if they are available on your kit.
Not all kits are designed with these tabs.
Note: The film may appear to be "short" or "too large" at this stage of the installation. This is because the film has not been heated and stretched yet or trimmed.
Step 5: Spray Smoked Tail Light Tint
Spray the outside of the film with Rapid Tac of the soap and water solution again. This will reduce scratching. Spray the area once again to allow repositioning.
Step 6: Squeegee on Taillight Tint Covers
For flatter areas, apply pressure to one end of the film so that it begins to adhere to one end of the area. Using a squeegee, press down and squeegee the film with smooth sweeping motions. If this is being done properly, you will see the water exit from underneath the film. Do this across the remainder of the area.
If large bubbles are present, peel up the film to that area and apply again. Rtint vinyl film is very forgiving when both the area and the adhesive side of the film is wet. Keeping the film wet allows you to pull and reapply numerous times if not satisfied with results prior to heating the film.
For taillight tint kits with slits spray the outside of the film with solution again. This will reduce scratching. Spray the light once again. Proceed as above being sure to liberally apply the solution to both sides of the film. When the film is stretched into position one of the sections or flaps of the film will naturally fall over the other. Lightly smooth the flap down until flat. Using a razor gently score away the overlapping film until you can easily pull the excess film away.
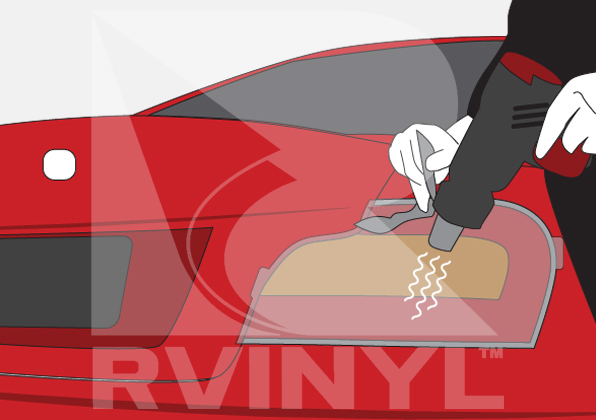
For lights with large curves (the most common lights on the market today), spray the outside of the film with solution again. This will reduce scratching. Spray the light once again. Apply pressure to the center of the film on the light with a squeegee so that it begins to adhere to one end of the light. It may be easier to have a partner help you by holding the film as you begin the next step. Gently begin to heat the film on one end from the center with a hair dryer or heat gun on a low setting. Take your time in heating the film, you do not want to melt the film.
Apply the remainder of the film by moving in a spiral or circular motion working outwards towards the edge of the light. Keep the film "warm" by continually heating it will allow it to stretch up to 2% to 5% and conform. This is the only way you can apply tint to a curved light unless the kit has slits which are intended to be overlapped and cut-away.
Step 7: Heat the Tail Light Tint
Using a heat gun heat the tint to aid in shrinking and
curing the film.
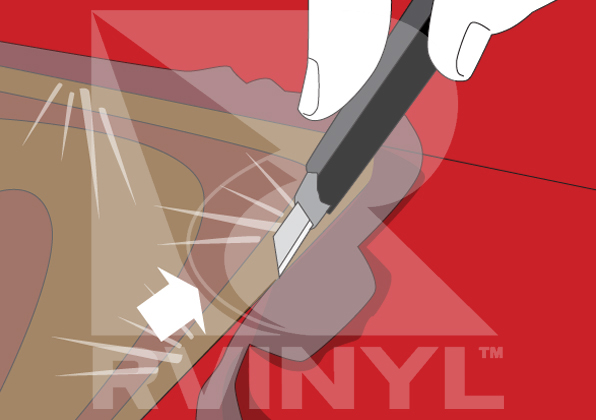
Step 8: Trim Away Excess Taillight Tint Film
Remove excess vinyl which may hang over the edges.
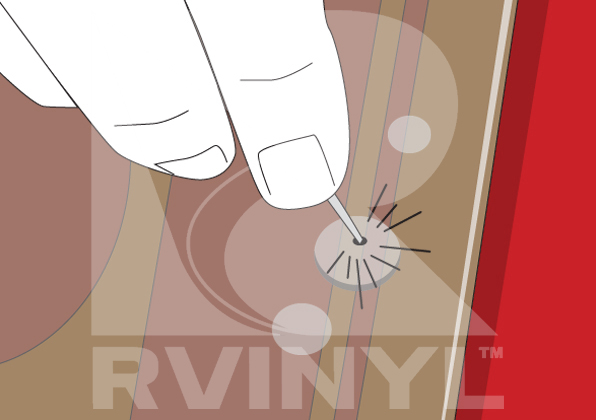
Step 9: Allow to Taillight Covers to Cure & Pop Any Bubbles
Allow film dry for a minimum of 30 minutes and carefully wipe off any excess solution. If all moisture has not been properly removed from under the film some fogginess may occur. This is completely normal. Film is breathable and porous – cloudiness/fog will evaporate with a few days to a few weeks. Depending on film thickness and sunlight/heat exposure. Any surface texture, scratches, or ripples will also disappear during this curing process.
Note: Adhesion may be difficult in cold weather, humid areas or if the surface has not been properly cleaned prior to application.
After 24 hours, if there are any small bubbles you may proceed to pop them with a sharp needle. Pop them and then use a squeegee to press out air or fluid. DO NOT spray any more application fluid at this point.
 Step10:
Tint Complete
Step10:
Tint Complete
Once you've popped any remaining bubbles, you're done. Use Rapid
Clear to polish your taillight tints and be sure not to take your
ride through an automated wash nor use power washers.