
How to Wrap a Car Trunk
Today we will show you tips and tricks that will make wrapping your trunk a walk in the park. But before you begin the installation, you will need the proper tools. Down below, we have made a list of all the tools that not only are required but will also make the installation process smooth and easy.
- Blade Cutter
- Squeegee
- Gloves
- Microfiber Towel
- Rapid Prep
- Masking Tape
- Monkey Strip
- Snitty
- Magnets
- Avery Dennison Flextreme
Step 1: Cleaning and Preparation
The first thing you want to do is clean the vehicle. After you have done that, you need to release a little bit of the liner and then tack it on one side and following that, release the entire liner. Once this is completed, you will see the second piece for the bottom in the roll. All of this is from Rvinyl™.
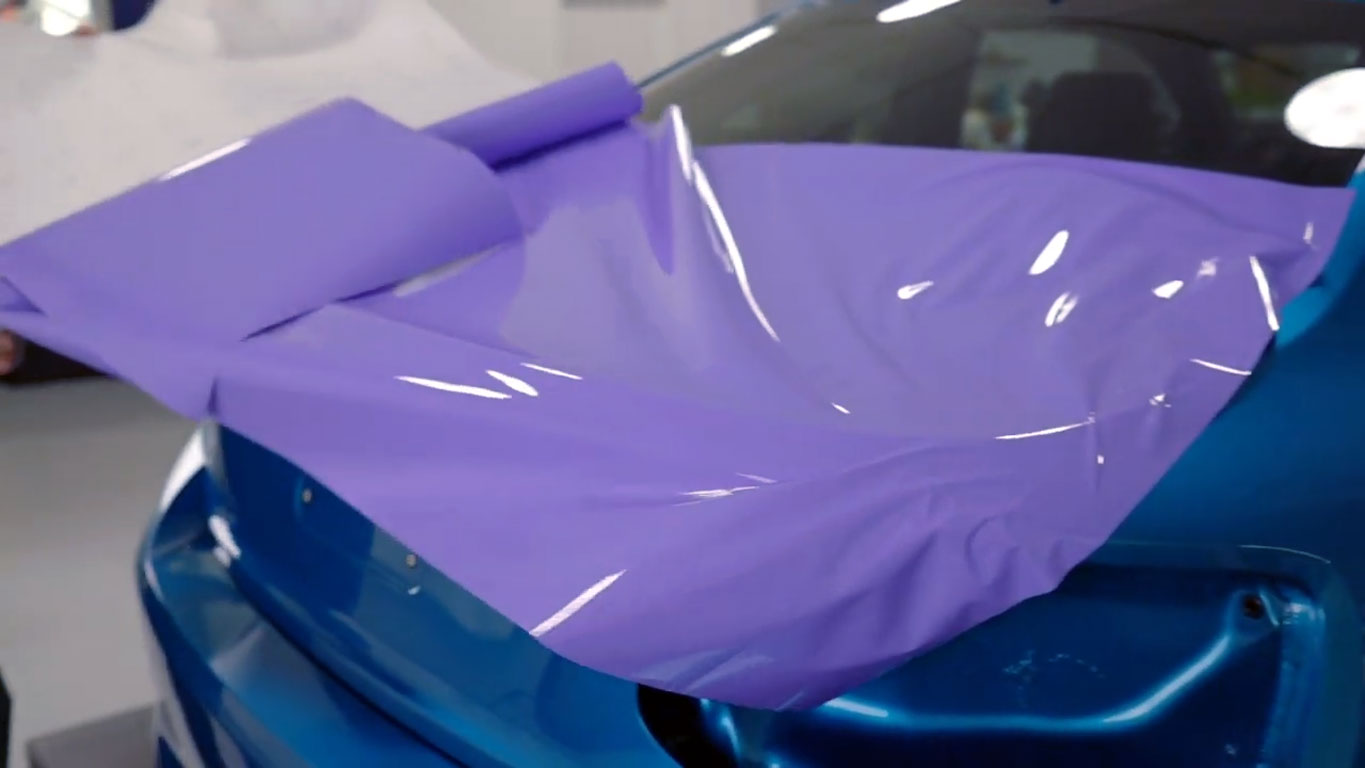
Step 2: Wrap in Pyramids
Start at the middle of the wrap. Lay the panel and make sure it is loose on the trunk. Make sure it has no tension in the middle. There should be a lot of tension on the corners of the panel. Next, you will use the Wrap Institute’s matrix technique. The first thing you will do is heat the film. Next, pull firmly along the body light. This will make the material shrink onto the top of the trunk. Wrapping in pyramids is the name of this technique. You will pull very hard in the middle and shrink onto the corners. Set up one side, heat the film and pull it firmly along the body line.
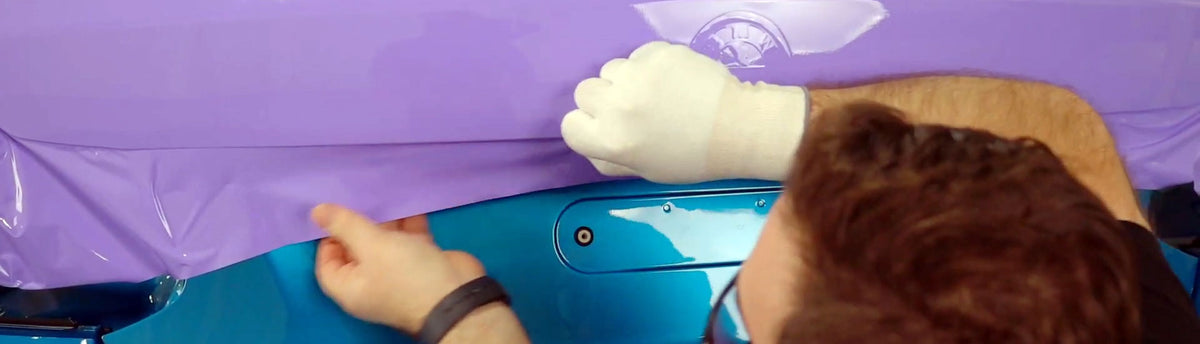
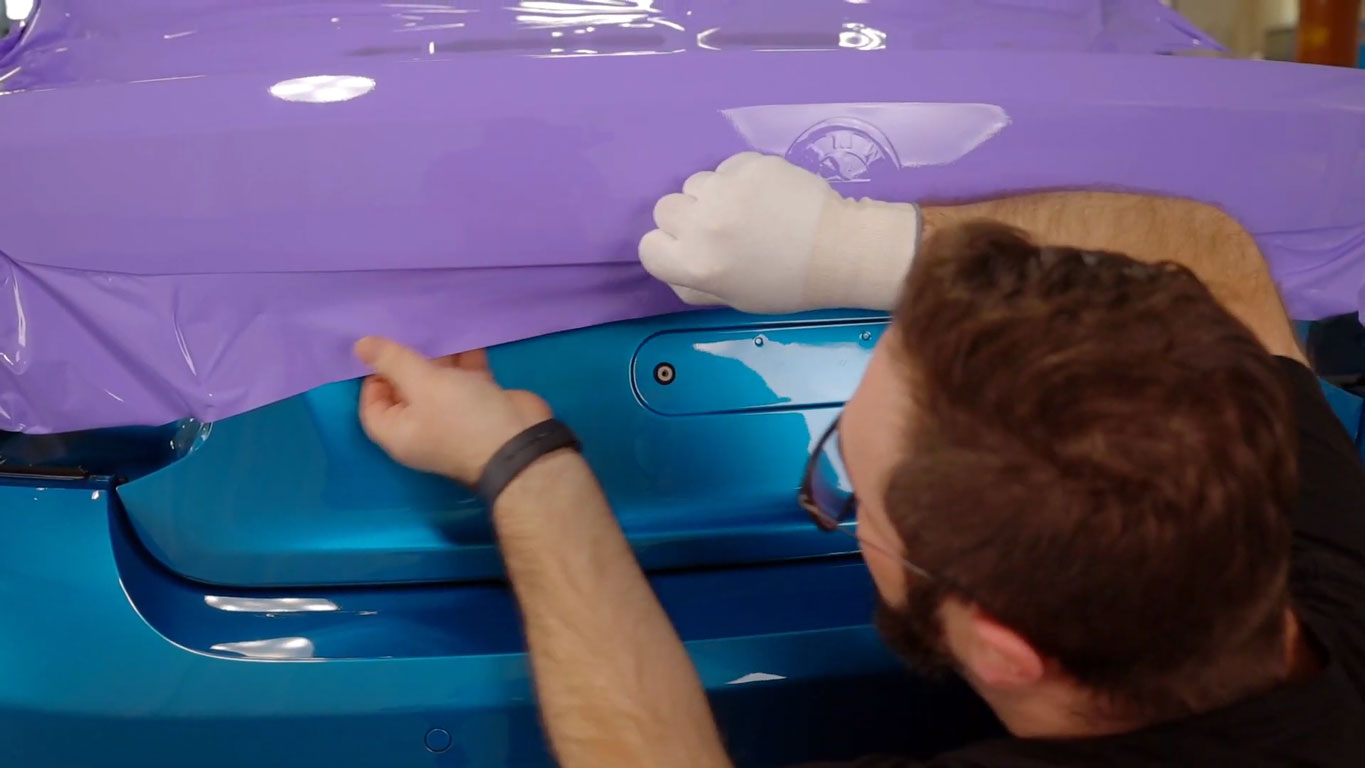
Relax the film on the body line and then you will pick up the film from the bottom section and heat it. The material will shrink into place because of the heat and make the wrapping process much easier. When you pull the material, be careful not to pull hard, instead guide it to the edge. Once done correctly, there will be no tension on the edge and will last a long time as a result. Gently apply some heat and guide it to the edge.
You will want to evenly pull to the corner and spread it out and apply it where it is needed. After you successfully hook the material to the edge, gently press in on. Fix any small wrinkles on the panel. Once everything is glassy, you can now shift to the top. Next, hold the material light and away from you. Heat it so you can pull the film firmly along the body line which will create the 3D wrapping process.
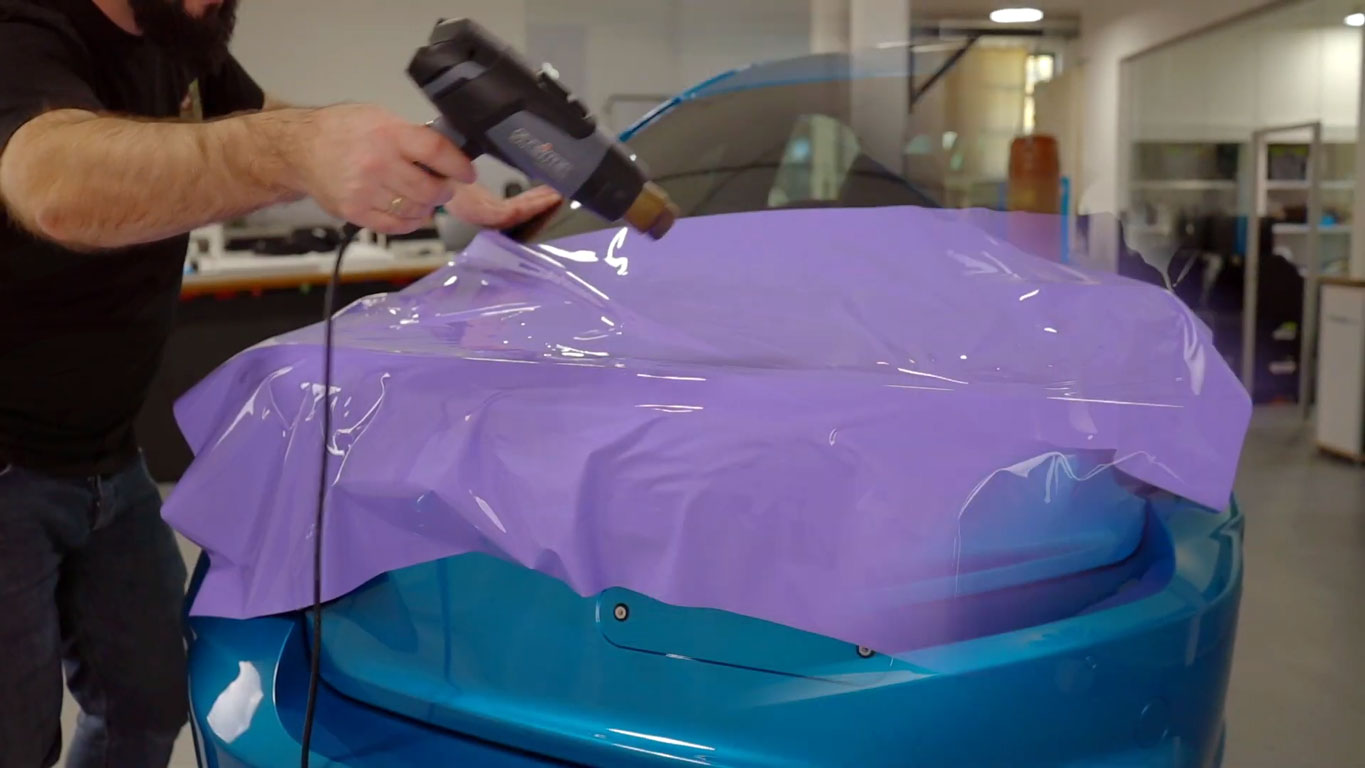
Step 3: Use Heat to Relax Film
Once everything has settled and glassed out, relax the film by heating it and the squeegee it. That should shrink the film one more time and relax it onto the surface. Next, you will grab the squeegee with a felt buffer on it and you will apply the film in overlapping squeegee strokes. For the best results, keep the angle of the squeegee low and flat and will help the process be smoother and scratch free.
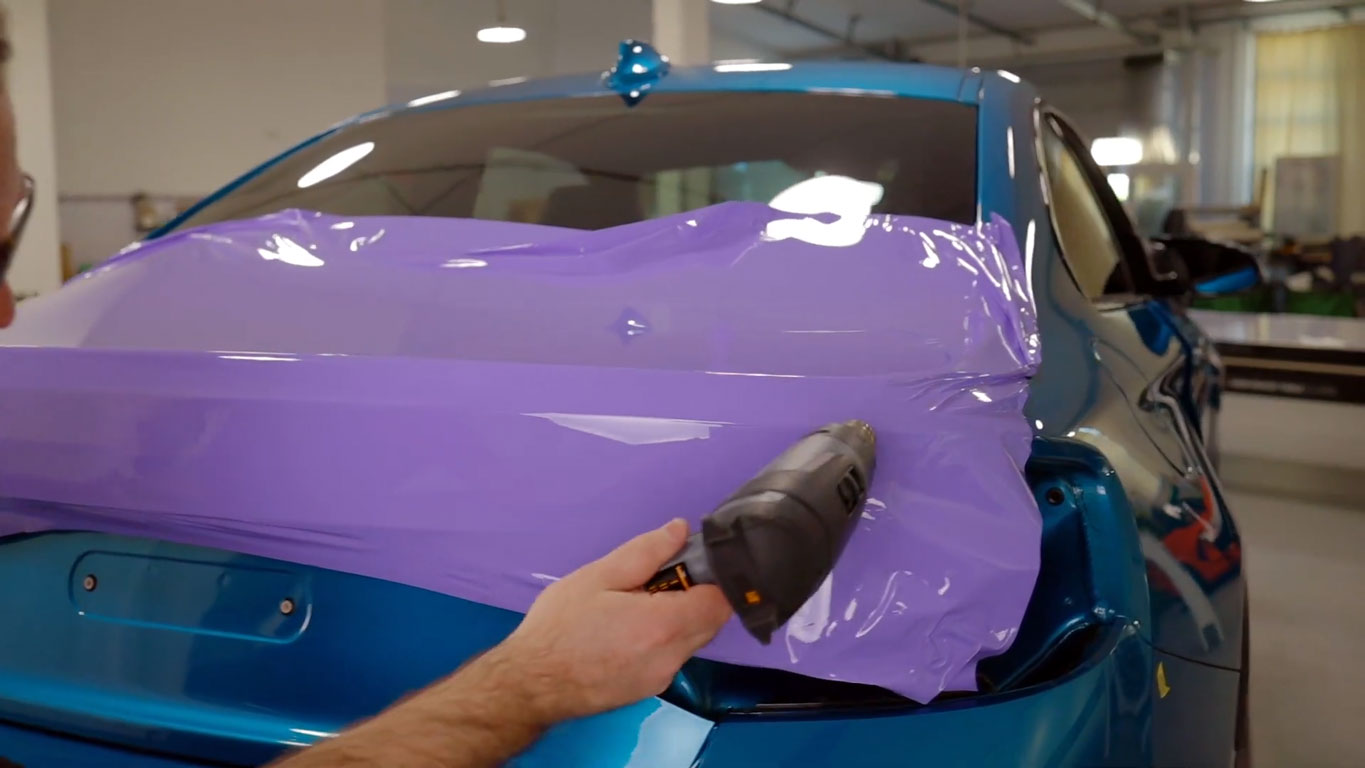
After you have firmly squeezed the material onto the surface, you will prepare to cut. Before you begin to cut, we recommend doing a 360 around the outside using application gloves and make sure the film is firmly on. If you find any tension, apply more head to smooth it out.
Step 4: Cut Excess Film
You will cut any excess film using a sharp blade. If any material is floating off the edge, pull it away with your free hand to create uniform tension. If it is bridging the gap, you can cut on the opposite side so the material will be able to wrap around it. Once you have finished cutting all of the edges, remove any excess film and heat the film with application glove on and form the film around the edges.
Step 5: Finishing Touches
The purpose of the film is to help soften the film and to firmly seal it onto the surface. As a result, you will get a film that lasts for a long time at a price that you won’t see anywhere else. Now that is what we call smart shopping. You'll get your shipment as soon as possible and can start installing your wrap just like that.

What are you waiting for? Order your truck wrap and give your vehicle the new look that it deserves!