
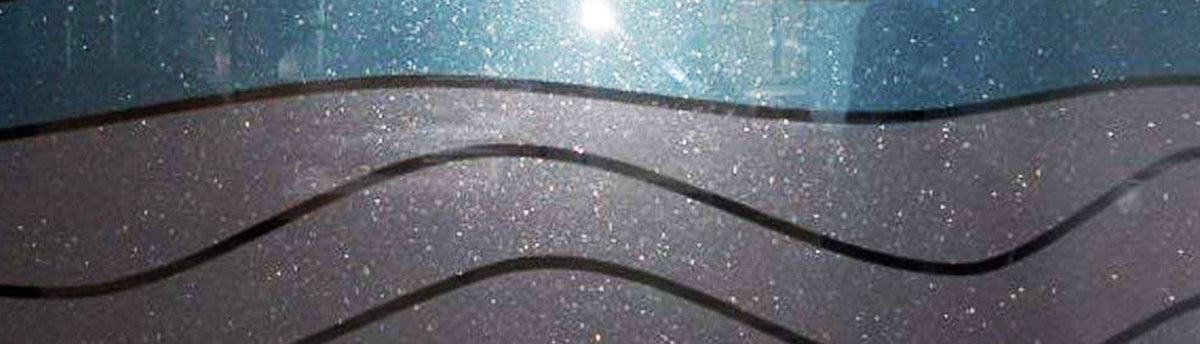


ORACAL® 8810 Frosted Glass Cast Vinyl
ORACAL® 8810 Frosted Glass vinyl is made from a cast film on a 4 mil poly liner and engineered for long-term indoor and outdoor decorative design. When you need the look of sparkling effects on glass and glass like shop windows and doors, turn to this one-of-a-kind 8810 Frosted Glass Cast vinyl film from ORACAL®. This3-mil, frosted glass, cast PVC film for high quality glass decoration has a reduced gloss and rough surface to prevent undesired reflection. Available in 5 colors – Silver Gray, Gold, Mint, Light Blue and Soft Pink.
8810 Frosted Glass Cast Series Film Specifications
- Available in 5 Colors
- Coarse Texture
- 7 year durability
- 4-mil polyester film
- Clear, solvent-based and permanent adhesive
- 46°F minimum application temperature
- 3 mil thick
- Dry Application Method
Common Applications
- Glass Decals
- Illuminated Signs
- Window Graphics
- Architectural Elements
- Die-Cutting
- Vehicle Graphics
Make Your Own Mirror Decal Growth Chart

How to Make a Growth Chart with Your Cricut
- Step 1: Create Your Design
- Step 2: Cut to Fit Your Cricut
- Step 3: Attach to the Mat
- Step 4: Import Design
- Step 5: Apply Transfer Tape
- Step 6: Apply to Mirror
Step 1: Create Your Design
Utilize the program Cricut Design Space to create a design of your choice for your Growth Chart. After you've created your custom project in the program, set down a Green Cricut Standard Grip mat out in front of you on a wide flat area. Do not forget to remove the clear liner and place it away for now. Unravel your vinyl into a position where the paper liner side is facing downwards. Next, take your vinyl and align its corners with your grid, and across the top of your Standard Grip mat. Begin smoothing out your placed vinyl across the entirety of the mat to ensure it has properly adhered to your mat.
Step 2: Cut to Fit Your Cricut
Return to Design Space and choose the specific type of vinyl that you will be utilizing. There are a good amount of vinyl variants and cutting settings in this program, so you'll need to select the right type to make sure things are cut correctly. Once you do this, place your mat inside the Cricut machine. Remember, all Vinyl needs to be cut with a fine-point blade, so make sure your blade is fresh.
Step 3: Attach to the Mat
When your machine's vinyl cutting process ends, set the mat and place the vinyl onto the mat. Leave your vinyl set on the mat and start weeding. If you're a novice, the best way you can weed your vinyl is to utilize a weeding tool. These tools feature a sharp, pointed end that assists you in removing pieces of vinyl from your design. However, if you're experienced and confident in your skill, using your fingernail will suffice. For an easier weeding experience, we recommend you do this while your vinyl is still on the mat as this helps prevent the vinyl from sliding around.
Step 4: Import Design
Take your transfer tape and cut off a piece around the same length as your design. Take the paper liner off from the back of your transfer tape and place it on top of the design. Check to confirm that the grid lines are lined up to everything. Use it as a guide. Turn your Cricut Mat upside down and gently drag the mat away from the vinyl. This protects the vinyl from potentially getting damaged and also prevents bubbling. Now utilize a squeegee to burnish your image onto the transfer tape. Slowly pull the transfer tape from the paper backing at a 45-degree angle. If the vinyl does not transfer correctly to the tape lay it back down and repeat the squeegee process.
Step 5: Apply Transfer Tape
Be sure to clean your mirror before you beging this step. The less residue or dust, the better results you'll have with adhesion. Once you do that, you can apply the transfer tape onto the mirror. Take extra care to make sure that the transfer is straight and aligned in the precise spot you want it to be. Utilize a squeege with a friction sleeve to burnish the design to the base if you're new to this. Doing this will allow the sticky backing to properly adhere to mirror's surface.
Step 6: Apply to Mirror
Gently pull the transfer tape away from your applied image at a 45-degree angle to unveil your completed design. You will need to wait 24 hours before cleaning it or exposing it to water so you don't interfere with the adhesion process. This helps your vinyl to properly adhere to the mirror and remain in place for a long time.