How to Install Window Tint
Regardless of the time of year, whether it's a blindingly bright, winter's morning or in the heat of summer, the interior of your car can seriously bake, and the bright sun can make it difficult to see while driving. Applying window tint to your vehicle is a simple way to block UV rays that can damage the interior of your car, as well as your skin. Window tinting can also keep your car cooler in the sun, so you don't get scorched on your leather seats, and it can reduce glare as well.
Prying eyes can also be a bother, especially if you keep valuables in your car. If you want more privacy, window tinting prevents others from seeing into your vehicle and also reduces the risk of someone trying to break in. Window tinting has the added bonus of increasing the shatter resistance of your windows while making your car look sleek and stylish. These benefits of tinting your car's windows can make your vehicle more comfortable, cooler and even more aesthetically appealing.
No matter your reason for installing window tint in your vehicle, these simple instructions will allow you to tint your own car windows like a pro!
Window Tint Installation Checklist
Before diving into the window tinting process, here's a list of things to to keep in mind:
- Make sure your window tint is legal. Each state has different regulations regarding which windows you are allowed to tint and how dark they can be tinted. The darkness of a tint is measured by a visible light transmission (VLT) percentage, with a higher percentage meaning more light is able to come through. In most states, front driver and passenger windows must have a higher VLT than rear passenger windows. Before you order window tint film, check your state's regulations to make sure your tint is legal.
- Ensure your workspace is clean. Having a clean workspace, free from any dust and debris is essential to ensure good results. Dust in the air can get trapped under the window tint film and cause bubbles. Dirt can also prevent the film from sealing well, causing edges to peel up after application.
- Invest in good lighting. Adequate lighting allows you to see what you are doing, which is especially important when you are working with a transparent film and applying it to transparent windows. If you are working in a dim garage, consider setting up a work light for better visibility. This will help you to match up edges precisely for a polished final look.
- Maintain the proper work temperature. Window tint film will adhere the best when the temperature is between 40 and 98 degrees Fahrenheit. Avoid installing window tint in freezing temperatures or on very hot summer days.
- Schedule enough time for the task. Tinting your own car windows is definitely a manageable task, especially for a seasoned DIY-er. However, this does not mean it will be a quick process. If you plan to tint all of your car's windows, be sure to allow a few hours to complete the task properly without being rushed.
- Start with the smallest windows. If it is your first time applying vehicle window tint, start with a small window. Rather than having bubbles or creases on your driver's side window, use a smaller rear passenger window to practice honing your window tinting skills.
- Invite a friend. Having an extra set of hands can be a huge help when installing window tint to make sure everything aligns properly, and the film does not fold or crease during installation. Because installing window tint is fairly simple, your helper does not have to be car-savvy — they just have to be willing to lend a hand!
Recommended Tools for Window Tinting
If this is your first time installing tint and you do not have any tools for window tinting, buying an application kit is a great way to get started. The Gila Window Tint Application Kit includes a squeegee, razor blade, low-lint cloth and pre-mixed application fluid to get you on your way. The Conqueror squeegee is designed with a pointed tip to effectively remove water from corners and edges, while the application fluid is formulated for easy installation of window tint films.

If you decide not to buy an application kit, here is everything you will need to install window tint on your car, truck or SUV:
- Razor Blade: You will need a clean razor blade to remove residue from the application surface.
- Utility knife: A sharp utility knife allows for precise cuts of the window tint film.
- Squeegee: Your squeegee will be your best friend during the application process. It allows you to properly clean your windows, as well as smooth out any bubbles or water for a perfectly clean look. Squeegees are available in a variety of sizes and densities, so you can pick the right one for your window size and personal preferences.
- Hard Card: Hard cards work very similarly to squeegees except they are firmer to allow more pressure. While a good squeegee should be sufficient, a hard card can be helpful for hard-to-reach corners and edges.
- Spray bottle: Applying your cleaning solution from a spray bottle is the most effective way to ensure your film remains lubricated throughout the application process to avoid tears.
- Soap and water: Mix a solution of one-part soap to ten-parts water. You will use this to clean your windows thoroughly before application. If you do not have an application fluid, you will also use this soap and water solution to lubricate your window tint film.
- Microfiber or lint-free cloth: Drying your windows with a lint-free cloth will prevent fibers from getting stuck under the tint.
- Duct tape: Duct tape or another strong tape will help to keep the felt liner around your car's windows from getting in your way during application. This is especially important as felt liners can often release small black fibers that could become trapped under the film if they are not taped down.
- Heat gun: A heat gun is not necessary for all window tint installations, but can be a very helpful tool to have handy. A heat gun can be used to help the window tint film conform to a curved surface or to release any creases or fingers from the film after application.
3 Steps to Cleaning Your Windows
If you want to install your window tint, whether it's precut or in rolls, cleaning is an absolute must. Follow this quick and easy three-step process to clean your windows.
- To prepare your windows for installing window tint, first remove anything that is in contact with the surface of the glass. Depending on your vehicle, this could be as simple as taping back the felt liner or as complicated as removing the side panel, rear deck and third brake light. What is essential in this step is making sure you have good access to the inside of the entire window. It is up to your discretion how much of the inside panel you choose to remove.
- After you have removed any hardware that may interfere, clean the window thoroughly. We cannot stress how important good cleaning is if you want good results. Any dirt, smudges or fingerprints that become trapped under the window tint film will be stuck there forever. To properly clean your windows, spray clean, soapy water onto the glass. Use a razor blade to remove any residue, dirt or grime.
- Dry the window with a lint-free cloth. Use your squeegee to ensure the surface is entirely dry. When cleaning, be sure to roll the window down a little bit so you can reach the whole way to the top of the window and then roll it back up to reach the very bottom. After cleaning, refill your spray bottle with solution. You will need to use your soapy water throughout the application process.
If you need a more detailed explanation of how to clean your vehicle before applying window tint, check out our 7-Steps to Deep Cleaning Your Ride.
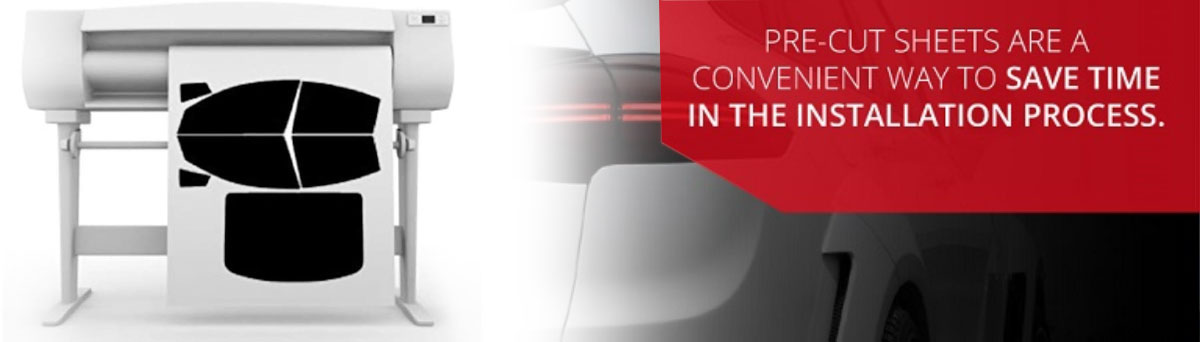
How to Install a Precut Window Tint Kit
If you decide to go the precut route and you've purchased pre-cut window tint, you're in luck — you can skip the measuring and cutting entirely! However, you will still want to double check that your pre-cut window tint fits nicely before applying it. Simply spray the outside of your car window with soapy water and lay the pre-cut section on the window with the adhesive side up. Align the piece in the middle and check that there is just a little bit of bleed along each edge.
If the pieces do not match, check that the tint kit you ordered is the correct one for your vehicle. If your pre-cut window film lines up, skip down to the next section for instructions on how to install your window tint. Please go directly to the link below:
How to Install Precut Window Tint
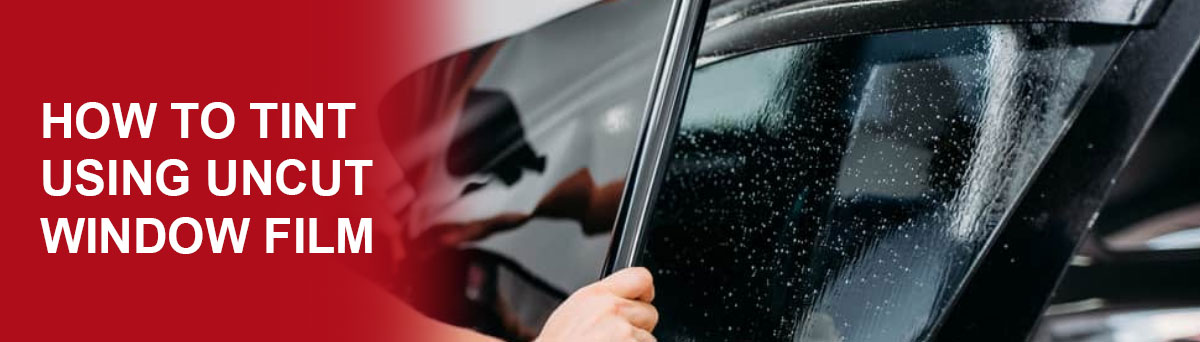
Uncut (Sheet) Window Tint Installation
If you purchased a bulk roll of window tint film, follow these instructions for cutting your tint to just the right shape and size:
- Measure the window you are covering and cut a portion of tint film from the roll that is larger than the window. You should have at least three inches of bleed on each side at this point.
- Spray the outside of the window with soapy water to help the film cling to the window while still allowing you to slide it around during cutting. Lay the piece of film on the outside of the window with the adhesive side facing up.
- Spray the front of the film, and then cut along the bottom edge and left side of the window first. Make sure you secure the film with your other hand or squeegee while cutting and keep your knife flush with the edge of the window so the cut is straight. Remove the excess pieces.
- Pull the film one inch to the left so it bleeds over on the side that you just cut. Cut the right side of the window tint film and then pull the film back to the center. You should now have 1/2 inch of extra film on the left and right sides.
- Pull the film down one inch and smooth it with the squeegee again. This extra bleed will go into the bottom window gasket.
- Roll the window down half an inch and then use the edge of the window to cut along the top of the film. Slide the film back up so you have 1/2 inch of bleed along each side of the window.
Once you have cut your window tint film to the right size, you can leave the film stuck to the outside of the window while you prep the inside for application. You may need to spray more soapy water under the tint so it stays.
- Align and Apply Your Window Tint - Start by cleaning the interior of the window again. We know this sounds tedious, but it is very important that the window be as clean as possible for the best results. Use a hard card or the tip of a squeegee to carefully clean between the seal and window and around all of the edges. Remove excess water with a squeegee and then spray the window with soapy water again before applying the film.
- With the film still attached to the outside of the window, partially remove the liner. Leave half of the liner still attached for easier application.
- Spray the exposed adhesive portion of the liner with your application fluid or soapy water.
- With the window still open about 1/2 inch, lay your window tint on the inside of the window with the adhesive side down and align it with the top of the window. The application fluid will make the film easier to slide around.
- Once the film is flush with the top of the window, work the edges of the film under the seal on the right and left sides of the window. This is where having an extra set of hands can be a big help. You may need to fold the film slightly to get it underneath the seal. Start at the top of the sides and work the film into each seal.
- Spray the film with soapy water again, and then use the squeegee to work the water out from underneath the film. Run your squeegee from the middle outward or upward, pushing the water out the top and sides of the liner. Use your spare hand to keep the film in place while you do so. Never push the water downward, as you have not yet aligned the bottom portion, and it still has the liner attached.
- Roll the window back up.
- Lift the film away from the window at the bottom and generously spray the window with more soapy water.
- Remove the remaining liner and spray the adhesive portion of the film with application fluid or soapy water. Both the window and the liner should be wet for best results.
- Using the corner of your squeegee or hard card, tuck the bottom of the film into the bottom seal. This part can be tricky, but the hard card should make the job a lot easier, as will the healthy dose of soapy water.
- Using your squeegee or hard card, smooth out the liner completely, working the water outward and downward. Keep spraying the liner as you work to prevent it from ripping. Be meticulous during this step to make sure that all air bubbles and water bubbles are smoothed out of the window tint.
- For the final touches, dry the film carefully by wrapping a paper towel or lint-free cloth over a squeegee.
You should allow your window tint to cure for seven to 10 days before rolling down your windows. If the film has not had time to adhere and dry properly, it may wrinkle.

Using a Heat Gun to Install Window Tint
While heat guns are not a necessary tool for installing window tint, they can be very helpful to have handy if something goes wrong. If you notice any lingering air bubbles under the film or creases you were not able to work out with the squeegee, they may be able to be released with a heat gun. Carefully heat the liner and use a hard card or squeegee to work out the bubbles. Avoid heating the film for too long as it may cause it to burn or shrivel. Typically a quick pass with the heat gun will be enough to loosen the film without burning it.
Heat Shrinking Your Window Tints
One truly important reason that you might want to use a heat gun is for when you're installing window tint on cars with curved windows. Check out our six step guide (at the preceding link) or follow these quick and dirty instructions:
- To do this, stop after you have cut your piece of window tint film and adhered it to the outside of the window with water.
- Align the film directly in the middle of the window with an equal amount of bleed on each side.
- Grab your heat gun and squeegee. Starting from the top of the window, heat the film and use the hard card to work out all the air bubbles and water. This will stretch the film so it fits the curve of the window and will help reduce bubbles.
- Follow the rest of the steps to complete installation of your window tint.
Troubleshooting and Aftercare
Now that you've successfully installed your window tint, how can you troubleshoot any issues that may arise? What do you do about upkeep and cleaning? Keep reading for our complete list of aftercare and troubleshooting tips.
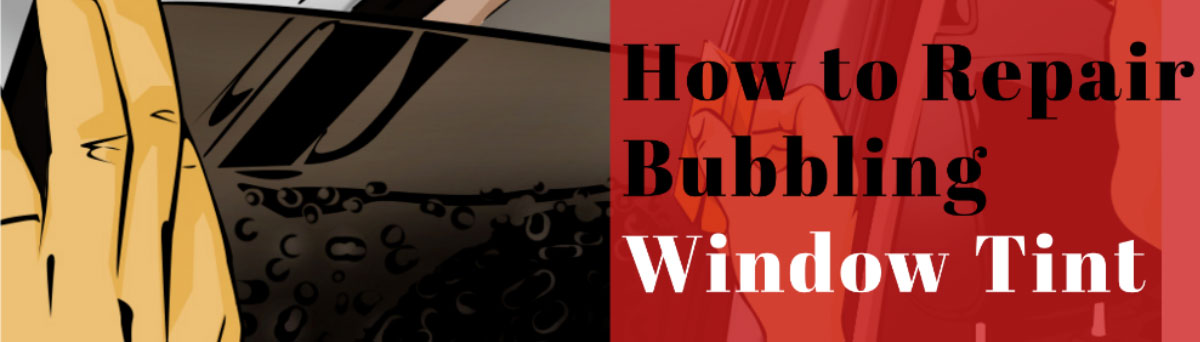
Removing Bubbles from Your Window Tints
There's nothing worse than tinting your own windows or having them tinted by a friend or professional and discovering that there are a bunch of bubbles under the surface of the film. In fact, for most of us, as soon as we discover bubbled window tints the first thing we do is rip it off the glass while muttering a wide and varied assortment of curses and profanities. But, it doesn't have to be that way.
Whether you paid someone to tint your windows or you did it yourself, follow this 5 step process to fix your badly done window tinting job.
How to Admire Your Window Tint
When the installation is complete, take a step back and have a good look at your cool new window tint. Enjoy the benefits of tinted windows as you stay cool in the summer and feel comfortable in the privacy of your car. With Rvinyl's large selection of window tint film, you can choose from many different types of window tint to get the look and features you want. Rvinyl.com is your one-stop-shop for DIY window tint supplies, so you can save money by doing the job yourself. Browse our pre-cut window tint kits or buy a bulk roll to complete any window-tinting project.
If you really love the new tint on your car windows, send us a few pictures of your work. We want to see how your projects turn out and will even give you money back for sharing your results with us. Just six photos can earn you a $20 rebate you can use toward your next vehicle upgrade project.