
How to Make Your Own Wi-Fi LED Skateboard Lamp
If you've been following our channel in he past few weeks you may have seen our
other video where we showed you
how to wrap a skateboard deck
(actually, we wrapped several but that's not the point). Anyhow, if you caught
that video you'll probably recognize the deck we used in this one because it's
the same deck. Obviously, if you want to make a WiFi-controlled LED
Skateboard Lamp you don't have to wrap it first but we wanted to give you a
little context before jumping right in.
Tools, Supplies & Hardware You'll Need
Now that you're up to speed, you'll want to take e a minute to take
stock of everything you'll need to get the same results as shown in the video. The
Wi-Fi switch is a nice touch but you don't need it if you're on a budget or if you'd rather just plug it in to turn it on. Regardless of what you decide to do, you can expect to complete this whole project in about 30 to 45 minutes.
Tools:
- Power Drill
- Razor
- Needle Nose Pliers
- Straight Edge or Ruler
- Pen
- Wire Strippers
- Precision Shear Serrated Edge Forstner Drill Bit 3/4-Inch by 3/8-Inch
Shank
- Bosch CO2153 13/32 In. x 5-1/4 In. Cobalt Drill Bit
Hardware:
- Bracket for Hanging
- Electrical Tape
- Outlet Cable Twist-on Wire Connectors
- 5W LED Light Bulb
- Double Light Fixture Socket
- Westinghouse Lighting 7017200 Twelve Locknuts
- WiFi Smart Plug

Step 1: Cut Out and Peel Away Griptape
In the step you're going to cut a rectangle into the skateboard's grip tape
(if you have a blank deck with no tape skip to Step 2). You don't have to be
super careful or precise but you do want to use the same dimensions for both
rectangles as you'll be using the cut-out in the next step.

Step 2: Measure Center Point
Using a ruler or straightedge, draw to lines diagonally across your
rectangular cut out. Where the lines intersect you will find your center point.
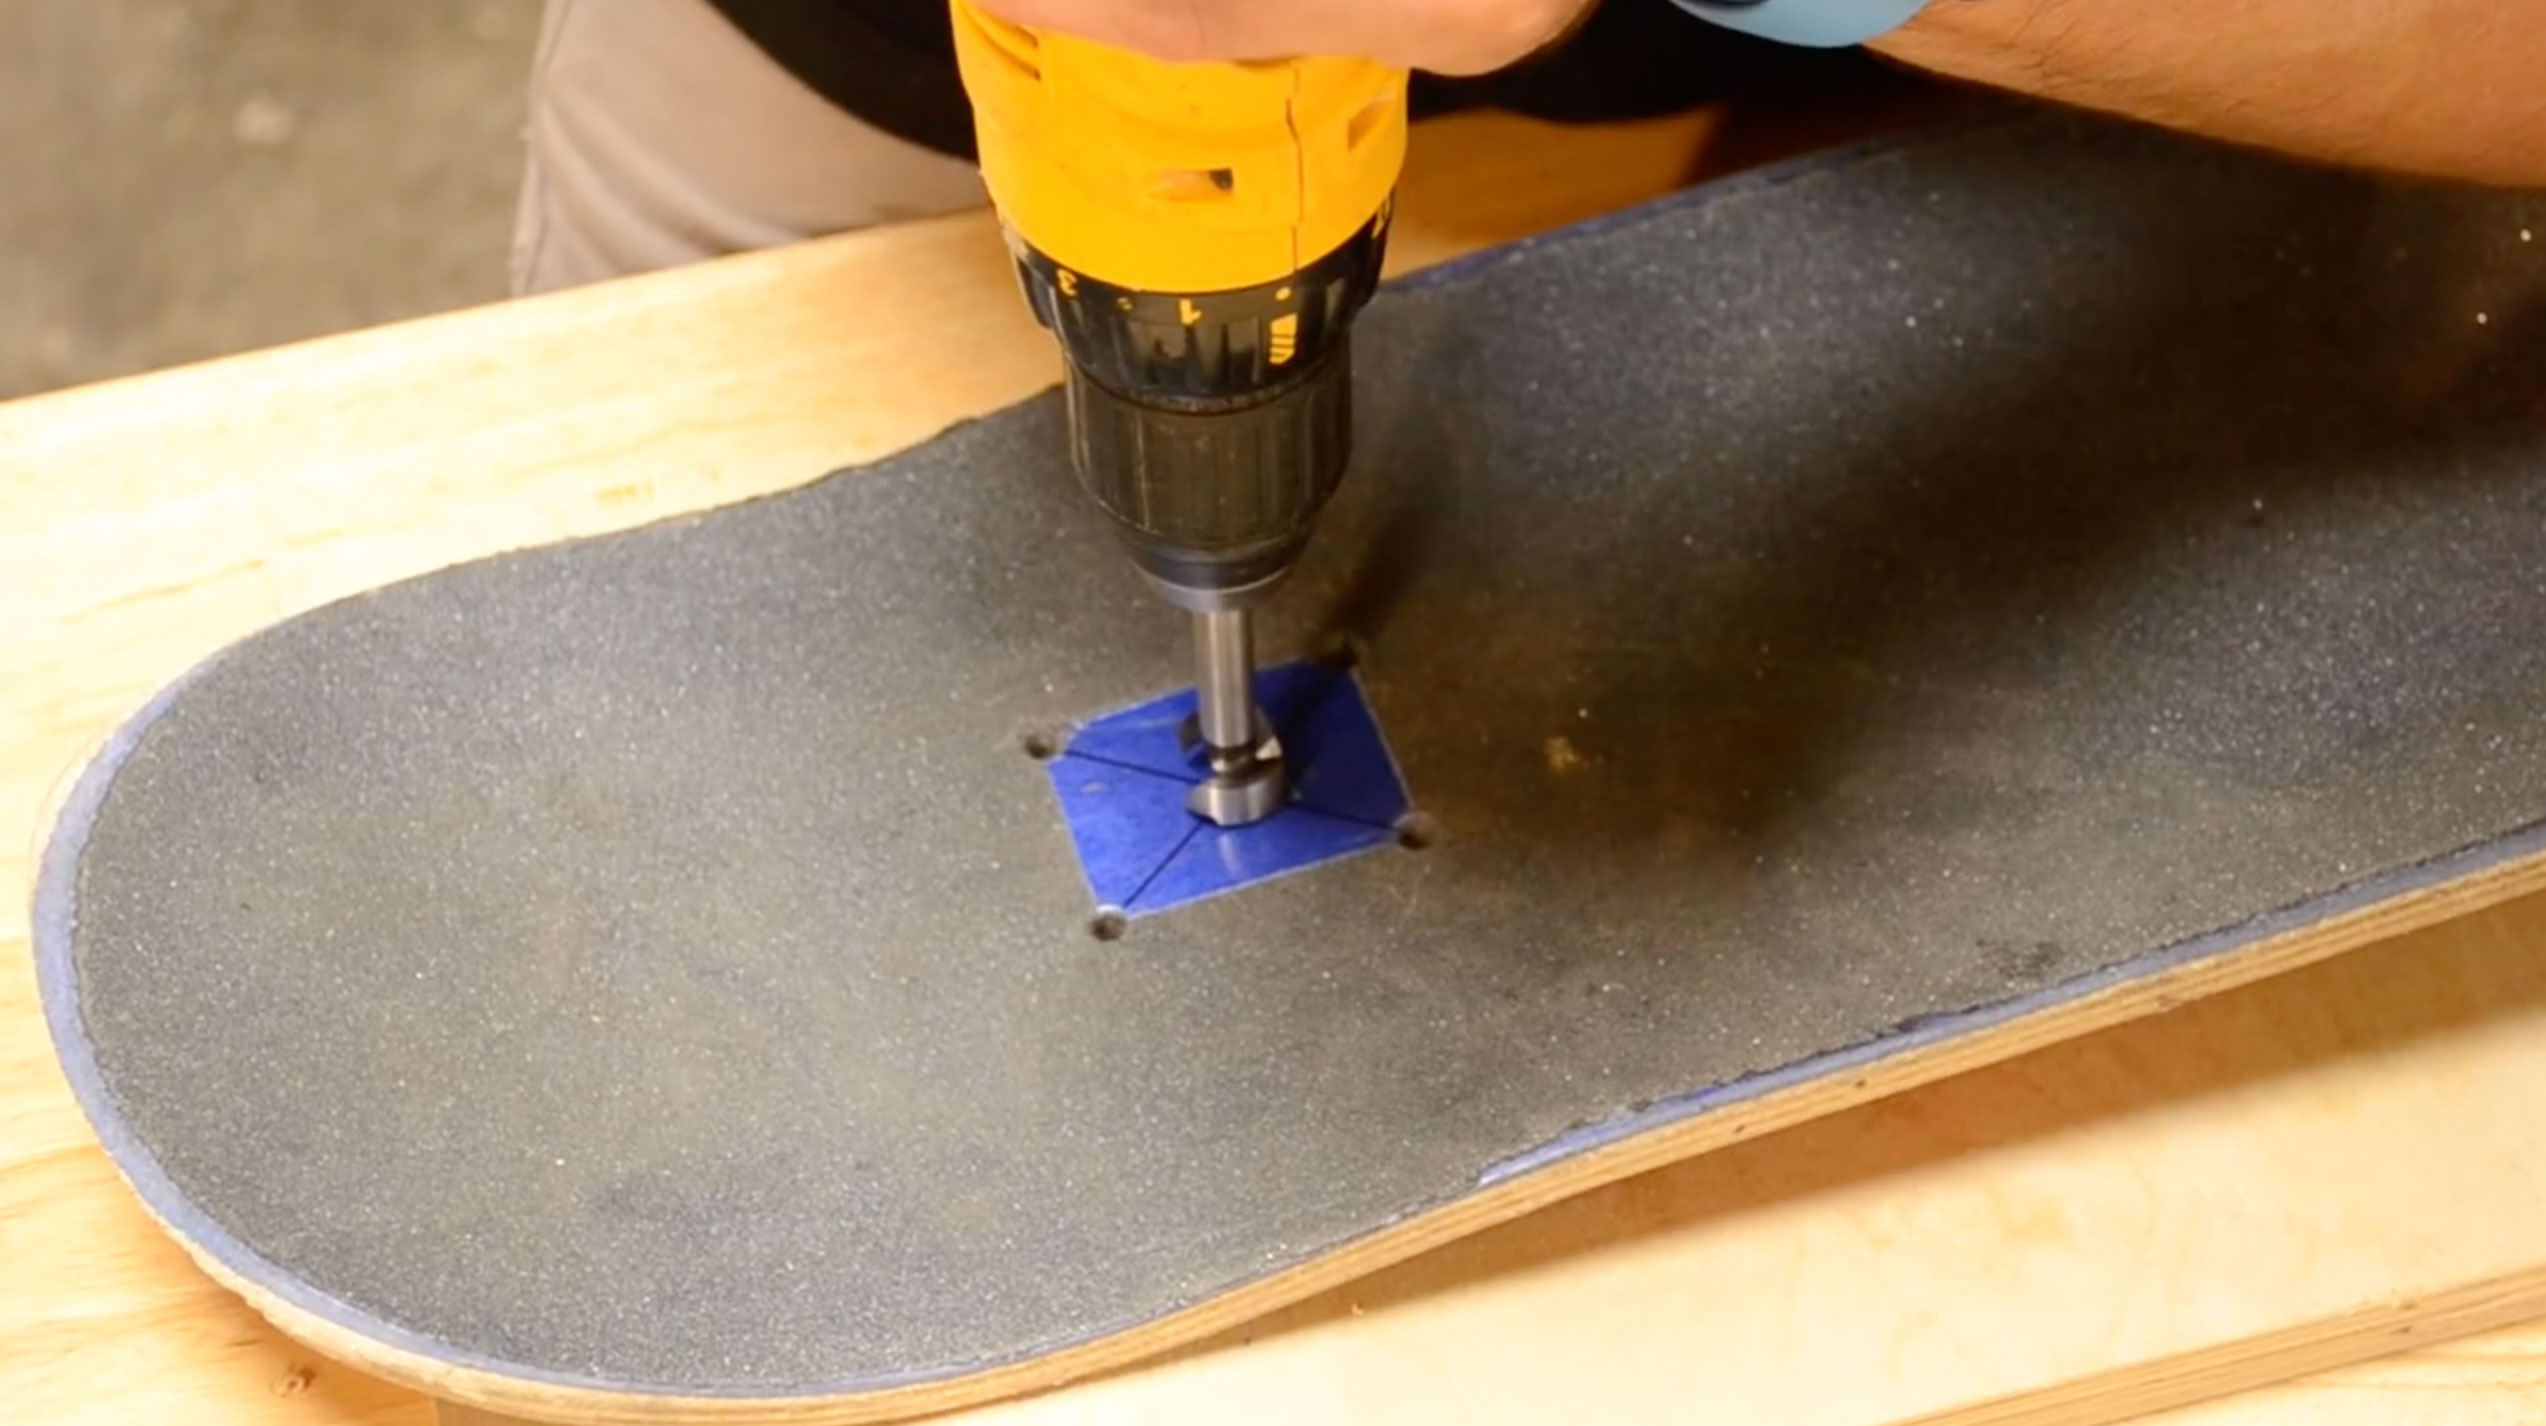
Step 3: Use Router Bit to Create Seat for Fixture
Using the router bit and a power drill,, create a seat in the deck of the
skateboard for the fixture hardware to be anchored. Be careful not to punch
through.

Step 4: Use Drill Bit to Make Hole for Wiring
Next, use a drill bit to punch all the through the deck so that you can pass
the wires through.
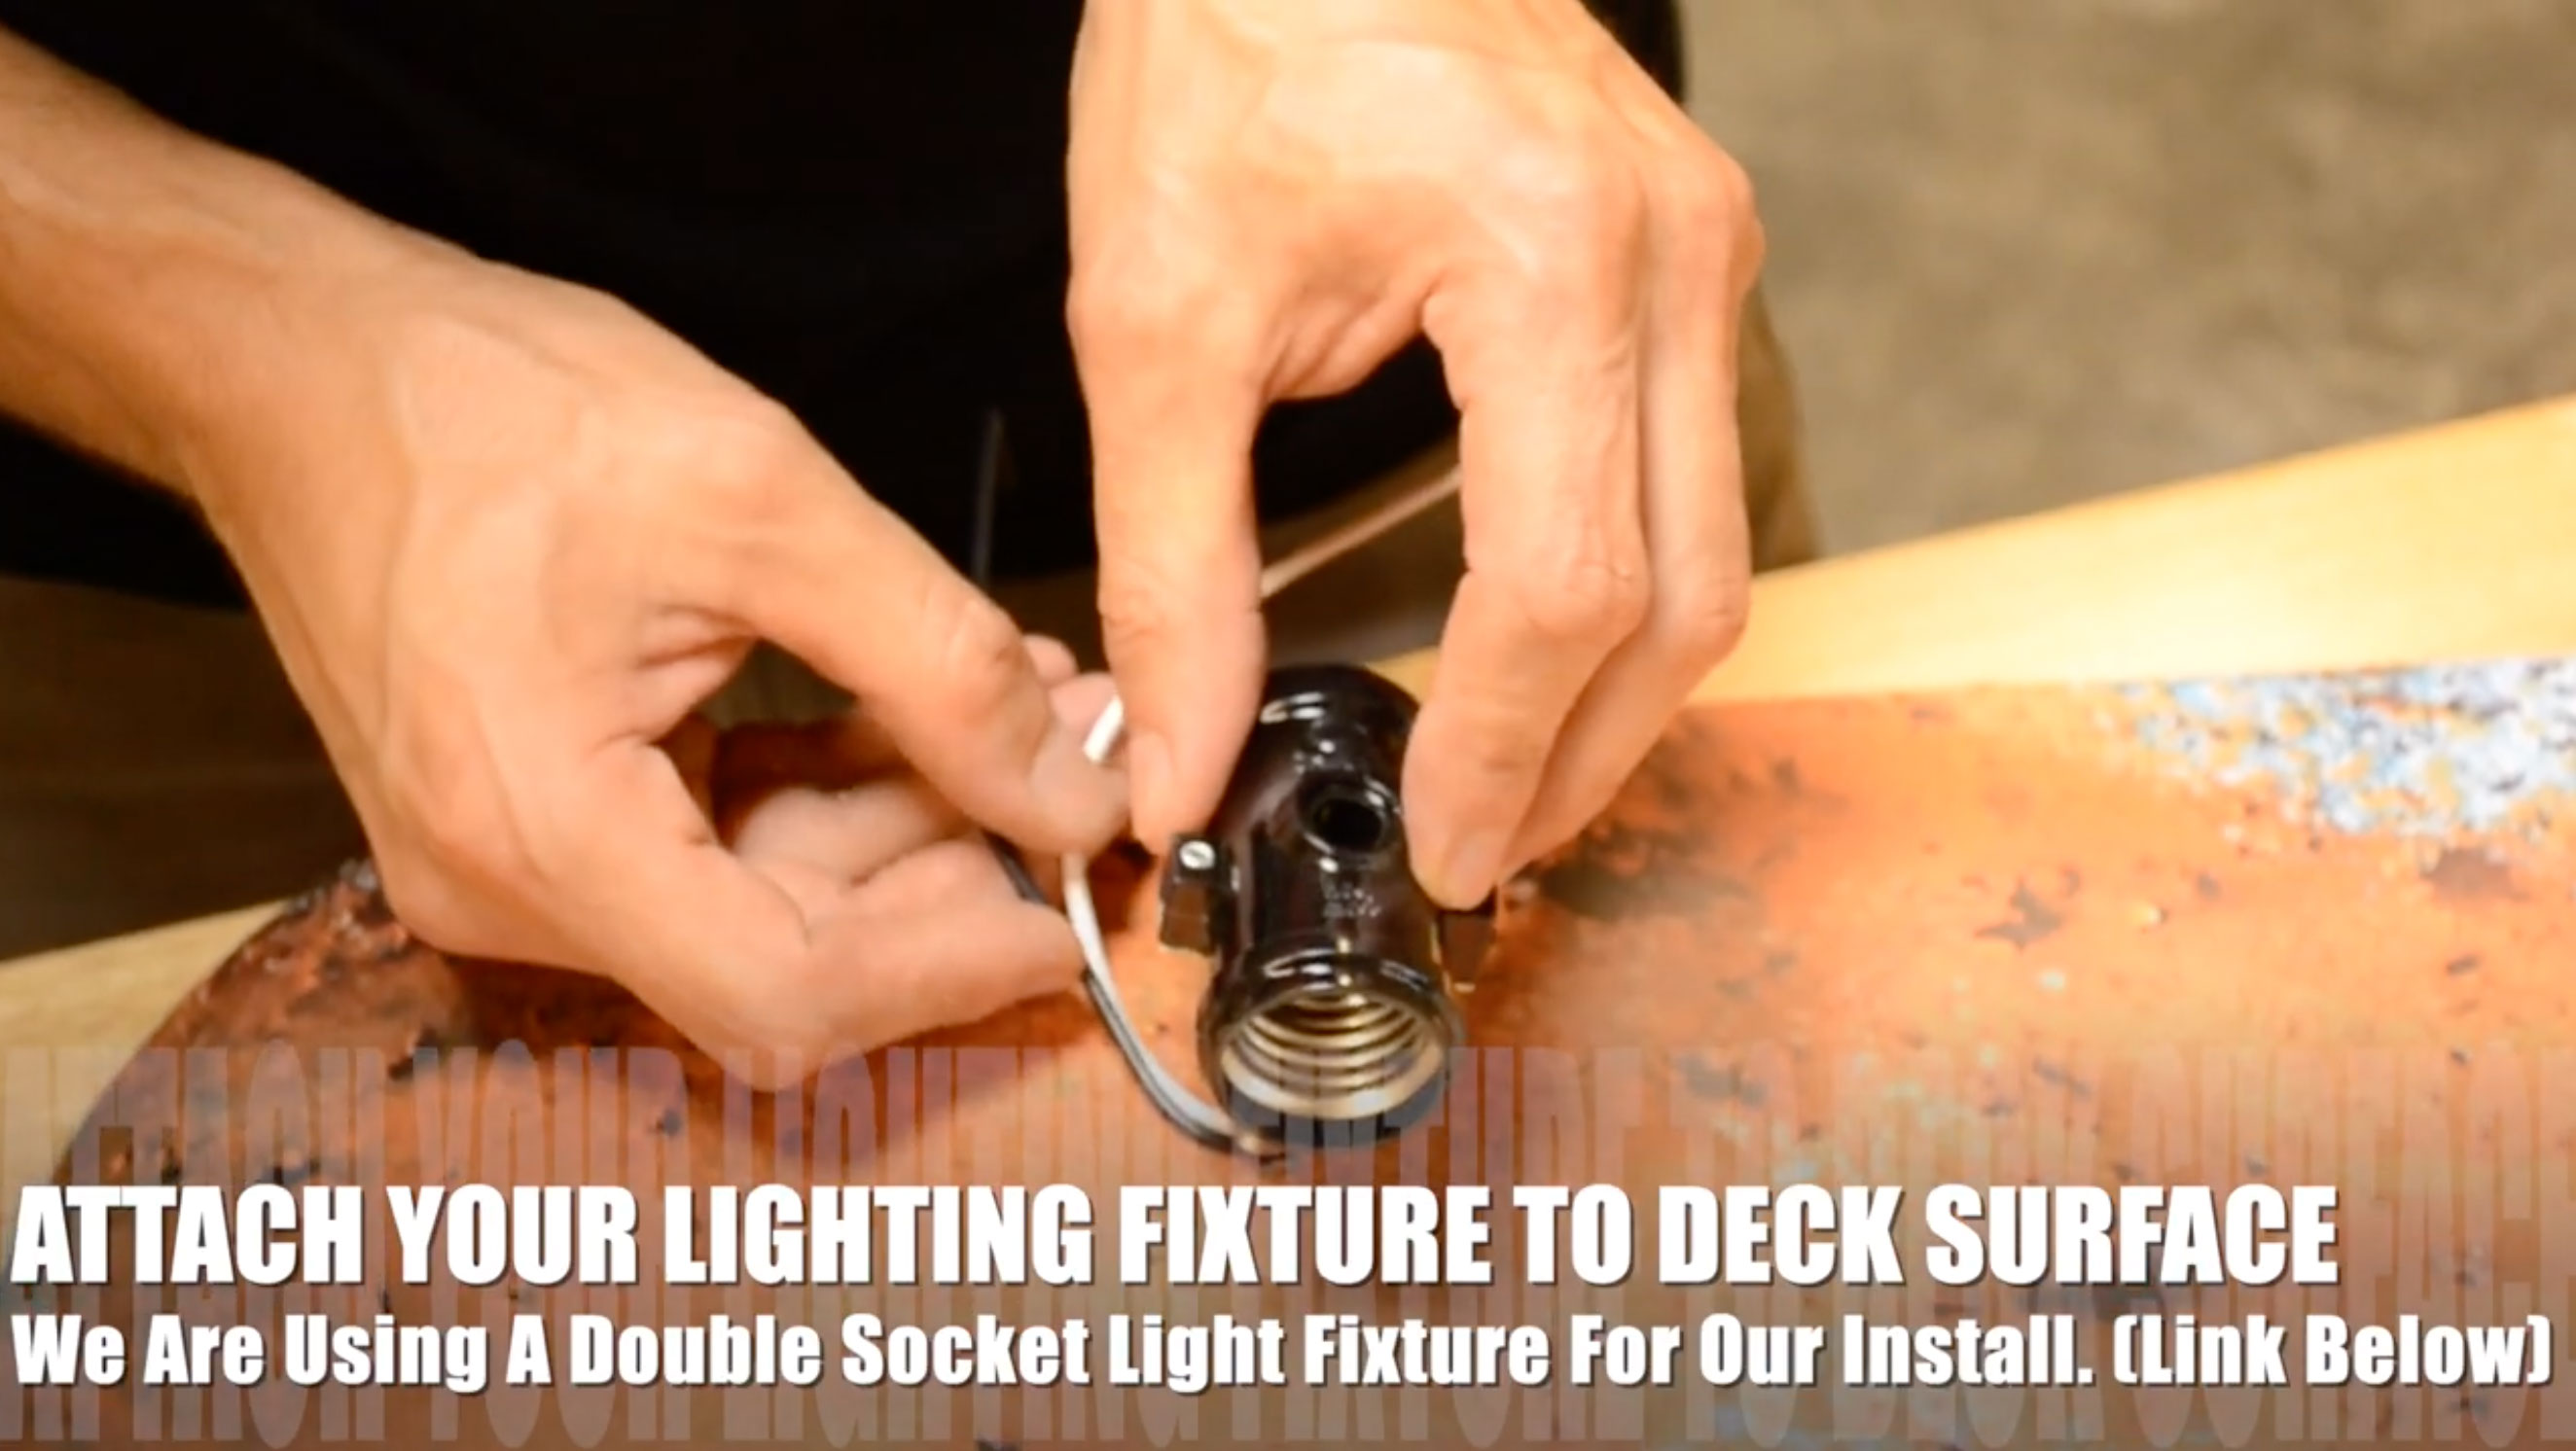
Step 5: Attach Fixture
Thread wires through hole and with the fixture on the outward facing side of
the deck. In our example, the grip tape is on the back and the wrap on the
outward face.

Step 6: Fasten Hex Nut to Anchor Fixture
Fasten the hex not to the bolt protruding through the hole with needle nose
pliers and onto the backside of the deck. This will secure the fixture.

Step 7: Strip and Connect Wires
Using your wire strippers, strip the ends of the black and white wires.
.jpg)
Step 8: Cap & Tape Connections
Twist the ends of the wires together as shown, tape and cap the connections.
See video for the complete process.

Step 9: Attach LED Light Bulbs
When all wires are spliced, capped and connected you may screw in the LED
light bulbs.

Step 10: Plug Skateboard Lamp into Wi-Fi Adapter
Take the main plug and plug it into the WiFi adapter. Plug the adapter into
an outlet. Using your preferred Wi-Fi control switch app, you can now turn your
LED Skateboard Lamp on and off.
We didn't show it here but you can use any type of hook or bracket to make it
possible to hang your Skateboard Lamp on the wall. If you decide to screw in your
bracket be sure that you use screws that are not too long or else they will poke
through the deck and be visible.
Check out the detailed video below and be sure to subscribe, leave a comment
and hit the notification bell.
