How to Tint Your Third Brake Lights with Rtint™
In today's post, we'll show you how you can quickly and easily tint your
third brake light with a precut Rtint™ 3rd Brake Light kit. In general, we don't
sell these kits separately but they are sometimes included in our precut
taillight tint kits. In case you can't find a precut third brake light kit for
your ride you can always buy a small sheet of Rtint™ or ORACAL® 8300 and wrap it
yourself — there's almost nothing easier to do since brake lights tend to be
small and relatively flat. We'll talk more about wrapping your 3rd brake lights
in another post and get into the nitty-gritty of exterior versus
interior-mounted lights but for now let's stick to the topic of precut tints and
get on with the show:
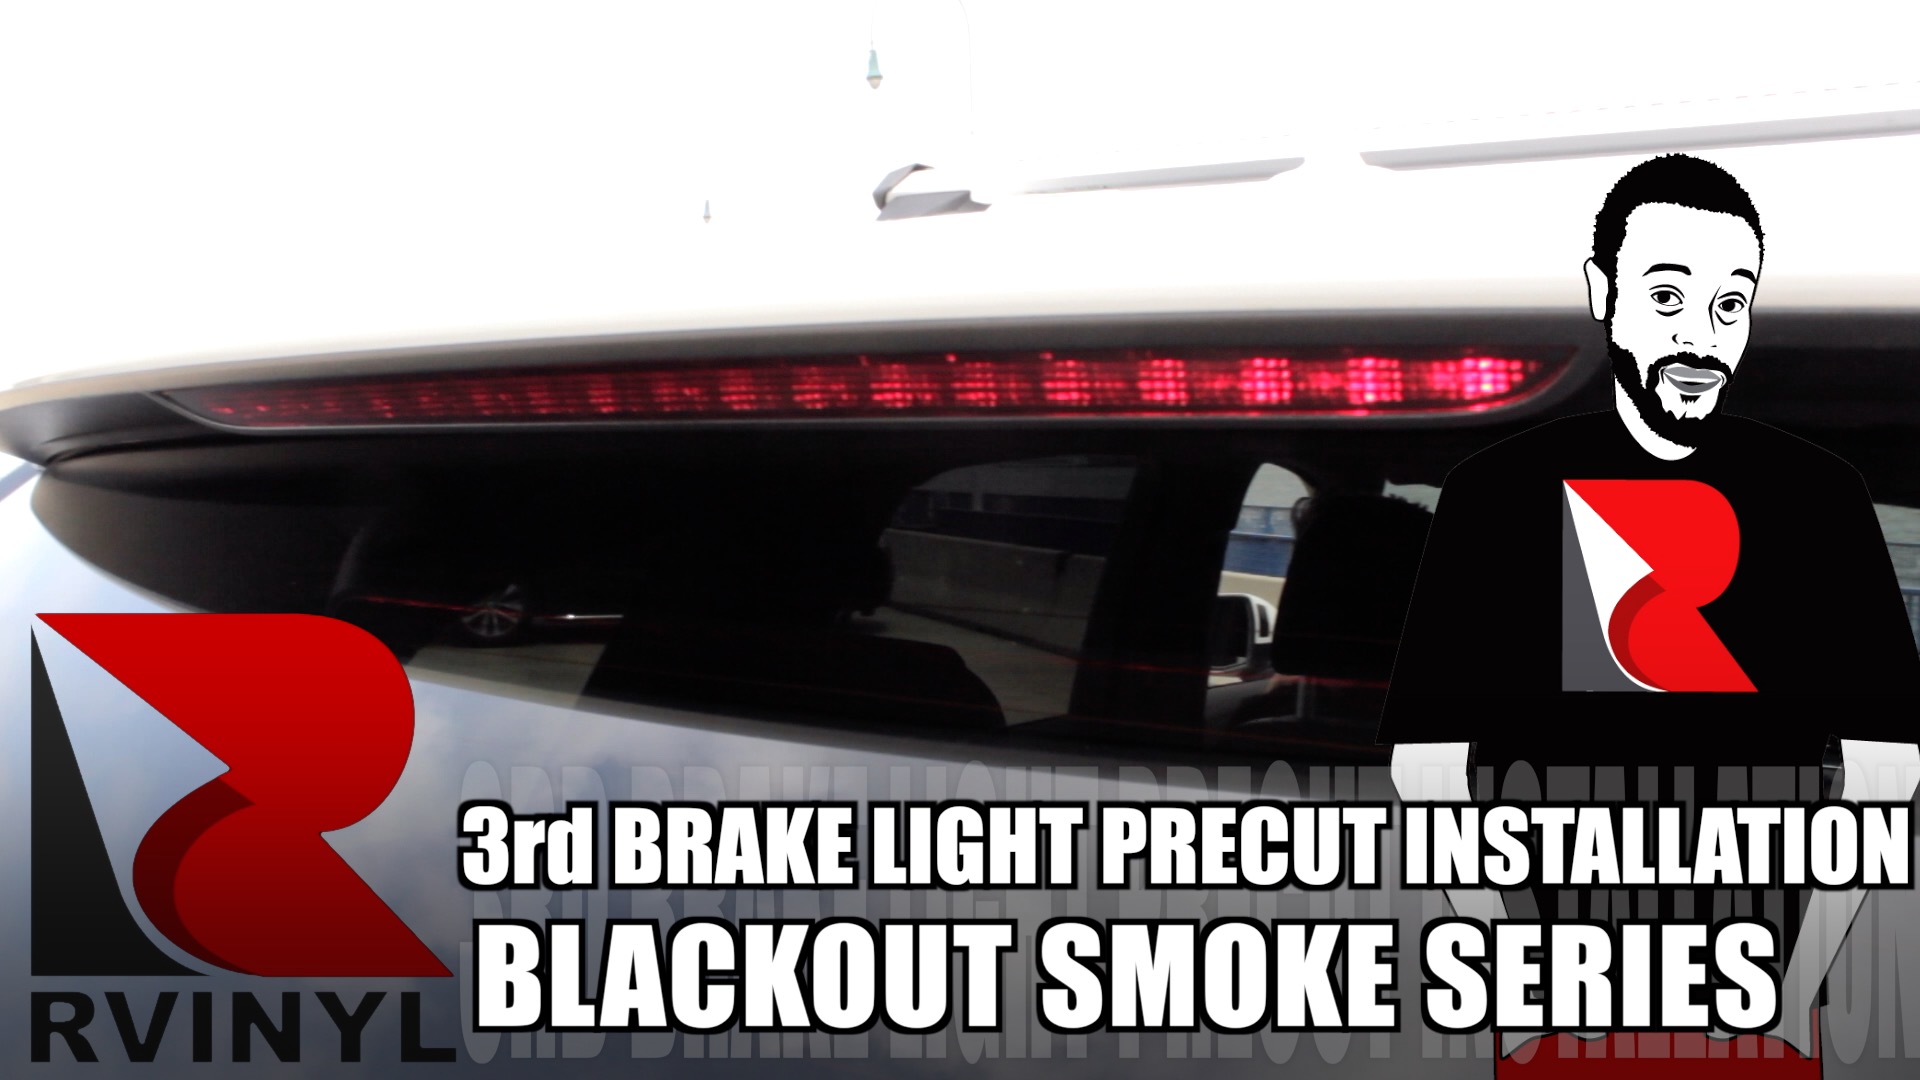
"This is Phil from Rvinyl and today I'm going to show you
how to smoke your lights using Rtint™ bubble-free wrap."
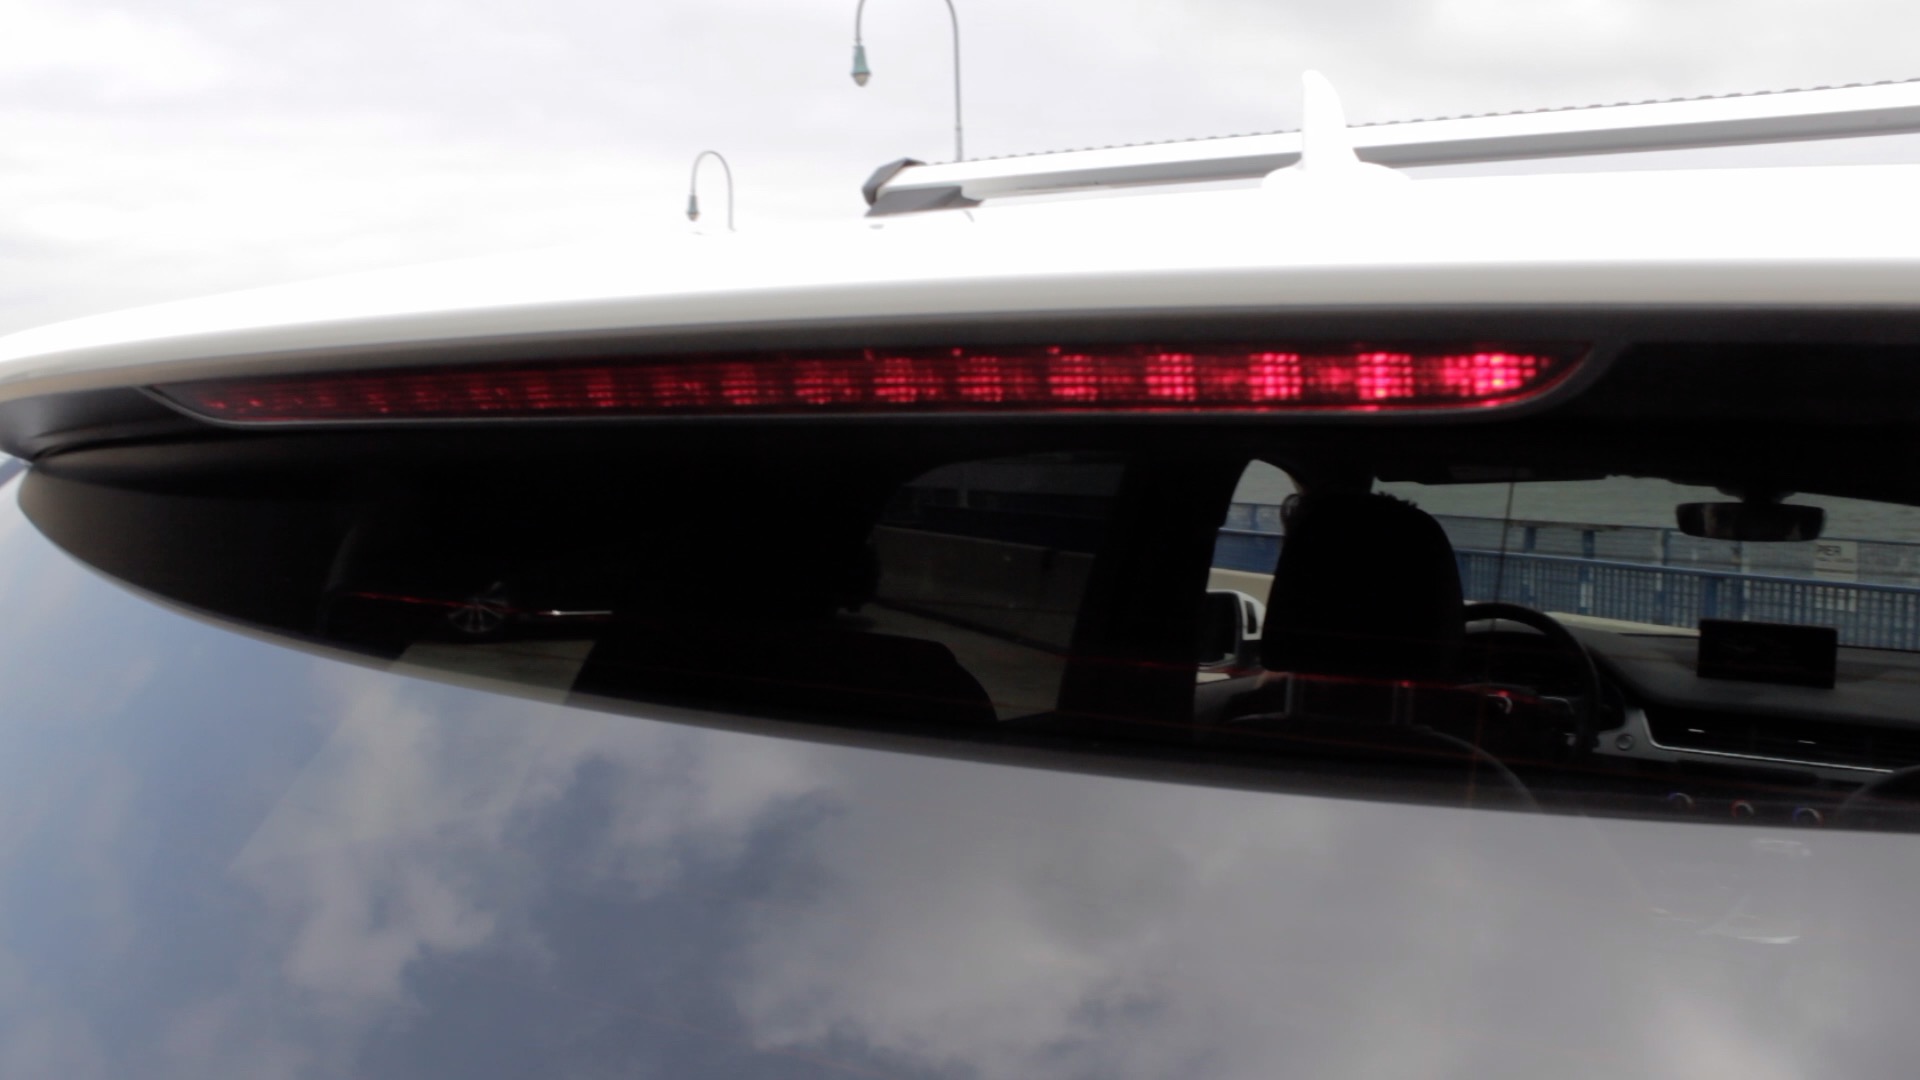
Step 1: Clean and Prepare Your Third Brake Light
"Before you begin make sure that your life has been properly cleaned."
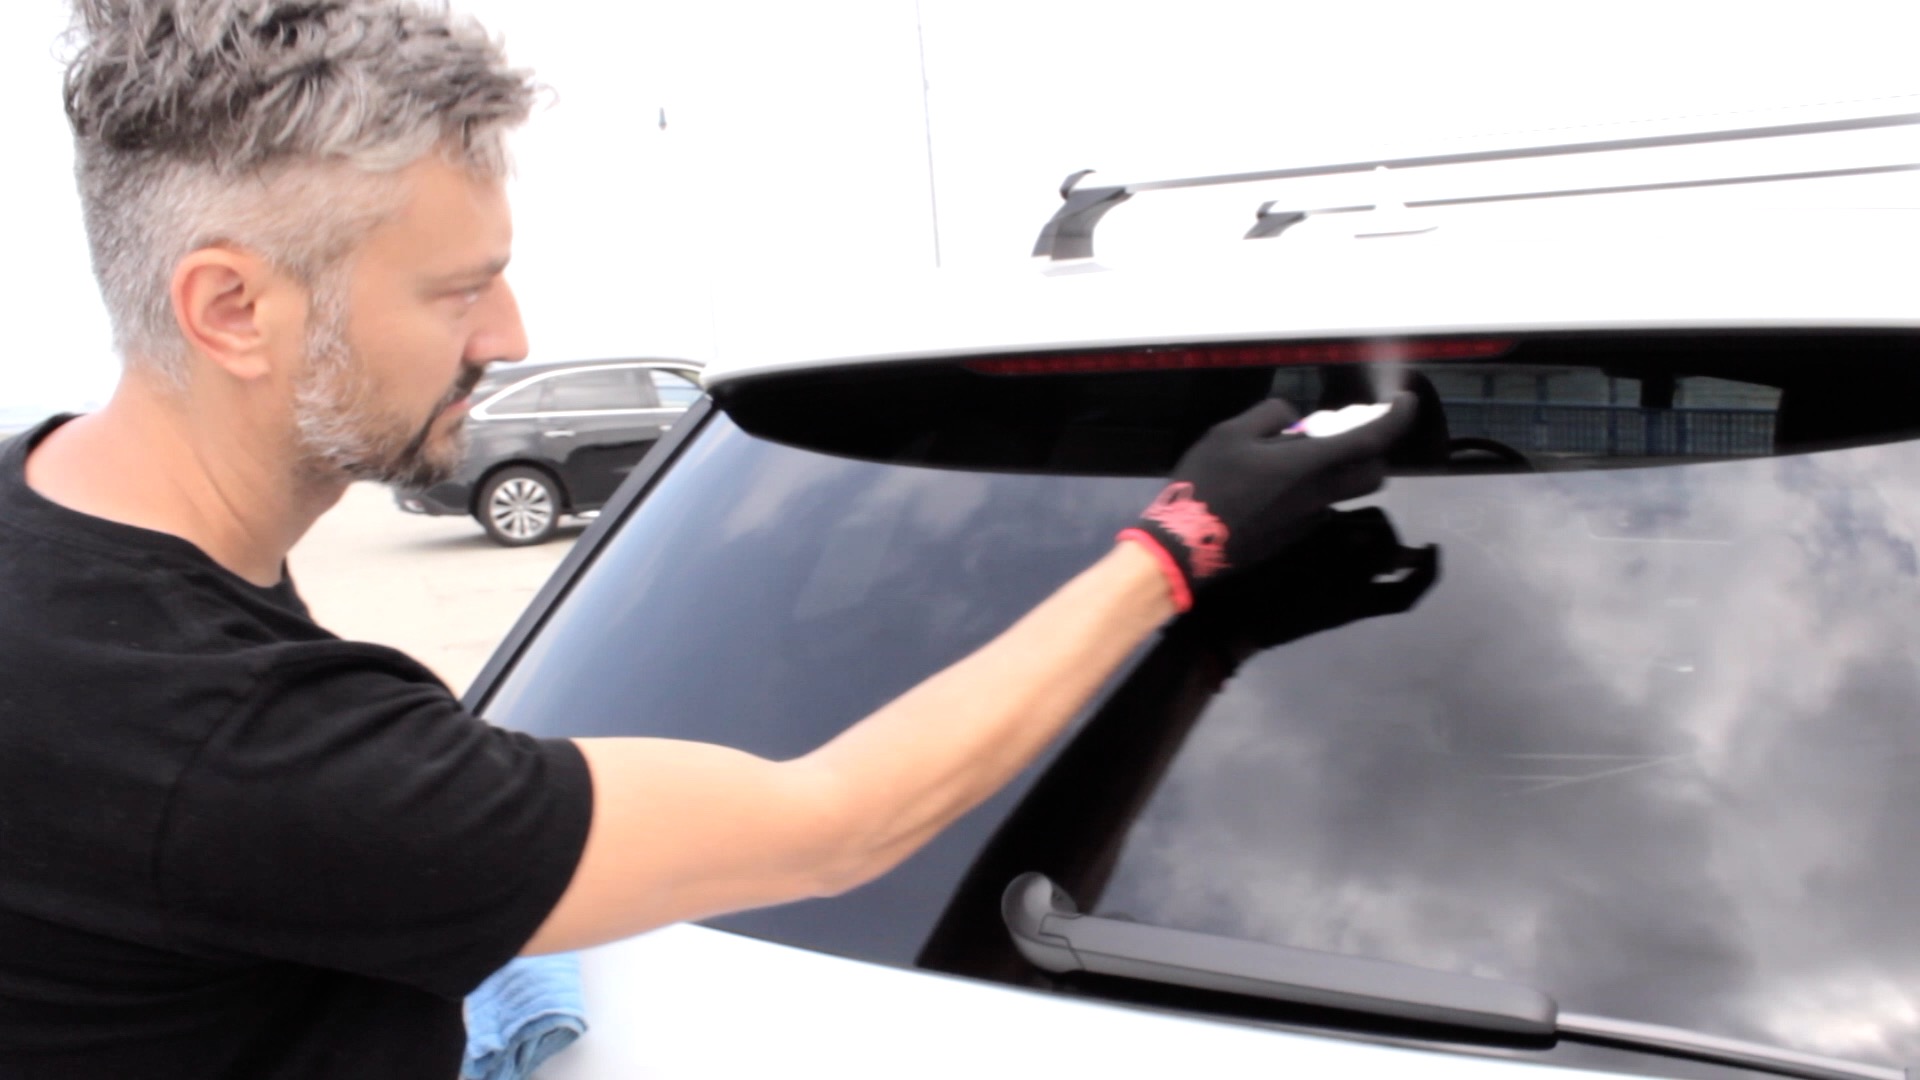
The very first thing you need to do is clean your third brake light and the
surrounding area. In general, we recommend using Rapid Prep or denatured
alcohol. Use a paper towel or lint-free cloth with a hard card or squeegee to
press the towel into the cracks and crevices around the third brake light. You
want to be sure to completely clean the area as any dust or grease will
interfere with adhesion.
We recommend that you assemble the following supplies to successfully install
your tint:
- Lint-Free Cloth or Micro-Fiber Towel
- Degreaser or Rapid Prep
- Isopropyl Alcohol
- Water
- Exacto Blade
- Hard Card or Squeegee
"We recommend using Rapid Prep or any other suitable cleaning solution that you know isn't going to damage your light or the adhesive backing of the film."

Step 2: Dry the Third Brake Light with Lint-Free Towel
Be sure that you have thoroughly dried the light and the surrounding area
before you begin installation. Rapid Prep, alcohol and degreasers damage
adhesives so you must be sure that there is no trace of these fluids prior to
installation.

Step 3: Dry Fit Your Precut 3rd Brake Light Tint
"Locate the correct pattern for the light you're going to be smoking first."
After you remove the tint from its packaging ensure that you have it
oriented correctly and mentally plan your approach.
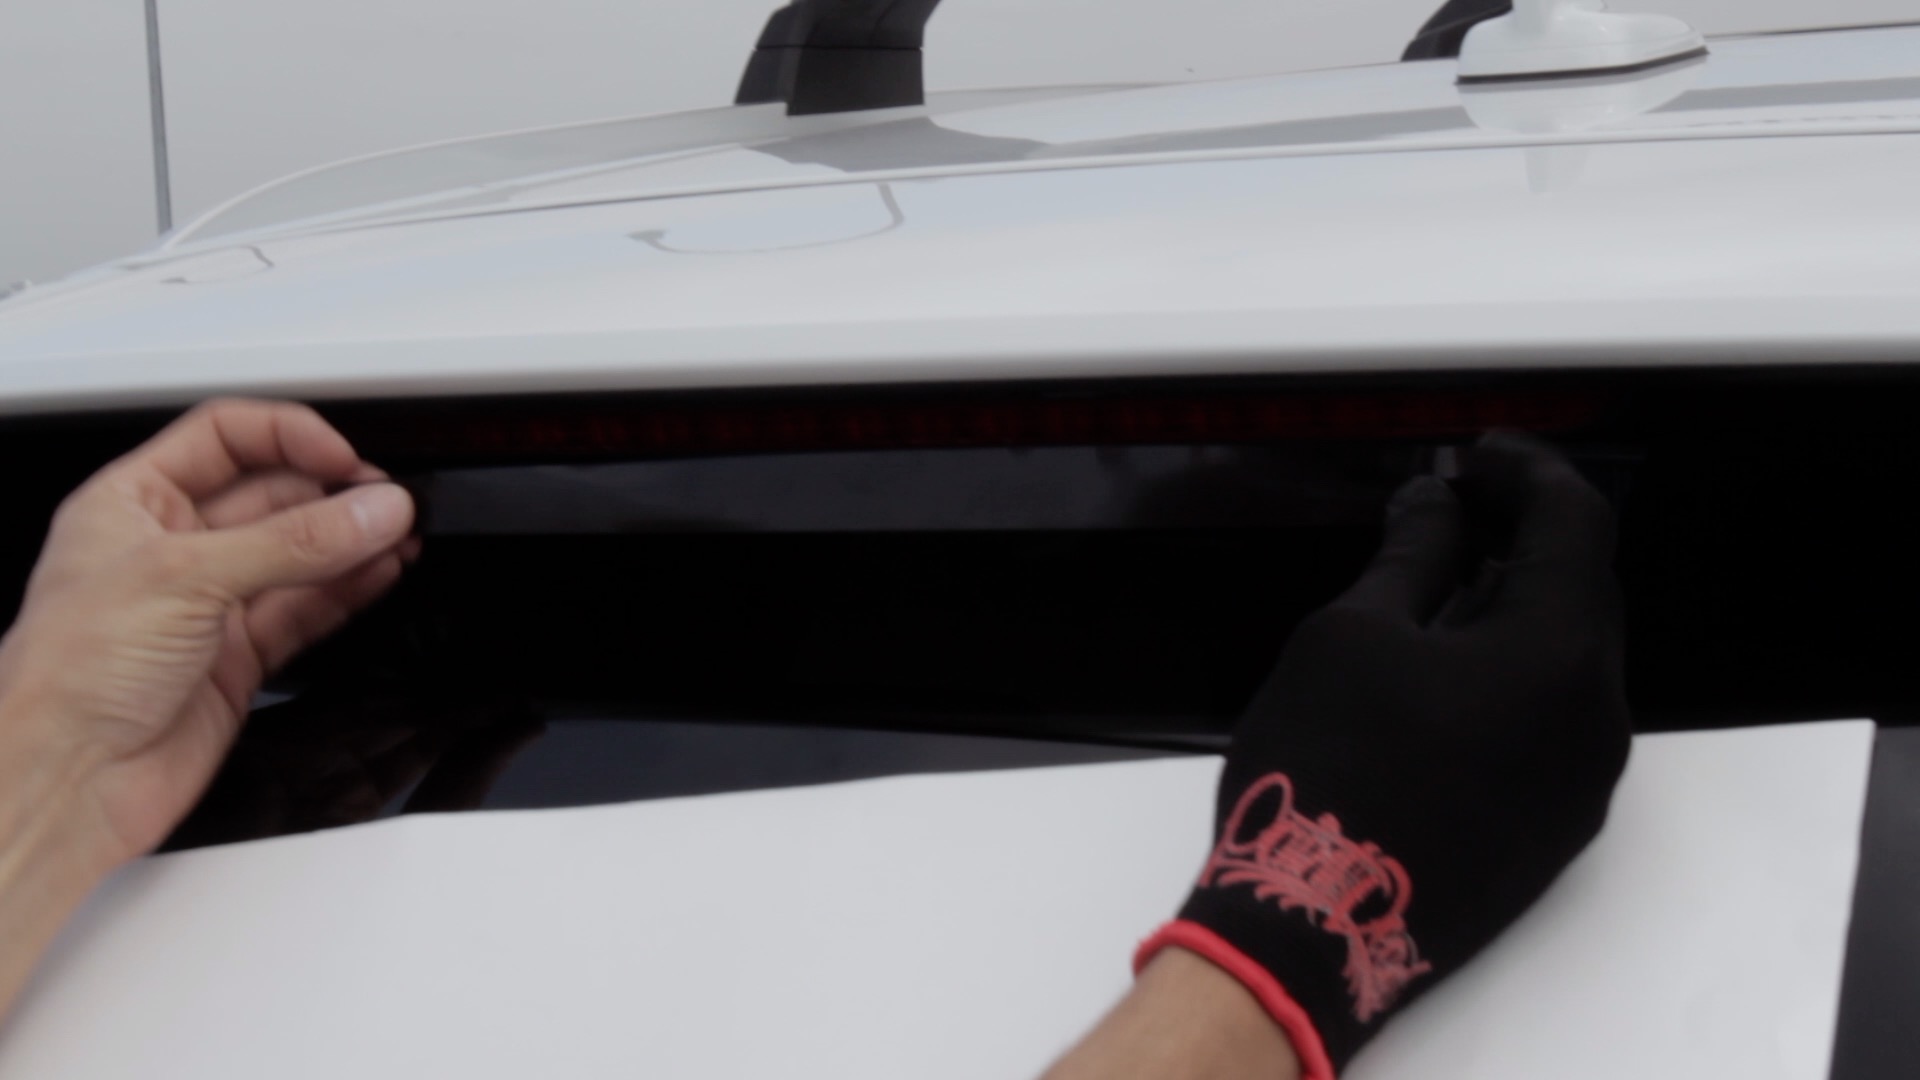
Step 4: Tack Down Tint at One End
"Align the film to one edge of your light and gently tack it into position."

Step 5: Apply Pressure in Short, Even Strokes
"Apply the tint slowly and carefully. Avoid large sweeping motions that may wrinkle the film."
Step 6: Use Heat to Remove Wrinkles
Use heat and re-apply by lifting the film up. Any bubbles that form and remain for more than 24
hours may be popped with a pin.
"Apply a little heat and any wrinkles should come out.
"
Recap: Rtint™ Precut Third Brake Light Tint Installation in 6 Steps
- Prepare and clean
- Thoroughly dry
- Dry Fit and plan attack
- Remove liner
and tack on tint
- Squeegee on tints
- Use heat and lift to remove wrinkles
And, you're done! That's all there is to it. Check out the video version
below and be sure to leave a moment and give thumbs up!