Vinyl Wrap Tips - Cold Pre-Stret
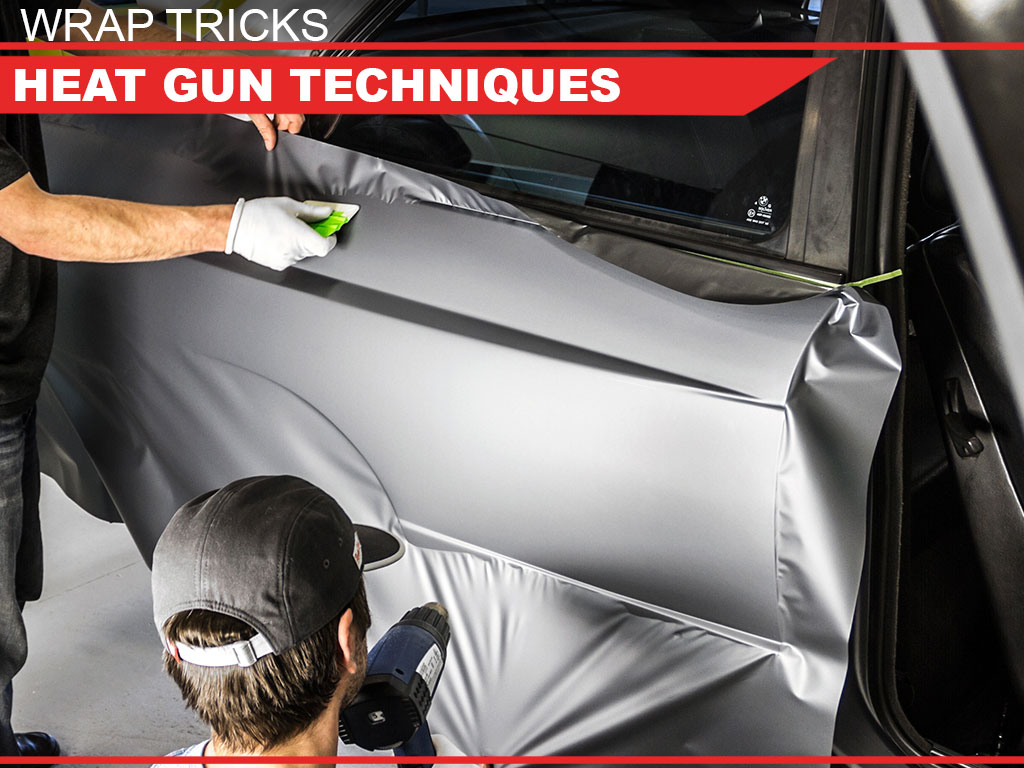
Vinyl Wrap Tricks - Heat Gun Techniques
The heat gun: as much as DIY installers hate to admit it is the one vinyl
wrap tool you just can't live without. As we mentioned in our post on
cold pre-stretching, vinyl films have
a memory which is both a curse and a blessing. Most importantly of course though is
the fact that this memory can only be triggered through the use of a heat gun.
Today we'll cover four different heat shrinking techniques that anyone can
perform with a heat gun and that will take your wrapping expertise into the big
leagues and give you pro-grade results.
Tension is the Key
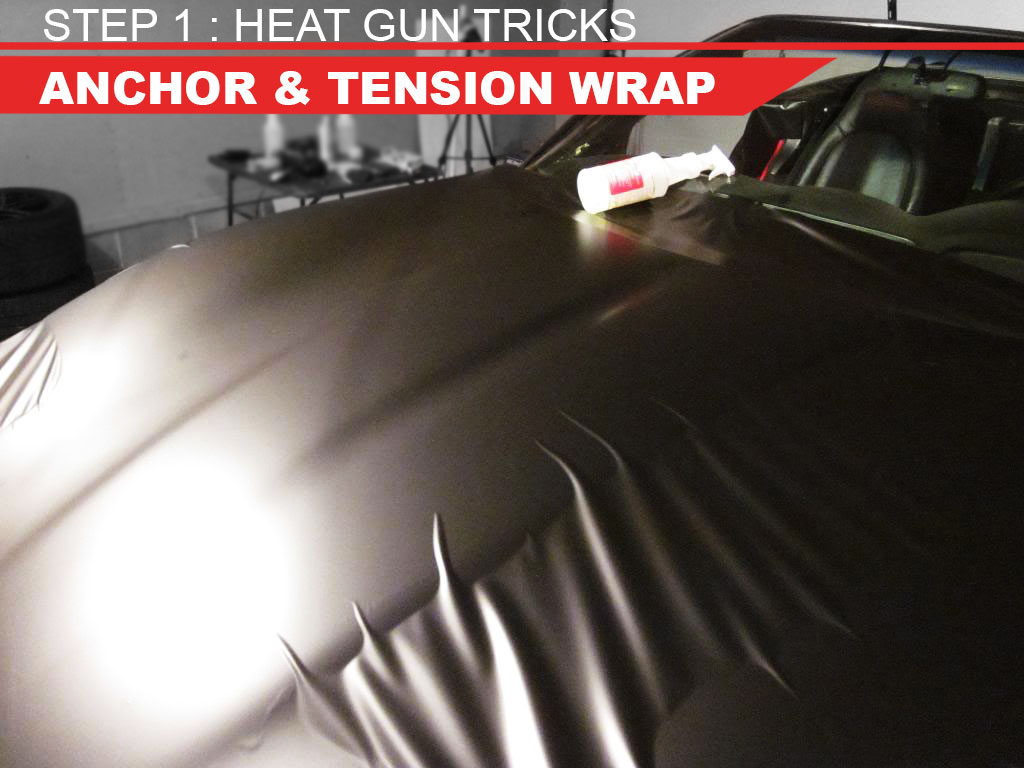
When you're wrapping a large area of a vehicle you want to anchor the film to
about four points (depending on the application and assuming that your wrap is
rectangular). As you do this, you want to tension the film trying to make it as
smooth and as taught as possible. When you've got the film in position as tight
as you can you will notice some larger ripples or wrinkles in the vinyl. This is
completely normal. Spend a couple of minutes going around and actually adjusting it trying to remove as many of these wrinkles
and ripples as you can out of the film.
Chasing Wrinkles
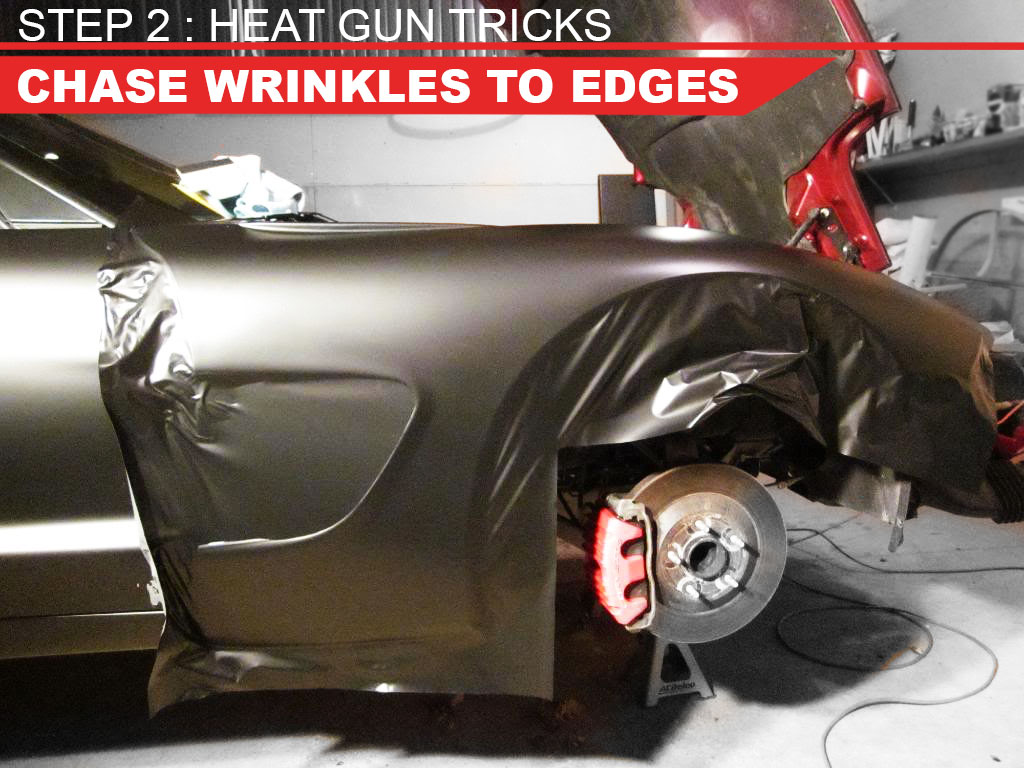
At this point, once the film has been tensioned and smoothed as much as
possible, it's time to use some heat on those remaining wrinkles to activate the
vinyl's memory. In essence, vinyl wrap films behave exactly like shrink-wrap
when heated. Of course, it take a little practice to know how much heat to use
and how much you can stretch a given film but with some time and patience you'll
be a pro in no time.
Naturally, there are some parts of the wrap where the heat gun technique won't work. There's only a certain amount that the
film will actually shrink so you'll find that there are some parts where there's
a curvature in the panels that results in an excess amount of intentioned film
so it can't shrink. Typically those areas are near the edge of the panels anyway so they can
be dealt with later using another technique. At this point, it's really now just a matter of
using your squeegee and basically just pushing the film straight onto the
surface of the smoother areas you've already shrunk.
Removing Small, Tight Ripples
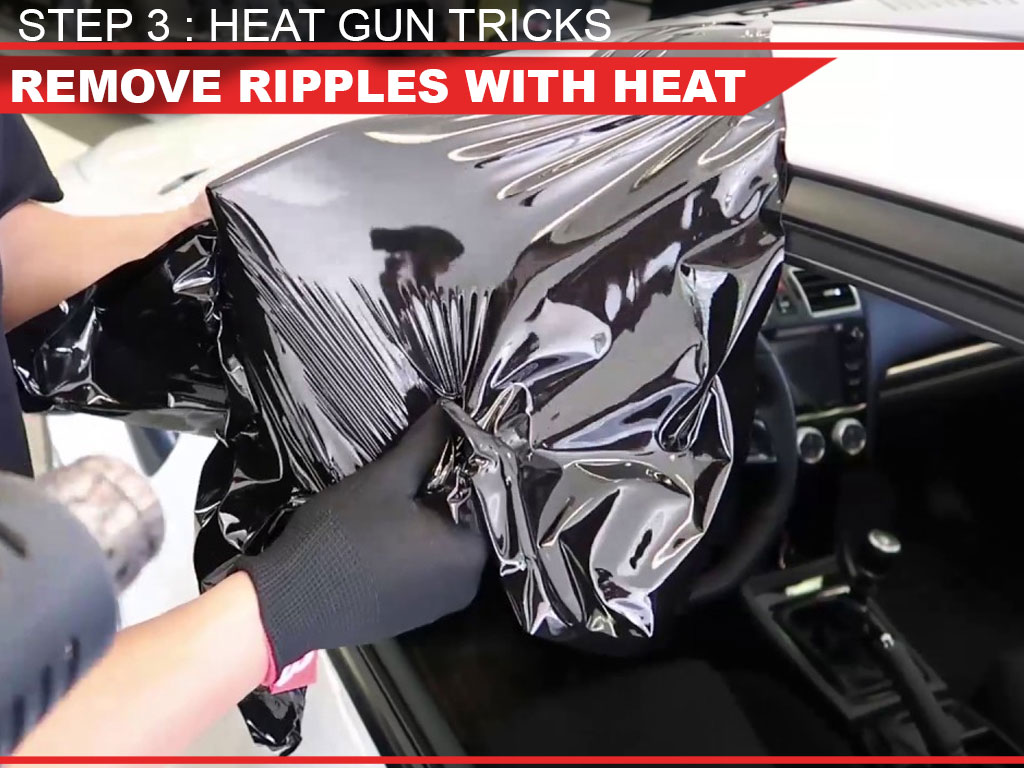
Certain areas of every vehicle cause special issues. Some prime examples of
this are badges, door handles and gas caps which can create areas of highly
localized tension which results in tight, small ripples. In order to prevent
these from becoming larger wrinkles and eventually much dreaded creases, it's
best to remove them early on. How to do it?
Since today's post is all about heat gun techniques, of course you need to
use your heat gun. Apply heat along with a squeegee or application card to
smooth out and push in the sharp ripples. In another post we'll get into how to
approach door handle and gas cap wraps but for the time being this is all you
need to know to wrap the larger areas of your car, truck ort SUV.
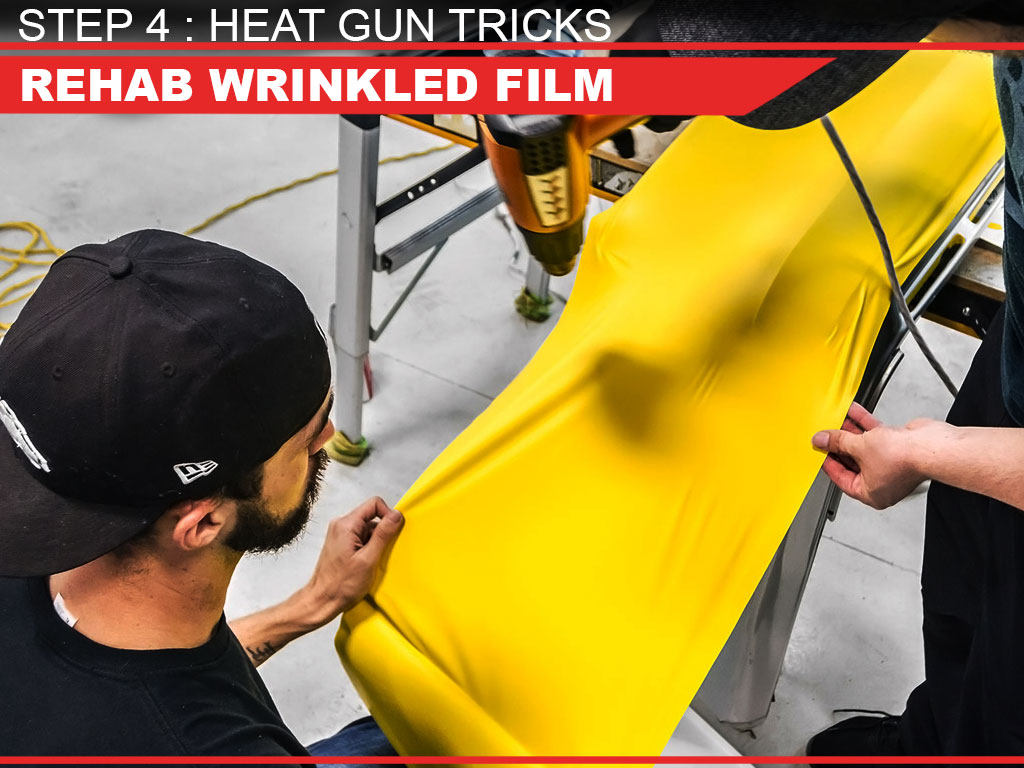
Putting Vinyl Memory to the Test
Once you've worked out all of the major wrinkles and tiny ripples using the
techniques above, there's a good chance you'll have some pretty gnarly and
wrinkled vinyl at the edges. Here too, your heat gun will save the day and help
you salvage the film. Simply hold the vinyl taught and use the same technique to
release and shrink the vinyl wrap back into its smooth shape. Easy as pie.
Obviously, seeing these things done is much easier than reading about them,
so we've included two videos below from 3M™ that show how to work with a heat
gun and which cover all of the tips above. We're constantly adding new
installations of our Wrap Tricks series so be sure to check back soon.