We found this IKEA Surfboard Stockholm table on the curb in Carroll Gardens, Brooklyn and thought it would look good in the office. Unfortunately, it was a little worse for wear so it needed some TLC
before we could wrap it and give it the surf and turf makeover we knew it
deserved. Once we sanded, cut and filled the dents and gouges with wood filler
we then gave it the so-called "millennial teal" treatment (in the words of Phil)
with our Rwraps™ Matte Teal.
The other supplies you'll want to assemble are as follows:
- Rapid Prep or Cleaner
- Lint-Free Towel
- Razor or Exacto Knife
- A Hard Card or Squeegee
-
Wood Filler (we used Famowood latex-based but you can use a water-based one if you're fancy)
- Putty Knife
- Masking Tape
- Low-Grit Sandpaper
- Roll of Vinyl Wrap
- 3M Primer Pen
Quick Guide to Wrapping and Restoring Your IKEA Stockholm Coffee Table
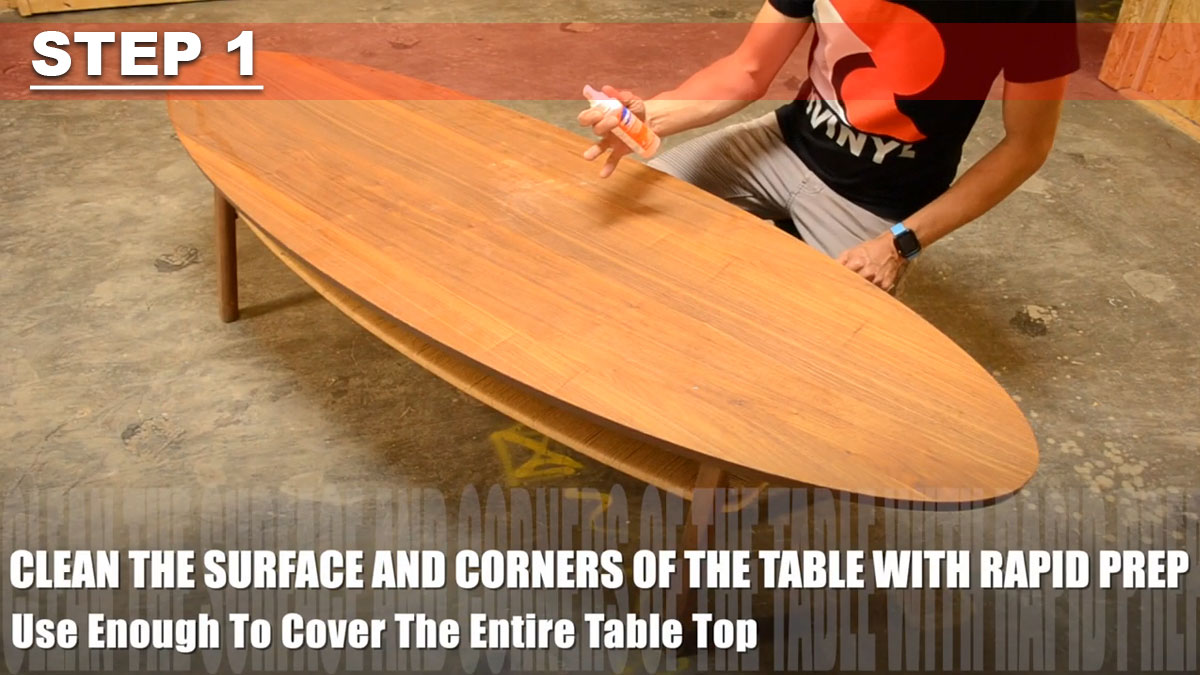
Step 1: Clean and Prepare Your IKEA Surfboard Table
Step 2: Repair Any Scratches, Dents or Gouges
Step 3: Tape It Up
Step 4: Apply Wood Filler
Step 5: Measure Your Table
Step 6: Remove Tape and Start
Sanding
Step 7: Clean It Up
Step 8: Apply 3M™ Primer to Table
Step 9: Remove Vinyl and Dry Fit
Step 10: Peel and Stick Your Vinyl Wrap
Step 11: Squeegee and Tack On
Step 12: Grab Your Mom or a Roommate
Step 13: Trim Away Excess Vinyl
As you can imagine, this IKEA Stockholm coffee table had seen a lot of things
before it ended up on the curb in Carroll Gardens. Unfortunately, things only
got worse once it was exposed to the elements and the hot, Brooklyn summer
nights. Who knows how many terriers may have peed on it or how many hipsters
used it as a stool to tie their neon yellow Supras before heading off to brunch?
Luckily, this surfboard table wasn't destined for an errant trash barge (yet)
but instead was to become part of the cast of ne'er do wells that we've
collected as part of our never-ending series of DIY projects.
Be all that as it may, the first thing we did when we got the table back to
the shop was to clean it with copious amounts of Rapid Prep. Watch the video and
you'll see how much dirt comes off the surface. And, why do we use Rapid Prep?
Simply because we've never found a cleaner that's better for use with vinyl
film. It's non-greasy and leaves no residues that could interfere with the
adhesives of the vinyl wrap. Use what you like but there's nothing better than
Rapid Prep in our book.
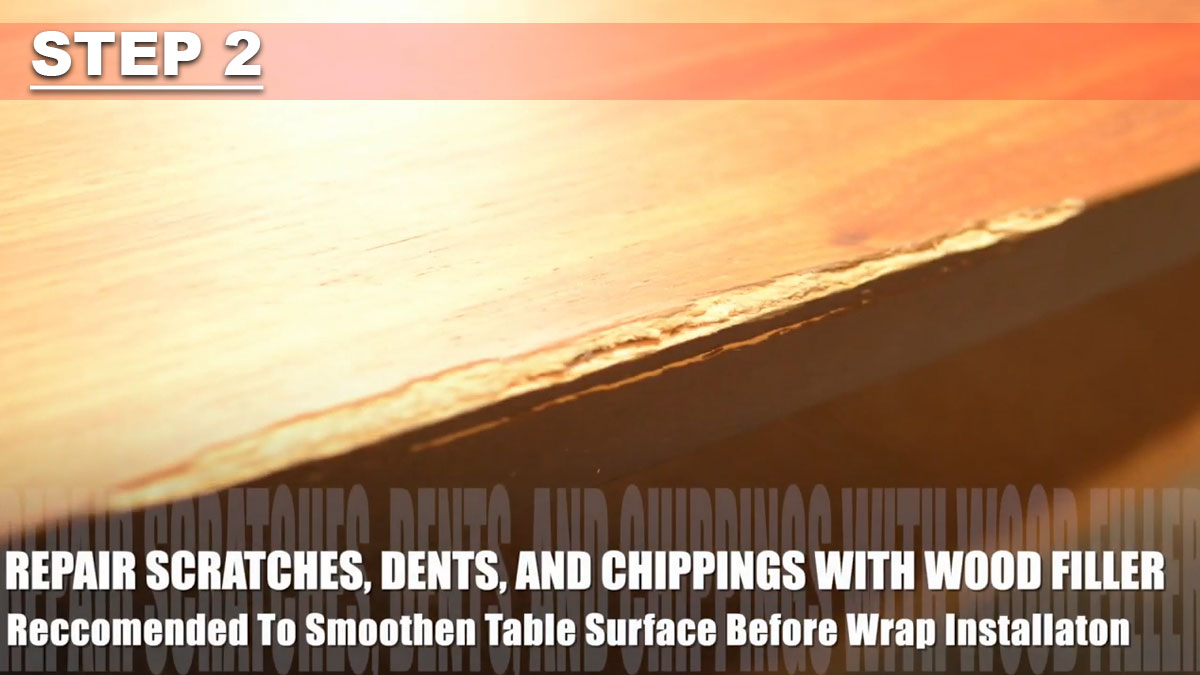
The next thing you'll want to do with your lightly used or completely
ravaged, curbside coffee table is to begin the process of repairing cracks,
gouges and scratches. For this stage of the restoration you'll need to get hold
of wood filler that matches the stain or color of the tabletop, especially if it
will be visible along the edges. We chose Birch-colored wood filler but there is
a huge variety. In addition, even if you pick a color that's too light you can
always go back and stain or paint it later.
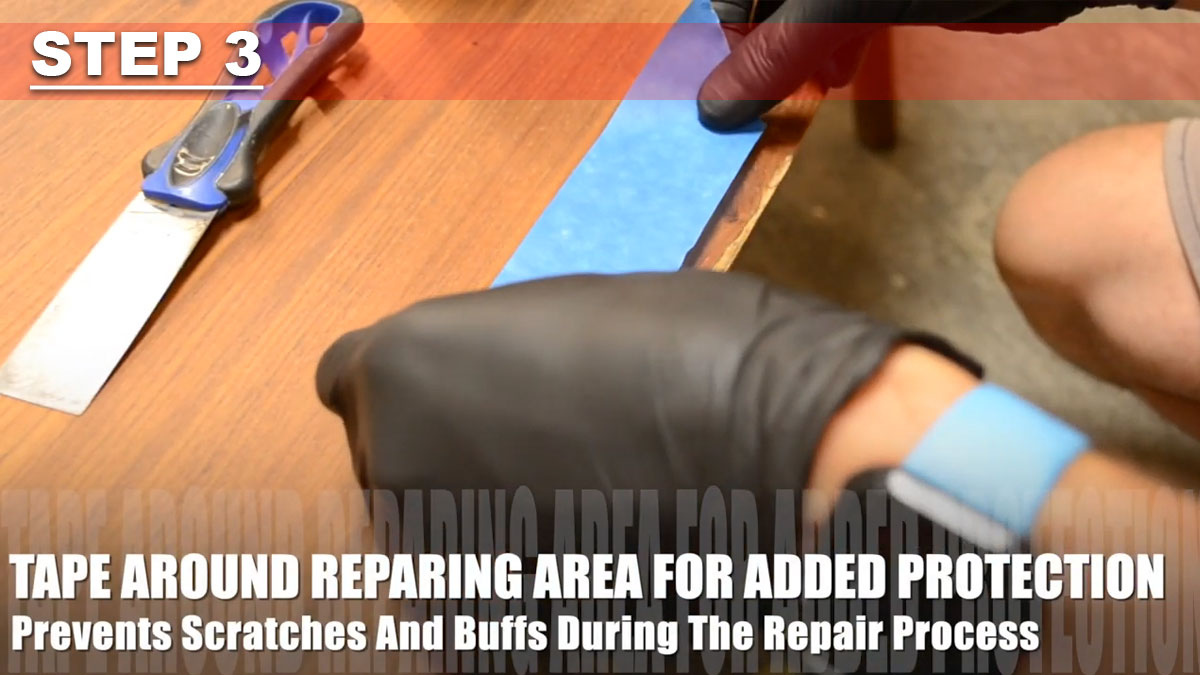
Once you've chosen your wood filler, get some blue masking tape, a putty knife and sandpaper. Sand down the entire table top. If there are pieces of the table that cannot be sanded down, use a utility blade to remove the sections and match a clean cut that can be easily filled and sanded down. When filling gouges and dents, tape around the area to prevent overspreading the wood filler which will require you to do more work later on.
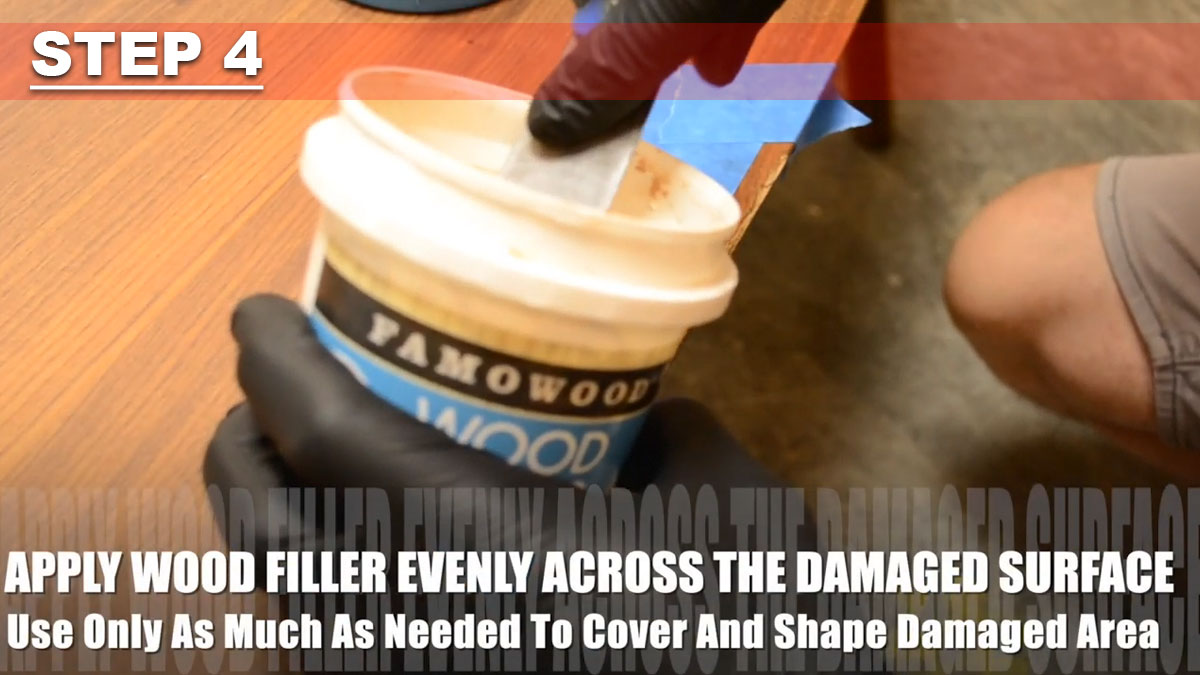
You've sanded, cut and taped so now it's time to apply liberal amounts of
filler. Use the technique shown in the video being sure to apply the wood putty
so that it creates a level surface with the rest of the table top.
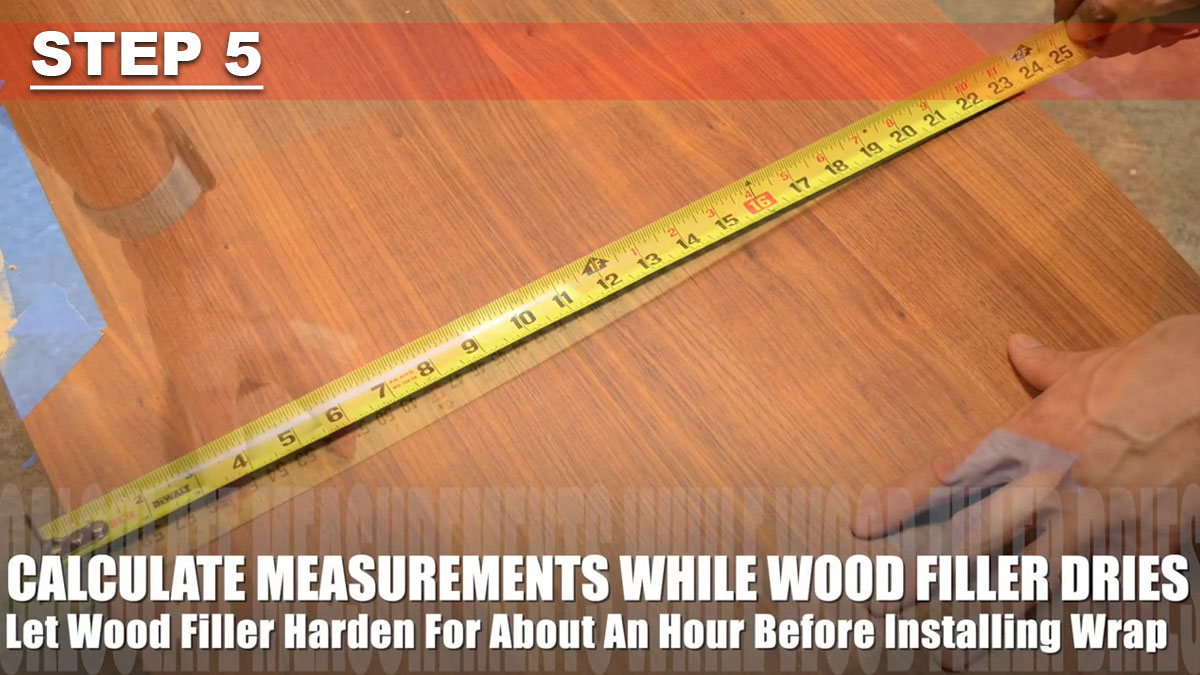
According to Famowood, the drying time of their filler is 15 minutes.
Depending on your age and level of caffeine consumption this could either seem
like an inordinately long time or an incredibly quick drying time but,
regardless of your thoughts, you'll definitely have time to measure the tabletop
to determine the size of the wrap you'll you need. All of our Rwraps™,
3M™ 1080,
Avery™ SW900 and
ORACAL® 970RA wrapping films come standard at sixty inches
in width so keep that in mind when ordering.
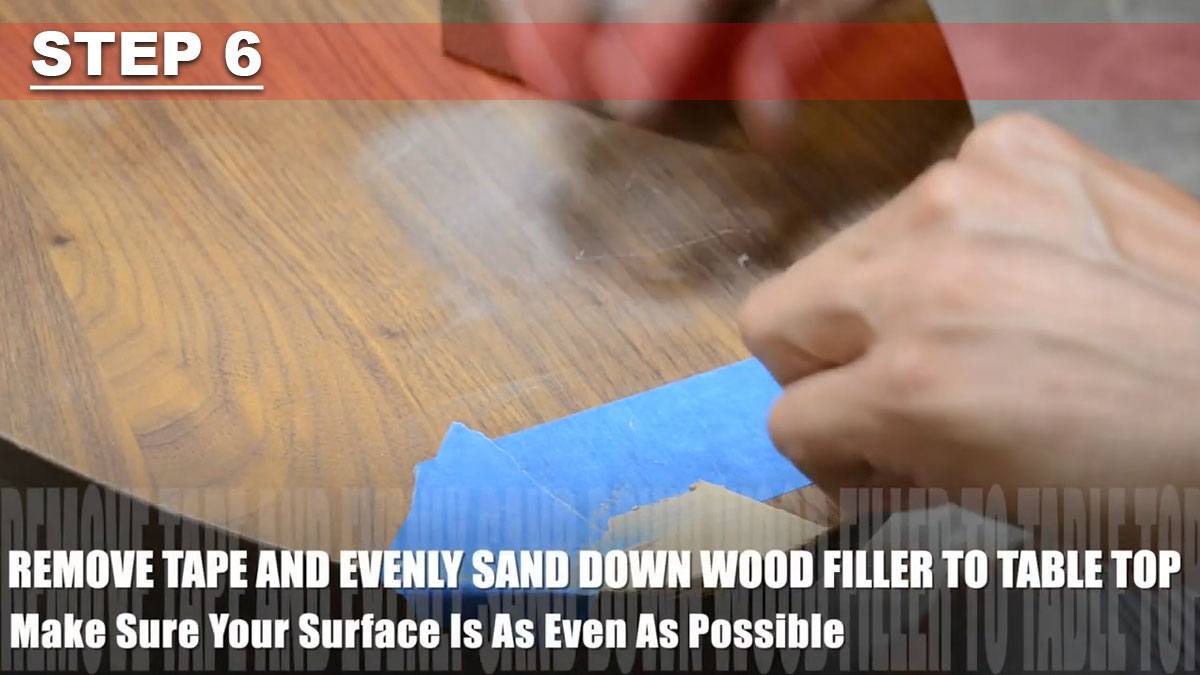
At the risk of restating the obvious, once the filler dries you need to
remove the tape and begin sanding.
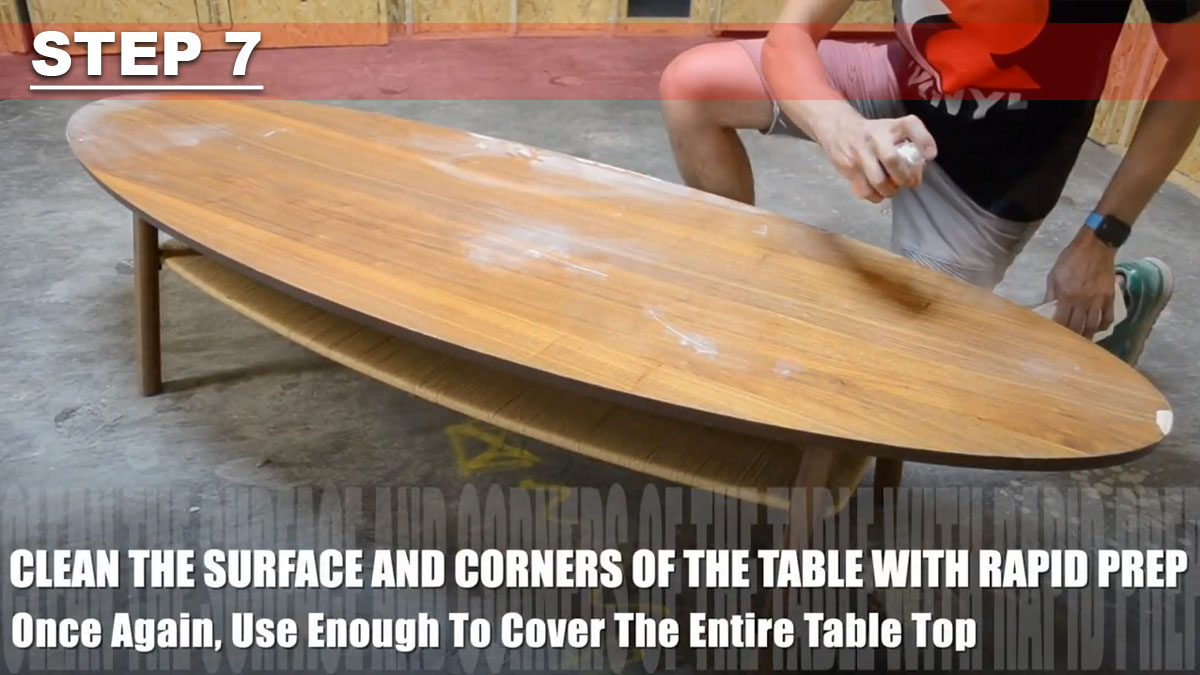
Before you even think of reaching for that roll of vinyl you better clean
the surface of the surfboard table one ore time. Use Rapid Prep and a lint free
towel to completely clean, giving special attention to the areas that have been
filled and sanded.
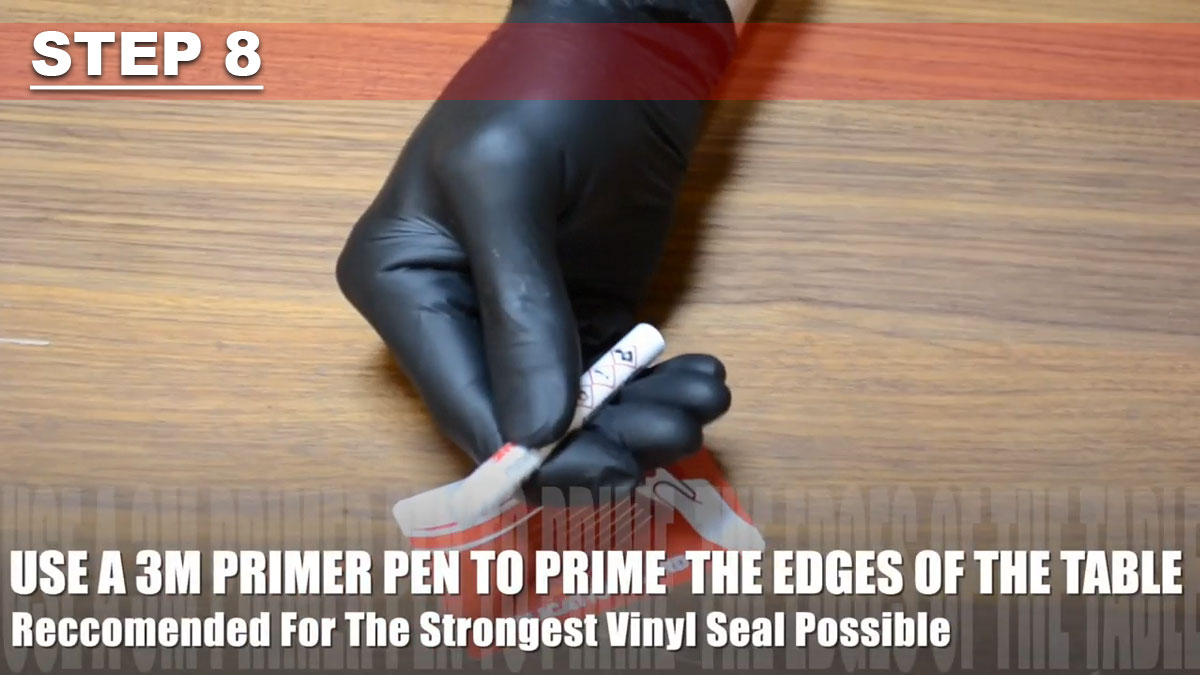
We recommend that you apply 3M™ Primer to the entire
surface but, if you've only bought a small ampule then be sure to at least do
the edges.
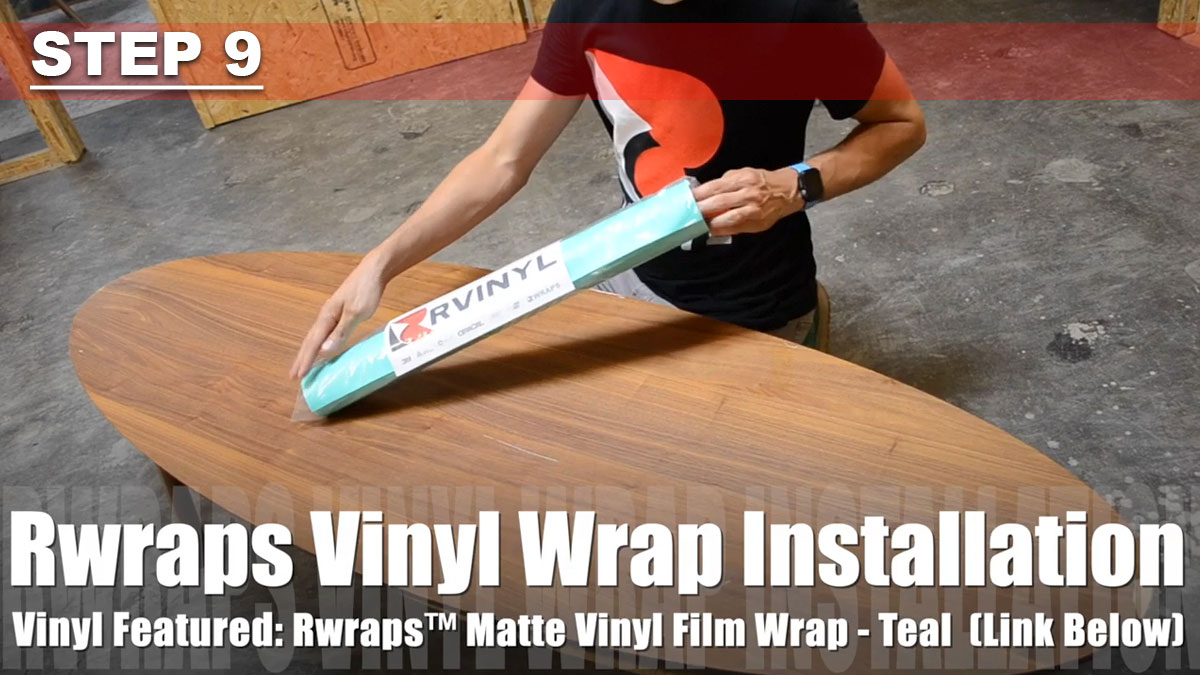
Carefully remove the vinyl from the polytube. Be sure not to dent it or bend
it in half or you'll have to find a heat gun and heat up the film to get the
creases out.
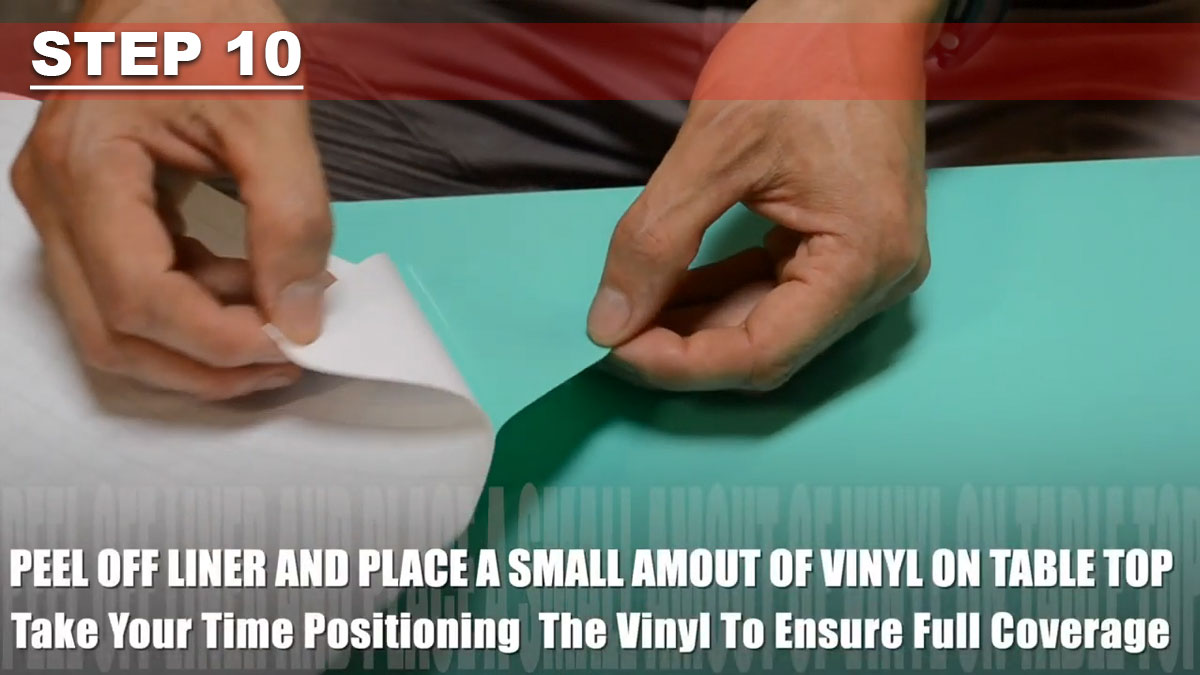
Peel the vinyl wrap off of the backing about six inches. Tack it down
so that you can next pull the liner out while applying the film to the table.
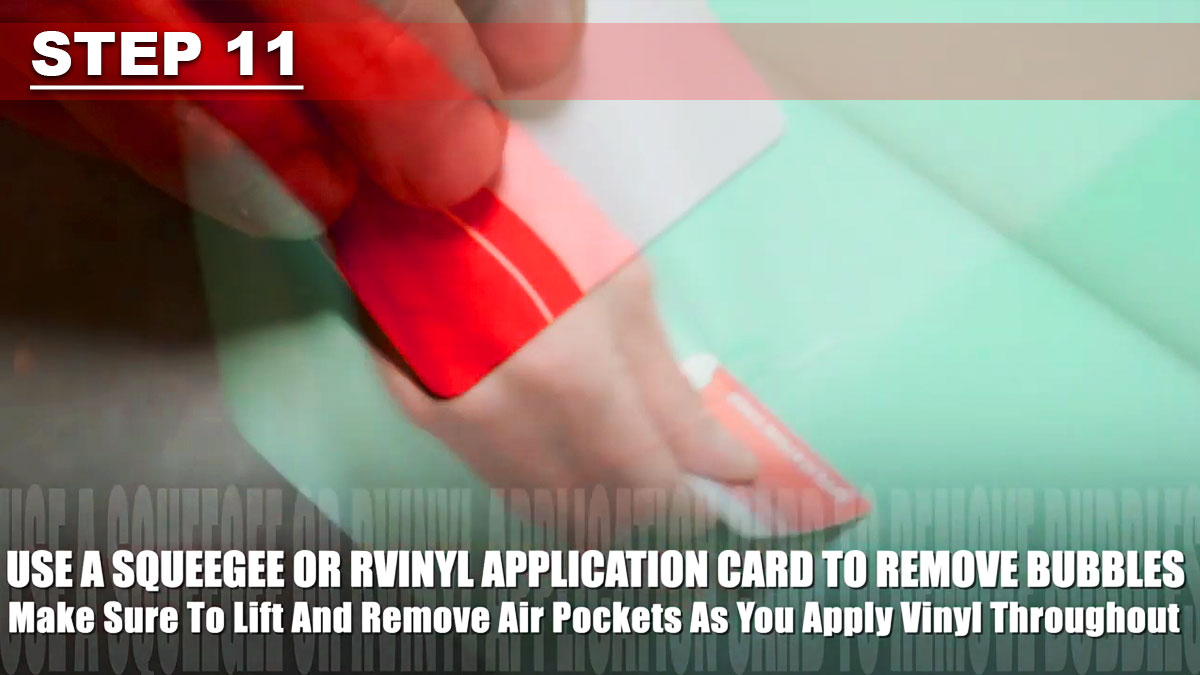
Begin squeegeeing the first six inches to a foot on before screaming for your
friend or mom to come hold the rest of the film.
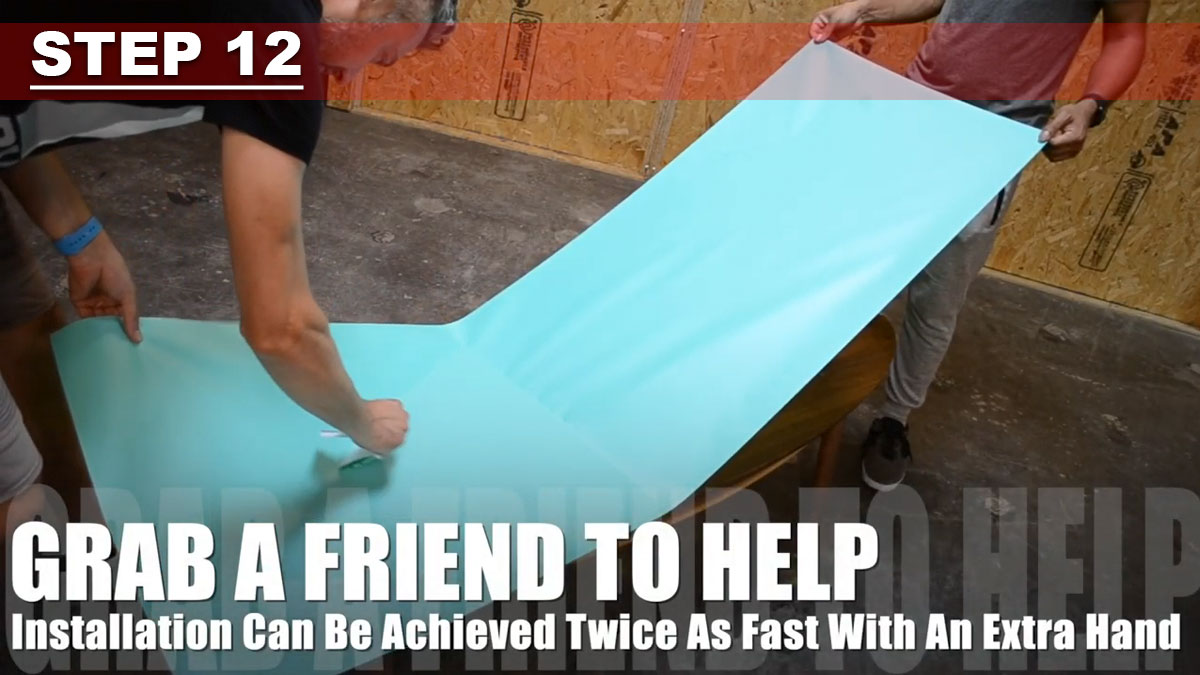
Ask your mom or roommate to hold the film and create tension while she slowly
peels back the liner. It's a difficult technique to describe but if you check
out the video you'll get it.
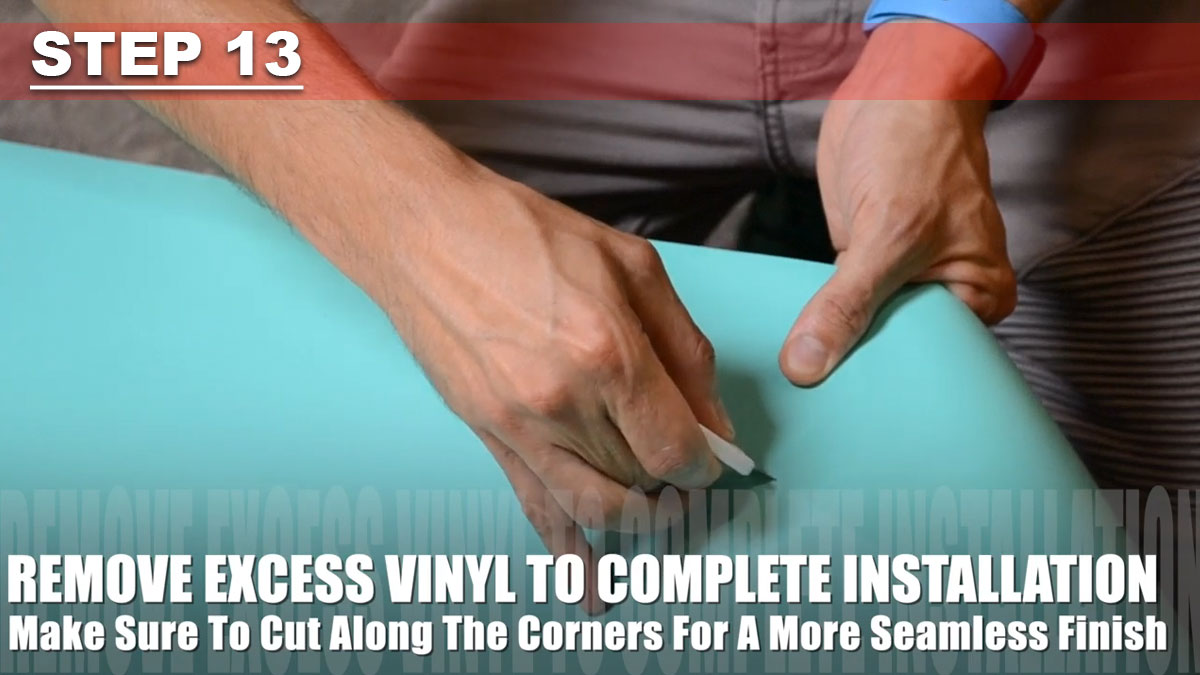
The final step in the whole process of restoring and wrapping your IKEA surfboard
table is to trim away the excess with one of our blades or an Olfa-style or
Exacto razor blade.
All in all, the restoration and wrapping of the surfboard table went really smoothly as you'll see in the video although Philip did want everyone to know that he could have used a different colored filler and would have liked to re-stain it. But, since we were going to install the teal vinyl wrap we convinced him not to. Regardless, that's what happens when you're dealing with a perfectionist. Check out the video and be sure to leave a comment and let us know what you think.
We're going to be coming back to this one (or so Phil tells us) because he wants to add some more details to really complete that surfboard effect. So, if you want to see it be sure to subscribe and hit that bell icon to be notified of our new videos.