Custom Bottle Vinyl
For many of us, our water bottles go wherever we go. We’re not talking about those crinkly, plastic disposable water bottles, either. We mean the reusable water bottles we fill up and carry with us throughout the day, making sure we always have a quick drink nearby when we need it, while not having to feel guilty about constantly throwing away those cheap plastic disposable bottles. S’WELL or Yeti bottles are perfect examples of the type we’re talking about. For purposes like these, water bottles couldn’t be handier or more convenient.
If there’s one thing many of these reusable water bottles lack, however, it’s a little bit of personality. These water bottles typically come in solid stock colors or a plain pattern, designed to appeal to as many people as possible. That means they usually have a clean and classic design that’s perfectly serviceable, but that doesn’t have a lot of pizzazz. And while it’s true a water bottle’s function is usually more important than its look, who said you couldn’t have a water bottle that does its job well while also looking fabulous?
Today, we want to teach you how to customize your water bottle labels using craft vinyl. We’ll explain what materials you need to create these DIY water bottle labels, what type of vinyl to look for and how to complete the process in easy-to-follow steps. At the end of this project, you’ll have a one-of-a-kind water bottle that’ll have everyone you meet asking where they can buy one just like it.
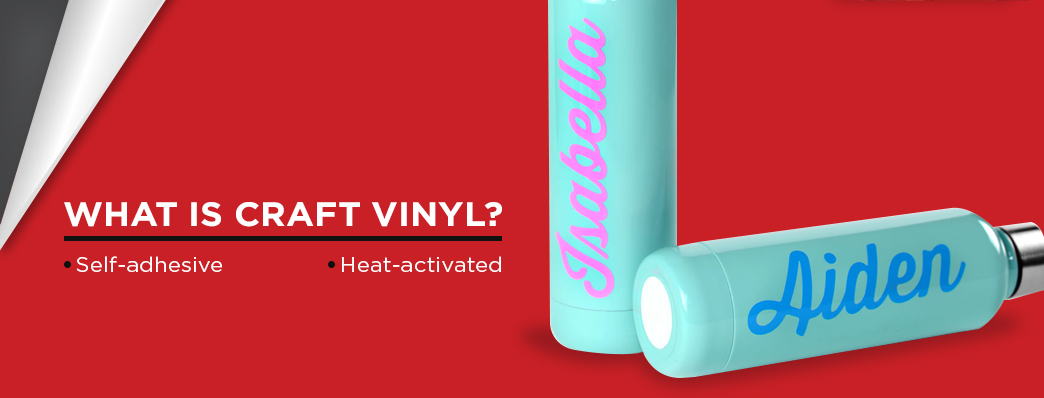
What Is Craft Vinyl?
Crafting enthusiasts with years of experience using vinyl will need no introduction to this versatile material, but the uninitiated may be curious. What exactly is craft vinyl, anyway?
Craft vinyl is a lot like a sticker. It’s a durable sheet of material, available in every color you can imagine, that is designed to stick to surfaces like a second skin. But while all vinyl is adhesive, there are multiple ways of achieving this goal. Most types of craft vinyl will fall into one of these two categories.
- Self-adhesive: Some vinyl is self-adhesive, meaning it comes like most stickers we’re familiar with, with a backing covering the sticky side. Once the user peels the backing away, it reveals the sticky side, and the crafter can then carefully place the vinyl onto the surface, where it will stick upon contact.
- Heat-activated: Heat activated vinyl does not come with any backing because it doesn’t need to. Instead, crafters will place the loose sheet over the top of the surface they wish to cover before applying heat to the vinyl. Hair dryers are common choices for this type of application. As the vinyl heats up, the adhesive properties activate and cause the vinyl to stick to the surface for a firm cling.
Both types of vinyl have plenty of uses, but to craft water bottle vinyl decals, we’ll be using the self-adhesive variety. It’s wise to become familiar with both, however, so you don’t accidentally purchase one when looking for the other.
What Material Will You Need?
To get started with your water bottle decal, you’ll need to gather a handful of different materials. Some of these are items you may already have, but others are more specialized and may require a trip to your local craft store. Before you can begin your project, make sure you have all these supplies handy.
- Water bottle: It’s hard to create water bottle lettering if you don’t have the bottle in question on hand. Keep this near you as you work so you can reference it for measurements.
- Vinyl: The vinyl will be your primary material throughout this project. Choose any color you like, but remember, you’ll want to buy self-adhesive vinyl, instead of the heat-activated variety. If you’re doing your shopping and can’t figure out which type you’re looking at, don’t be afraid to ask.
- Cutting machine: While it’s technically possible to cut a design into your vinyl freehanded, it is tricky, and not many of us can do it well. For this reason, it’s best to rely on a cutting machine, which lets you input the design digitally before automatically cutting this design into the vinyl loaded into the machine. Think of this machine as something like a printer, except it uses vinyl instead of paper and cuts instead of prints.
- Transfer tape: This tape allows you to transfer your cut design onto the water bottle safely, without letting it accidentally stick to anything else along the way.
- Weeding tools: You'll need to use this to cut out parts of the design that do not belong in the final product, such as the space inside a letter "a" or "o." A straight pin can also work if you don’t have a weeding tool.
- Applicator tool: This handy tool is for pressing the vinyl down firmly, pushing any bubbles out toward the edges instead of leaving them trapped in the middle. If you don’t have one of these, a credit card will also do the job.
If you have easy access to all these tools, let’s get started.
How to Create a Water Bottle Vinyl Decal
Water bottle crafting is fun, easy and something anyone can learn to do with just a little bit of practice. By following these instructions, you can easily create personalized water bottles for you, your family or that co-worker or friend you’ve been searching for the perfect gift for.
1. Pick out the Vinyl
Choosing the right vinyl for this project is essential. Remember, you’ll place this decal on a water bottle, an object whose design inherently implies it will get wet. Because of this, you’ll want to choose a water bottle that’s durable, and able to hold up against less-than-gentle conditions.
For your water bottle decal, we recommend a tough outdoor vinyl, something like Oracal 651. This vinyl is for outdoor usage, meaning it can hold up through rain, wind and snow. If it can handle these outdoor elements, you should feel confident it can endure a trip through the dishwasher.
Vinyl films like Oracal 651 come in every different color of the rainbow, so you have the freedom to choose any color that catches your eye. Can’t decide? Think of your design, and ask yourself if there’s any color that is more or less appropriate for the design. You might also think about the color of the bottle itself, and ask yourself if any colors would complement it especially well.
2. Design or Download Your Pattern
The internet hosts a plethora of pre-made designs you can easily input into your cutting machine’s software. If you aren’t interested in designing your own, you can browse through these patterns until you find something that strikes your fancy. You’ll then need to download the design and open it in your software to format it according to your needs.
If you’re feeling a little extra creative, however, it isn’t hard to design a pattern from scratch. Images may be a bit tricky for someone without any practice, but if all you’re looking to do is create a vinyl decal with your name or perhaps a quote for your water bottle, this will be easy enough to make. All you’ll need to do is select the font type and size and format this into whatever software you're using.
As you’re creating the design, don’t forget to measure the water bottle on which the design will go and adjust the size accordingly. There’s nothing more frustrating than printing your creation, only to realize it’s far too large or too small.
3. Cut out the Design
Once you’re satisfied with your design, it’s time to get it ready for cutting. Take your sheet of vinyl and carefully insert it into your cutting machine. If you’re already an old hand at this, you’ll have no trouble with this step. If this is your first or second time using a cutting machine, take a moment to flip through the instruction manual and make sure you understand the correct way to load the vinyl. In most cases, it’s proper to insert the vinyl with the backing side facing down.
If you’ve loaded the vinyl, completed your design and have everything ready to go, then now’s the time to send the design to the cutting machine and let it start cutting. This process shouldn’t take long, so feel free to take a breath and wait while the machine does its job.
Once the cutting machine has finished its work, remove the vinyl from the machine and take a look at the design as it emerges. It should be almost entirely complete, but there may be some small sections that require a personal touch. Because of this, you’ll need to go in with your weeding tool and clean up any pieces the machine didn’t quite get to, such as tiny spaces between letters. Weeding is delicate work, so don’t be afraid to go slowly and take your time.
4. Prepare Your Water Bottle
Nobody wants to put a beautiful vinyl design on top of a grimy water bottle. Not only is this unhygienic, but dirt or dust particles that may be clinging to the water bottle's surface could also lead to bubbles and ripples in the design. Avoid this problem by giving your water bottle a good scrub before you even think about placing the vinyl on it. If you usually use a dishwasher, we recommend trying a hand wash this time, just to make especially sure the surface is clean and ready for your vinyl.
5. Transfer Your Design
At this point, your design should be entirely cut out, with the backing still on. While you could pick the decal up, peel the backing away and place it on the water bottle, the odds are that it would end up crooked and not spaced well. Most of us aren’t perfect when free-handing tasks like this, and that’s why we use transfer tape.
To do this, take your sheet of transfer tape and peel off the back. Then, place the transfer tape down onto your design, with the sticky side facing the vinyl. By doing this, the vinyl side of your lettering will stick to the clingy side of the tape, allowing you to lift the design off the mat as a complete unit.
Once you’ve lifted the vinyl like this, peel the backing away from the vinyl, piece by piece. When you’re finished with this, the vinyl should be backing-free and ready to stick to the first surface it touches.
6. Place the Design on the Water Bottle
Use the natural lines running through your transfer tape to line up your design on the water bottle and make sure it’s level. Beginning at one corner, slowly press the transfer tape down over the water bottle. Work slowly and methodically, making sure to press down every inch of the tape completely, with no room for bubbles. Press the tape down as you go with your fingers alone, or use your applicator tool to make sure you have pressed the design entirely flat.
7. Peel Away the Transfer Tape
Once you’re certain the transfer tape is entirely flat, with no bubbles, it’s time for the moment of truth. In ideal circumstances, the goal of this step is to peel away the transfer tape, leaving the vinyl decal stuck to the water bottle. It is possible, however, that the vinyl will try to peel up along with the tape, in which case you’ll need to encourage it to stick back down.
Start at one corner again and work slowly, peeling up the tape inch by careful inch. If you see the vinyl is starting to peel up, press that section of the tape back down and see if you can secure your decal a little more firmly to the water bottle. Once you reach the opposite corner and have entirely peeled off the transfer tape, you can dispose of this used tape. Congratulations — you now should have a vinyl decal sitting beautifully on your water bottle.
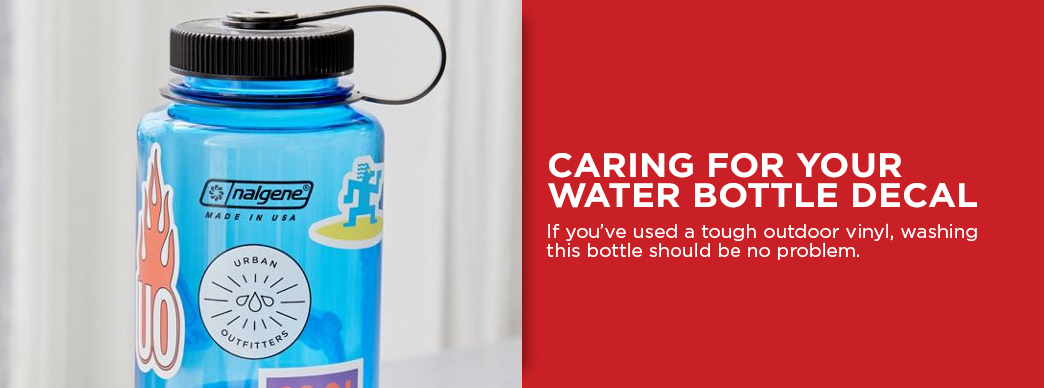
Caring for Your Water Bottle Decal
If you’ve used a tough outdoor vinyl, washing this bottle should be no problem. From hand-washing to dishwashers, this vinyl should be able to weather it all. For the best results, however, we recommend letting your vinyl decal cure for at least a day before you get it wet. During this time, the stickiness of the vinyl will adhere more firmly to the bottle’s surface for a stronger and more long-lasting cling. After a day — or longer if you want to make doubly sure — this water bottle should be ready for anything.
Shop Craft Vinyl Today
Ready to take your water bottle from dull and drab to flashy and fun? All it takes is vinyl and a little bit of patience. To get started with your personalized water bottle project, begin by finding just the right vinyl. Here at Rvinyl, we offer a wide variety of craft vinyl for all your projects in every color you might ever need. Shop our full selection today and find the vinyl that will be perfect for your upcoming project.