Vinyl: What Can You Wrap? What Can't You Wrap?
Vinyl wrap is great for do-it-yourself (DIY) enthusiasts because it's incredibly versatile and affordable. It can change the appearance of dozens of smooth surfaces for minimal cost and effort. It also provides protection, preserves value and is easy to clean with soap and water. A vinyl wrap can even achieve a look paint can't. You can make a surface look like wood grain, camouflage, ombre, animal skin, galaxy or any other style you can think of. Most anyone can apply vinyl in minutes.
Considering all the benefits of a vinyl wrap, you might want to use it for your DIY project. Before you do, it's important to understand what surfaces you can wrap and which to avoid. In addition, you'll have to prepare any surface before applying vinyl to get the best results.
What Can You Wrap on Your Vehicle's Exterior?
Vinyl wrapping is more cost-effective, quick and versatile than getting a paint job or installing new dashboard features. It can transform the look of your vehicle, inside and out, without requiring days in the shop. It'll also protect your vehicle's surface from wear and tear, as well as ultraviolet light. As a result, it preserves an underlying paint job for better resale value.
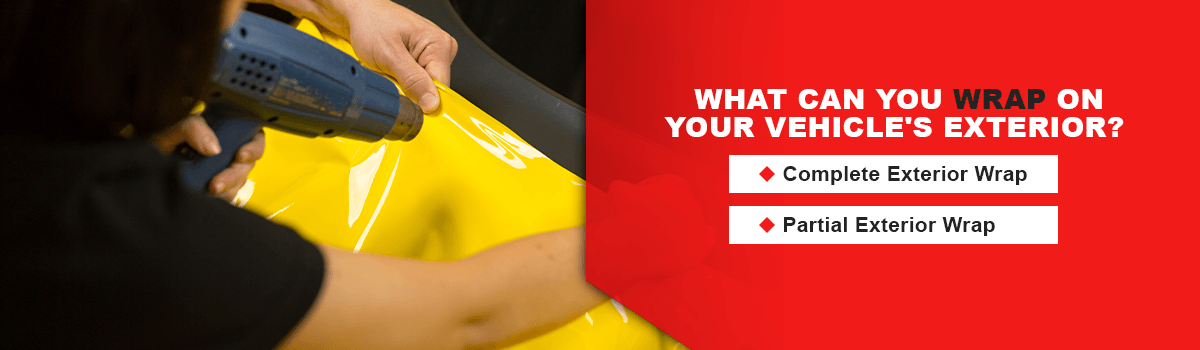
When it comes to the exterior of your vehicle, you can choose either a complete or partial wrap. Your choice depends on your desired look, your budget and how much of your vehicle you want to protect. For a beginner, a partial wrap is a good place to start.
1. Complete Exterior Wrap
You might choose a complete wrap on the exterior, covering every body panel. A complete wrap will offer total protection of your vehicle's factory paint job. It'll also change the look of your entire vehicle, simulating a fresh coat of paint. You might choose to block different colors to create a unique effect.
For an attention-grabbing appearance, a complete wrap is the way to go. You can choose a matte, carbon fiber or metallic finish depending on your preference. A complete vinyl wrap can achieve effects impossible with paint. For instance, you can create a realistic wood-grain look using vinyl. You can use bright, unusual colors or patterns to draw attention.
Apply a complete wrap to a vehicle of any type or size, including:
No matter what kind of vehicle you have, you can install a complete vinyl wrap to customize its look and protect its factory paint. For larger, more complex vehicles, you may want to invest in a professional installation rather than a DIY installation.
2. Partial Exterior Wrap
You can also choose to do a partial vehicle wrap, focusing on specific areas. This is less expensive and takes less time and effort. Some of the areas you might choose to vinyl wrap include:
- Headlights and taillights: Achieve a smoked look without damaging your lights. Before you apply vinyl to your lights, make sure light tints are legal in your area.
- Windows: Protect your interior from ultraviolet light and give yourself more privacy with vinyl window tints. Always comply with local laws regarding tint percentage.
- Rocker panels: Help protect your rocker panels from corrosion and achieve a unique side-profile look with vinyl.
- Pillar posts: Using very little vinyl, upgrade your vehicle by customizing its pillar posts.
- Rearview mirrors: Create a unique look with a rearview mirror wrap.
- Hoods: Customize one of the most prominent body panels on your vehicle with vinyl. The hood is also easy to wrap.
- Roof: Contrast the color of your roof for an eye-catching look.
A partial vehicle wrap allows you to protect sensitive areas of your vehicle and achieve a unique look without breaking the bank. If you're a DIY vehicle-modification beginner, you may want to start off with a partial wrap. This will give you a chance to practice a vinyl application with lower stakes.
What Can't You Vinyl Wrap on Your Vehicle's Exterior?
Vinyl wrap will only adhere to smooth, clean surfaces. A dirty, chipped or rusty surface will not allow the vinyl wrap to stick. Be sure to clean your vehicle and sand down chipping paint before trying to apply vinyl. Here are a few areas you should avoid wrapping:
- Window moldings or seals: Soft, rubbery surfaces like these are not ideal for vinyl wrapping. The adhesive can damage a surface like this, and it's unlikely to stay put for long.
- Door handles: Unpainted, plastic elements like door handles are not the best for vinyl adhesion. The wrap might peel back up over time. If you're doing a complete vehicle wrap, cut around these areas.
What Can You Wrap on the Interior of Your Vehicle?
You spend more time inside your vehicle than standing beside it, so why not spruce up your interior? Give passengers a luxury experience with an upgraded style. You can order a total dash trim kit for a cohesive look that is custom-fitted to your vehicle's make and model. In a dash trim kit, you'll find supplies to wrap the following components:
- Steering wheel
- Cluster and stereo
- Door panels
- Center console
- Glovebox and vent
With one of these kits, your interior will look and feel brand-new. If you're more hands-on, you can order a DIY wrap to design on your own components. Ordering a pre-cut kit can save you time and limit the room for error. With vinyl, you can choose from a variety of different colors and textures like wood grain, animal skin, metallic chrome or bright neon tones. Visual and three-dimensional options allow you to match any style.
What Can't You Vinyl Wrap on Your Vehicle's Interior?
The rule of thumb is that smooth, rigid plastics are perfect for vinyl wraps and soft, flexible plastics are not. The vinyl might struggle to adhere to a textured, soft surface and peel up over time. You may want to test a surface with a small strip of vinyl before attempting to complete a wrap. If the adhesion seems questionable, vinyl might not be the best option. Learn more about how to apply a dash kit. You'll need to know about surface preparation, application technique and aftercare for a successful application.
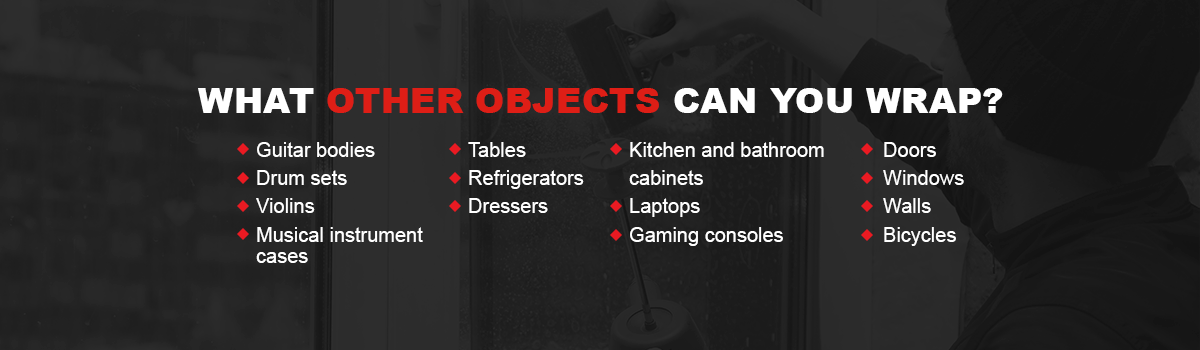
What Other Objects Can You Wrap?
A vinyl wrap works on more than just vehicles. It makes for all kinds of professional-looking DIY projects. You can vinyl wrap pretty much anything with a smooth, somewhat flat surface. That includes hard plastic, metal, wood, drywall, aluminum and other materials. In addition to vehicles, popular objects for vinyl wrapping include:
Get creative with your DIY projects. You can sketch decals and trim the vinyl to fit your ideas. Vinyl wraps allow for inexpensive home improvement — you can decorate with removable wall art or upcycle boring furniture. Since vinyl removes without leaving residue or damage, it's perfect for decorating rented property or kids' bedroom walls. When a child grows out of a favorite character or animal, you can simply lift vinyl from the wall rather than having to repaint. Or, if it's time to move out, you can lift vinyl decals without damaging your apartment.
With a vinyl wrap, you can also personalize your instruments, electronics and other household items to better fit your personality. Express yourself without a ton of time and effort. For instance, you could use vinyl to create a stained-glass window effect. Your imagination is the only thing that limits your vinyl wrap projects, so think outside of the box.
What Can't You Vinyl Wrap?
Before you start buying rolls of vinyl wrap to cover everything you own — keep in mind which surfaces you can and can't vinyl wrap. The same basic rules apply to all surfaces. Vinyl works best on smooth, non-textured and clean surfaces. Otherwise, you may see bumps and bubbles or uneven coverage. You might also notice peeling or poor adhesion. For the best results, avoid vinyl wrapping a surface that is:
- Ribbed, textured or non-smooth: The adhesive on a vinyl sheet only works on a smooth surface. If a surface is too porous or textured, the vinyl might not adhere well. For instance, you will have trouble trying to apply vinyl over an animal-skin texture like snakeskin.
- Contoured or curved in an extreme way: Vinyl is versatile and flexible — it can fit gentle curves without bubbling. However, extreme bends and curves might make vinyl adhesion impossible. If you're working with a perfect sphere, for example, vinyl might not be the best choice.
- Rough or rust-covered: Corrosion adds texture to a surface, which limits how well vinyl will adhere. A layer of vinyl is thin — it's not made to cover up impurities. In fact, it might amplify scratches, dents or cracks in a surface. Brush away all rust or corrosion and buff out scratches before applying vinyl.
- Styrofoam: In general, foam or foam-like surfaces are not great for vinyl wraps. Foam is too porous for an even adhesion.
- Untreated or unpainted plastics: A coat of paint helps vinyl adhere. A raw, unpainted plastic might not lend itself to wrapping.
- Unclean: Before applying vinyl to any surface, make sure the surface is clean. Wash away any dust, dirt, mud, pollen or corrosion.
How to Prepare a Surface for a Vinyl Wrap
Whether you're wrapping a vehicle, a piece of furniture, an instrument or any other surface, you'll need to do some preparation. Vinyl application is straightforward — you do not need to be an expert to be able to do it. With that said, a lack of preparation might leave you with an unsatisfactory finished product. A dirty or unsmooth surface can result in bubbling, poor adhesion or accentuated impurities. Make sure the surface is well-suited for vinyl wrapping. If you're not sure, test it out first with a small strip.
To prepare for application, complete the following:
- Sand or buff away impurities if possible. Never apply to a rusted or corroded surface.
- Wash the surface with minimal chemicals — use plain soap and water and be thorough.
- Clean the space in which you'll apply the vinyl. Sweep and mop the floor.
- Take your vehicle to a car wash the day before, but avoid protective coatings or waxes.
- Remove any hardware or small, intricate pieces. This applies to vehicles, instruments and furniture.
- Make sure the surface is dry before application.
- Plan and use stencils to achieve the right shapes. Remember to cut out areas for hardware.
Once you've cleaned off and prepared a surface, bring the object inside. It's best to apply vinyl indoors. Temperature and humidity control will help the adhesion. You'll also have an easier time limiting the object's exposure to dirt, dust, bugs and other elements. Use a garage to apply vinyl to large objects like vehicles and furniture. Make sure you handle the vinyl with care. With proper surface preparation, your end result will look professional and last for a long time. When it comes time to remove the vinyl, you'll find a preserved surface beneath.
Shop Vinyl Kits and DIY Sheets With Rvinyl
Vinyl offers a time and cost-effective way to upcycle furniture, temporarily decorate a space or personalize your belongings. If you're staying in a dorm room or leased apartment, it's a great way to decorate your walls without losing your deposit. If you're a musician or a gamer, vinyl will allow you to customize your equipment to fit your personality. Its versatility makes it an ideal choice for hundreds of different DIY projects. There's no need to pay for expensive, time-consuming professional paint jobs.
You can buy pre-designed kits or uncut DIY sheets from Rvinyl. Shop by color or style to get the look you're after. At Rvinyl, we offer more than 100 different colors to choose from. With our wide range of products, we can help you achieve any look. Alternatively, you can shop by project to find pre-cut options for popular items to save you time. Browse our site for inspiration, and explore our resources for tips and tricks. Feel free to contact us with any questions!